
Epoxy resin is a very useful material that can be used for all sorts of projects. It’s also not too difficult to work with, provided you know what you’re doing. This article will teach you how to bend epoxy resin!
What Is Epoxy Resin
Epoxy resin is a hard, plastic-like material that comes in two parts. One part contains epoxy and has no color.
The other part contains an “initiator” which causes it to cure/harden when mixed with the other half of the mixture (the epoxy).
Epoxy resins are commonly used for decorative glazing or laminating wood together because they prevent moisture from seeping through seams, allowing wooden structures like decks to last longer!
Table of Contents
How To Bend Epoxy Resin
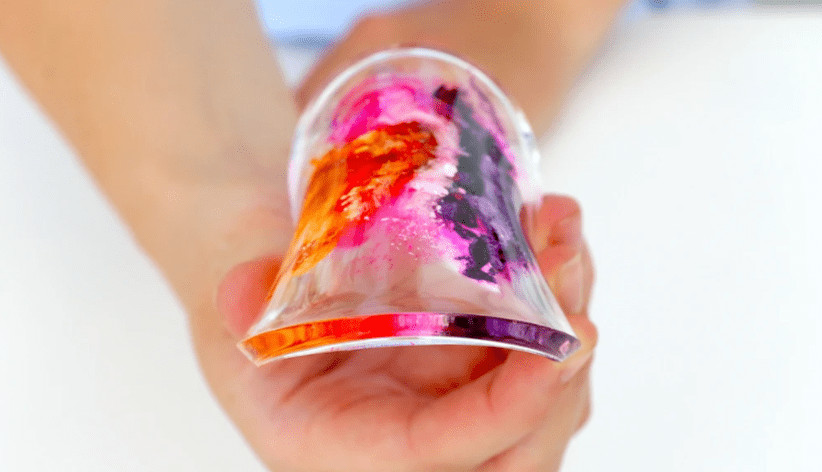
Epoxy resin can be bent and molded into different shapes. It is a great material to use for large-scale projects like tables, chairs, and even entire rooms! Before we begin bending epoxy resin you need some basic equipment:
gloves, protective glasses (to prevent your eyes from the harmful UV rays that come out of cure), respirator mask (if working with larger quantities) as well as acetone cleaner/degreaser.
The first step in making bendable objects is to mix up the right amount of hardener based on how much liquid you are using.
Be careful when measuring because too little or too much epoxy will not give an effective result less than optimal results may include cracking during curing, while overfilled cups may leak and make a mess.
Once the epoxy has been poured into its container, you can begin to mix it with different materials such as wood chips or sawdust in order to change the material properties of your object/mold.
Once mixed thoroughly, place them on top of each other until you have created a full sheet that is at least around ¼” thick. This will give adequate support for your project without compromising epoxy’s flexibility once cured!
The next step is bringing out our heat gun which we’ll use very carefully since high temperatures could potentially cause bubbles within the epoxy resin structure or even burn some objects nearby so remember:
safety first! Begin by slowly heating up one side of your sheet while applying gentle pressure so that the surface begins to bend.
Be careful! If your sheet is heating up too quickly you can move on to another area and start this process over again.
The same technique applies when applying heat to the other side of the object/mold in order for it to curve evenly all around.
Once you’re happy with how your shape looks, use a clamp or some duct tape wrapped around two wooden pieces (or something else) in order to create pressure while it cures without moving out of place.
Use acrylic spray paint in order to cover any exposed areas not covered by epoxy resin which could cause imperfections within your final product once cured – be sure to allow time before removing clamps since painted objects take much longer than non-painted objects to cure.
Why Do You Need To Know How To Bend Epoxy Resin?
Bending is a great way to make your epoxy resin pieces truly unique. It allows you to create complex structures that are almost impossible with other materials, like paper or card stock.
The Benefits Of Bending Epoxy Resin
- Epoxy resin is a very durable material, meaning it can be used to create models that will last for years.
- It’s also waterproof and heat-resistant up to 120C which makes it the perfect material for creating items such as food containers or smartphone cases.
- The bending process allows you to create truly unique shapes without wasting too much precious epoxy resin since only small portions are needed at once. For example, if you want concave curves rather than convex ones (which require thicker layers) you don’t have to waste all your expensive epoxy just so one side would look nice! This way you can get both sides looking great without having less left over for other projects!
Steps On How To Bend The Material
Materials you will need are epoxy resin, a heat gun, and clamps.
- The first thing to do is measure the amount of epoxy needed for your project (then divide it into smaller portions if necessary).
- Fill one-half of the mold with this liquid plastic and let it dry until completely transparent (usually takes around 20 minutes depending on how thick the layers are).
- Once that’s done take out both halves from their container and apply heat evenly across all surfaces using a heat gun. Don’t forget about the edges! This way they won’t end up thicker than anywhere else which can cause problems later when trying to bend them.
- After 15 seconds or so check whether any parts have already started curving upwards due to uneven heating (the material will become darker in the places that haven’t been heated enough). Fix this by putting the whole thing back into the container with some heavy objects on top. This ensures all parts are equally pressed onto one another so you won’t have any problems later when bending them to your desired configuration!
- Keep doing this until all surfaces of both halves curve upwards slightly then quickly place clamps around these curves while everything is still hot using gloves to avoid burning yourself. Leave aside to cool off completely (~15 minutes depending on how thick your layers are).
Tips And Tricks For Bending With Ease And Efficiency
Bending your epoxy resin can be frustrating unless you know how to bend it. There are several tips and tricks that you can use when bending with ease, efficiency, and without damaging the piece or making a mess.
First, it’s important to have a glass or wood table with a smooth surface. If you don’t have either of these surfaces available, be sure to buy an acrylic sheet so that your epoxy resin doesn’t stick and gets ruined.
Second, the size of the piece determines how much heat should be applied to it in order for it not to crack when being bent.
It is recommended to use a hairdryer at low heat rather than high heat which can damage the material by melting its structure.
Next, if using multiple pieces make sure they are all uniform in shape before getting started on bending them.
This way each side will bend evenly otherwise one side may over deform compared to another causing weak spots where cracks could form and ruin the piece.
Lastly, it is recommended to bend at least a few hours after you have applied heat.
This way everything will cool off and any air bubbles that might pop up during bending will also be gone.
Martin Flood
Martin Flood has been working in the construction industry for over 20 years as a general contractor with expertise in remodeling projects that are large or small. He has furthered his career by specializing in epoxy resin flooring, providing excellent service to both commercial and residential clients. Martin’s experience enables him to offer professional advice on how to choose the right type of project based on your needs and budget.
View all posts by Martin Flood →