
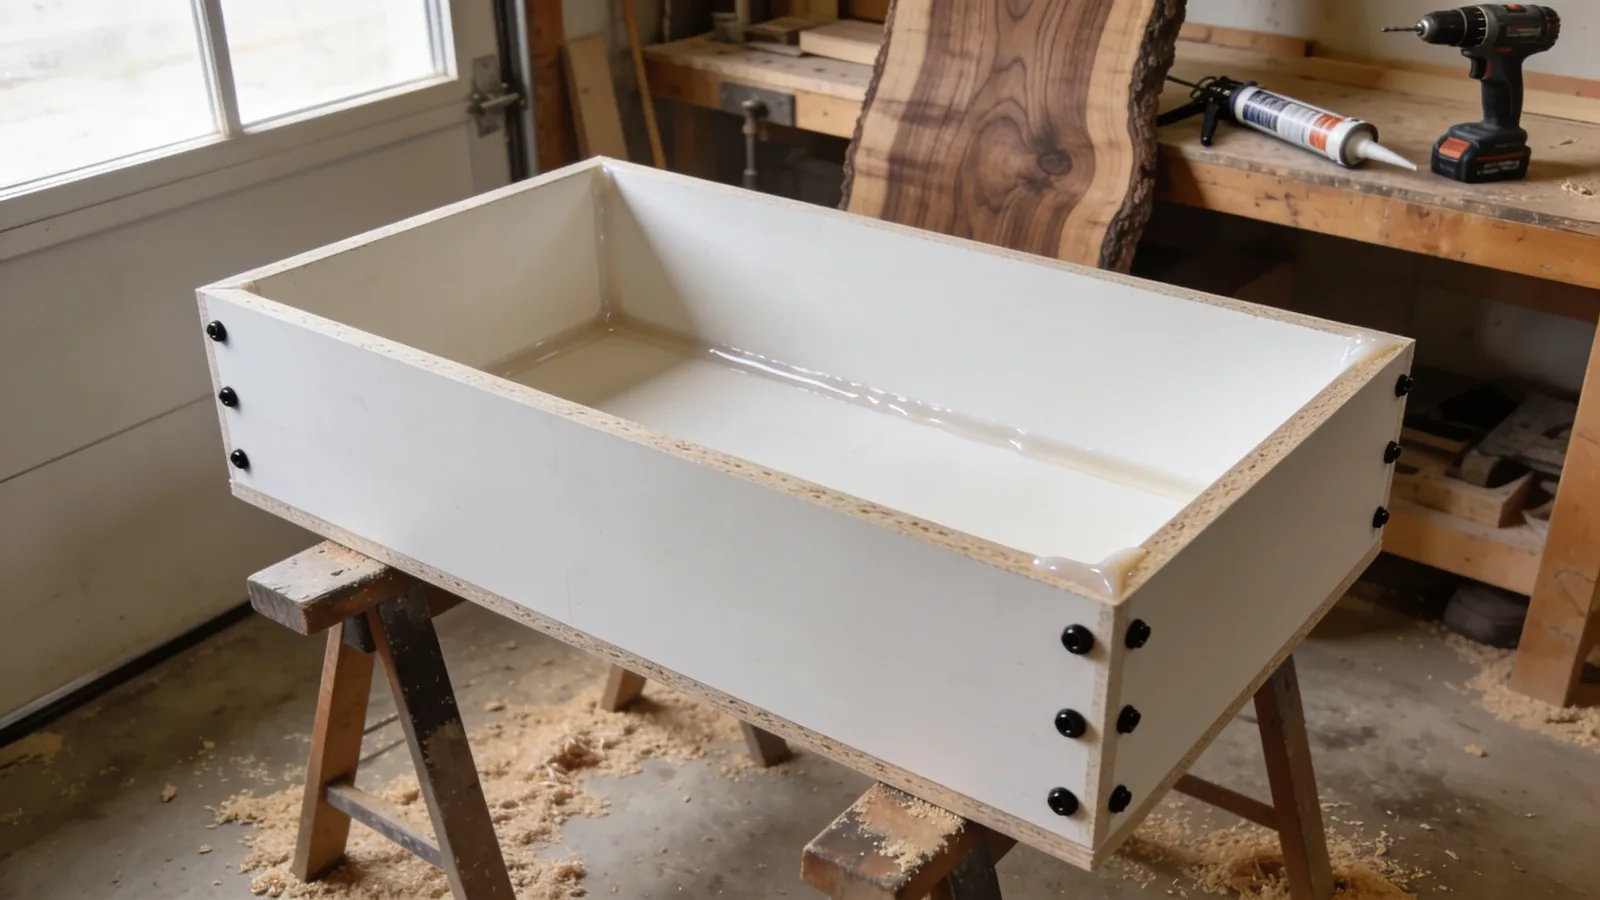
Build the form out of 3/4-inch melamine board, cut a couple of inches oversize on every side, caulk each seam, and put a real release agent on the faces before you mix any resin. It works whether you buy fresh sheet or pull it off a stack of torn-out closet shelving. Get the seams and the release right and the finished slab drops out on its own. Get them wrong and you spend an afternoon cutting the form off a table you just spent a week pouring.
1. What the Form Is Actually Made Of
Melamine-faced particleboard is the default choice. 3/4-inch sheets hold a straight edge under the weight of a full pour without bowing, and Blacktail Studio builds its table molds out of exactly that thickness. MDF and plywood work too, just less forgiving. Neither has melamine’s factory face, so Chill Epoxy lines them with Tuck Tape or Tyvek plus polypropylene film, purely to stop leaks. Got a scrap of HDPE? Chill Epoxy calls it the better sheet, since epoxy won’t stick to it at all. A mold is single-use in most home shops, so pristine sheet stock is money you don’t need to spend. Old cabinet gables, torn-out shelving, and a curbside dresser’s melamine sides hold a shape and a caulk bead just as well as fresh sheet does. When I’m picking through a salvage pile for a panel, I run a thumbnail along the edges checking for delamination and hold the face up to the light for scratches through the coating. That top layer is what decides whether a panel is worth carrying home. That saved money belongs in the caulk and the release agent.
| Material | Role | Trade-off |
|---|---|---|
| 3/4″ melamine board | Primary form material for table molds | Slick factory face out of the box, but edges chip if you’re rough with a circular saw |
| MDF or plywood | Fallback when melamine isn’t available | Needs a tape or film liner or it will leak and bond to the resin |
| HDPE sheet | Best release surface when you can find scrap | Rarely sitting around a home shop, worth grabbing when you spot it |
A small epoxy mold build skips most of this rigor, since coasters and jewelry-scale pours carry none of the head pressure a table-sized form has to survive.
Table of Contents
- 1. What the Form Is Actually Made Of
- 2. The Build, Step by Step
- 3. Sealing and Release: What Actually Stops Epoxy From Sticking
- 4. What Epoxy Sticks To, and What It Doesn’t
- 5. Can You Use Cardboard as a Mold?
- 6. How Deep You Can Pour, and What the Mold Has to Survive
- 7. Mistakes That Ruin a Form
- Getting It Right the First Time
- FAQ
2. The Build, Step by Step
Ten steps, done in order, keep a table mold from leaking or sticking.
- Measure and add the allowance. Cut the base 2 inches wider and 2 inches longer than the finished table. That margin gives you room to trim the edges clean after the pour instead of fighting a mold that’s the exact final size.
- Cut the base and the side rails from your chosen sheet. Keep the cuts square; a form that’s out of true telegraphs straight into the tabletop’s edge.
- Decide on tape or no tape. Blacktail Studio skips lining the melamine, arguing tape ribs the finished slab for no real benefit. Chill Epoxy and EcoPoxy line MDF or plywood with sheathing tape or film to guarantee against leaks. Neither is wrong; it’s a smoother pour with a small leak risk versus a slightly ribbed surface with guaranteed containment. I lean toward skipping the tape on a bare melamine form and lining anything rougher like MDF, since a ribbed edge under a table is a lot more forgiving than a leak I didn’t plan for.
- Fasten the sides to the base from the outside. Brad nails plus construction screws are the common combination. Keep every fastener driven from outside in, never through into the cavity where a screw tip would poke straight into your pour.
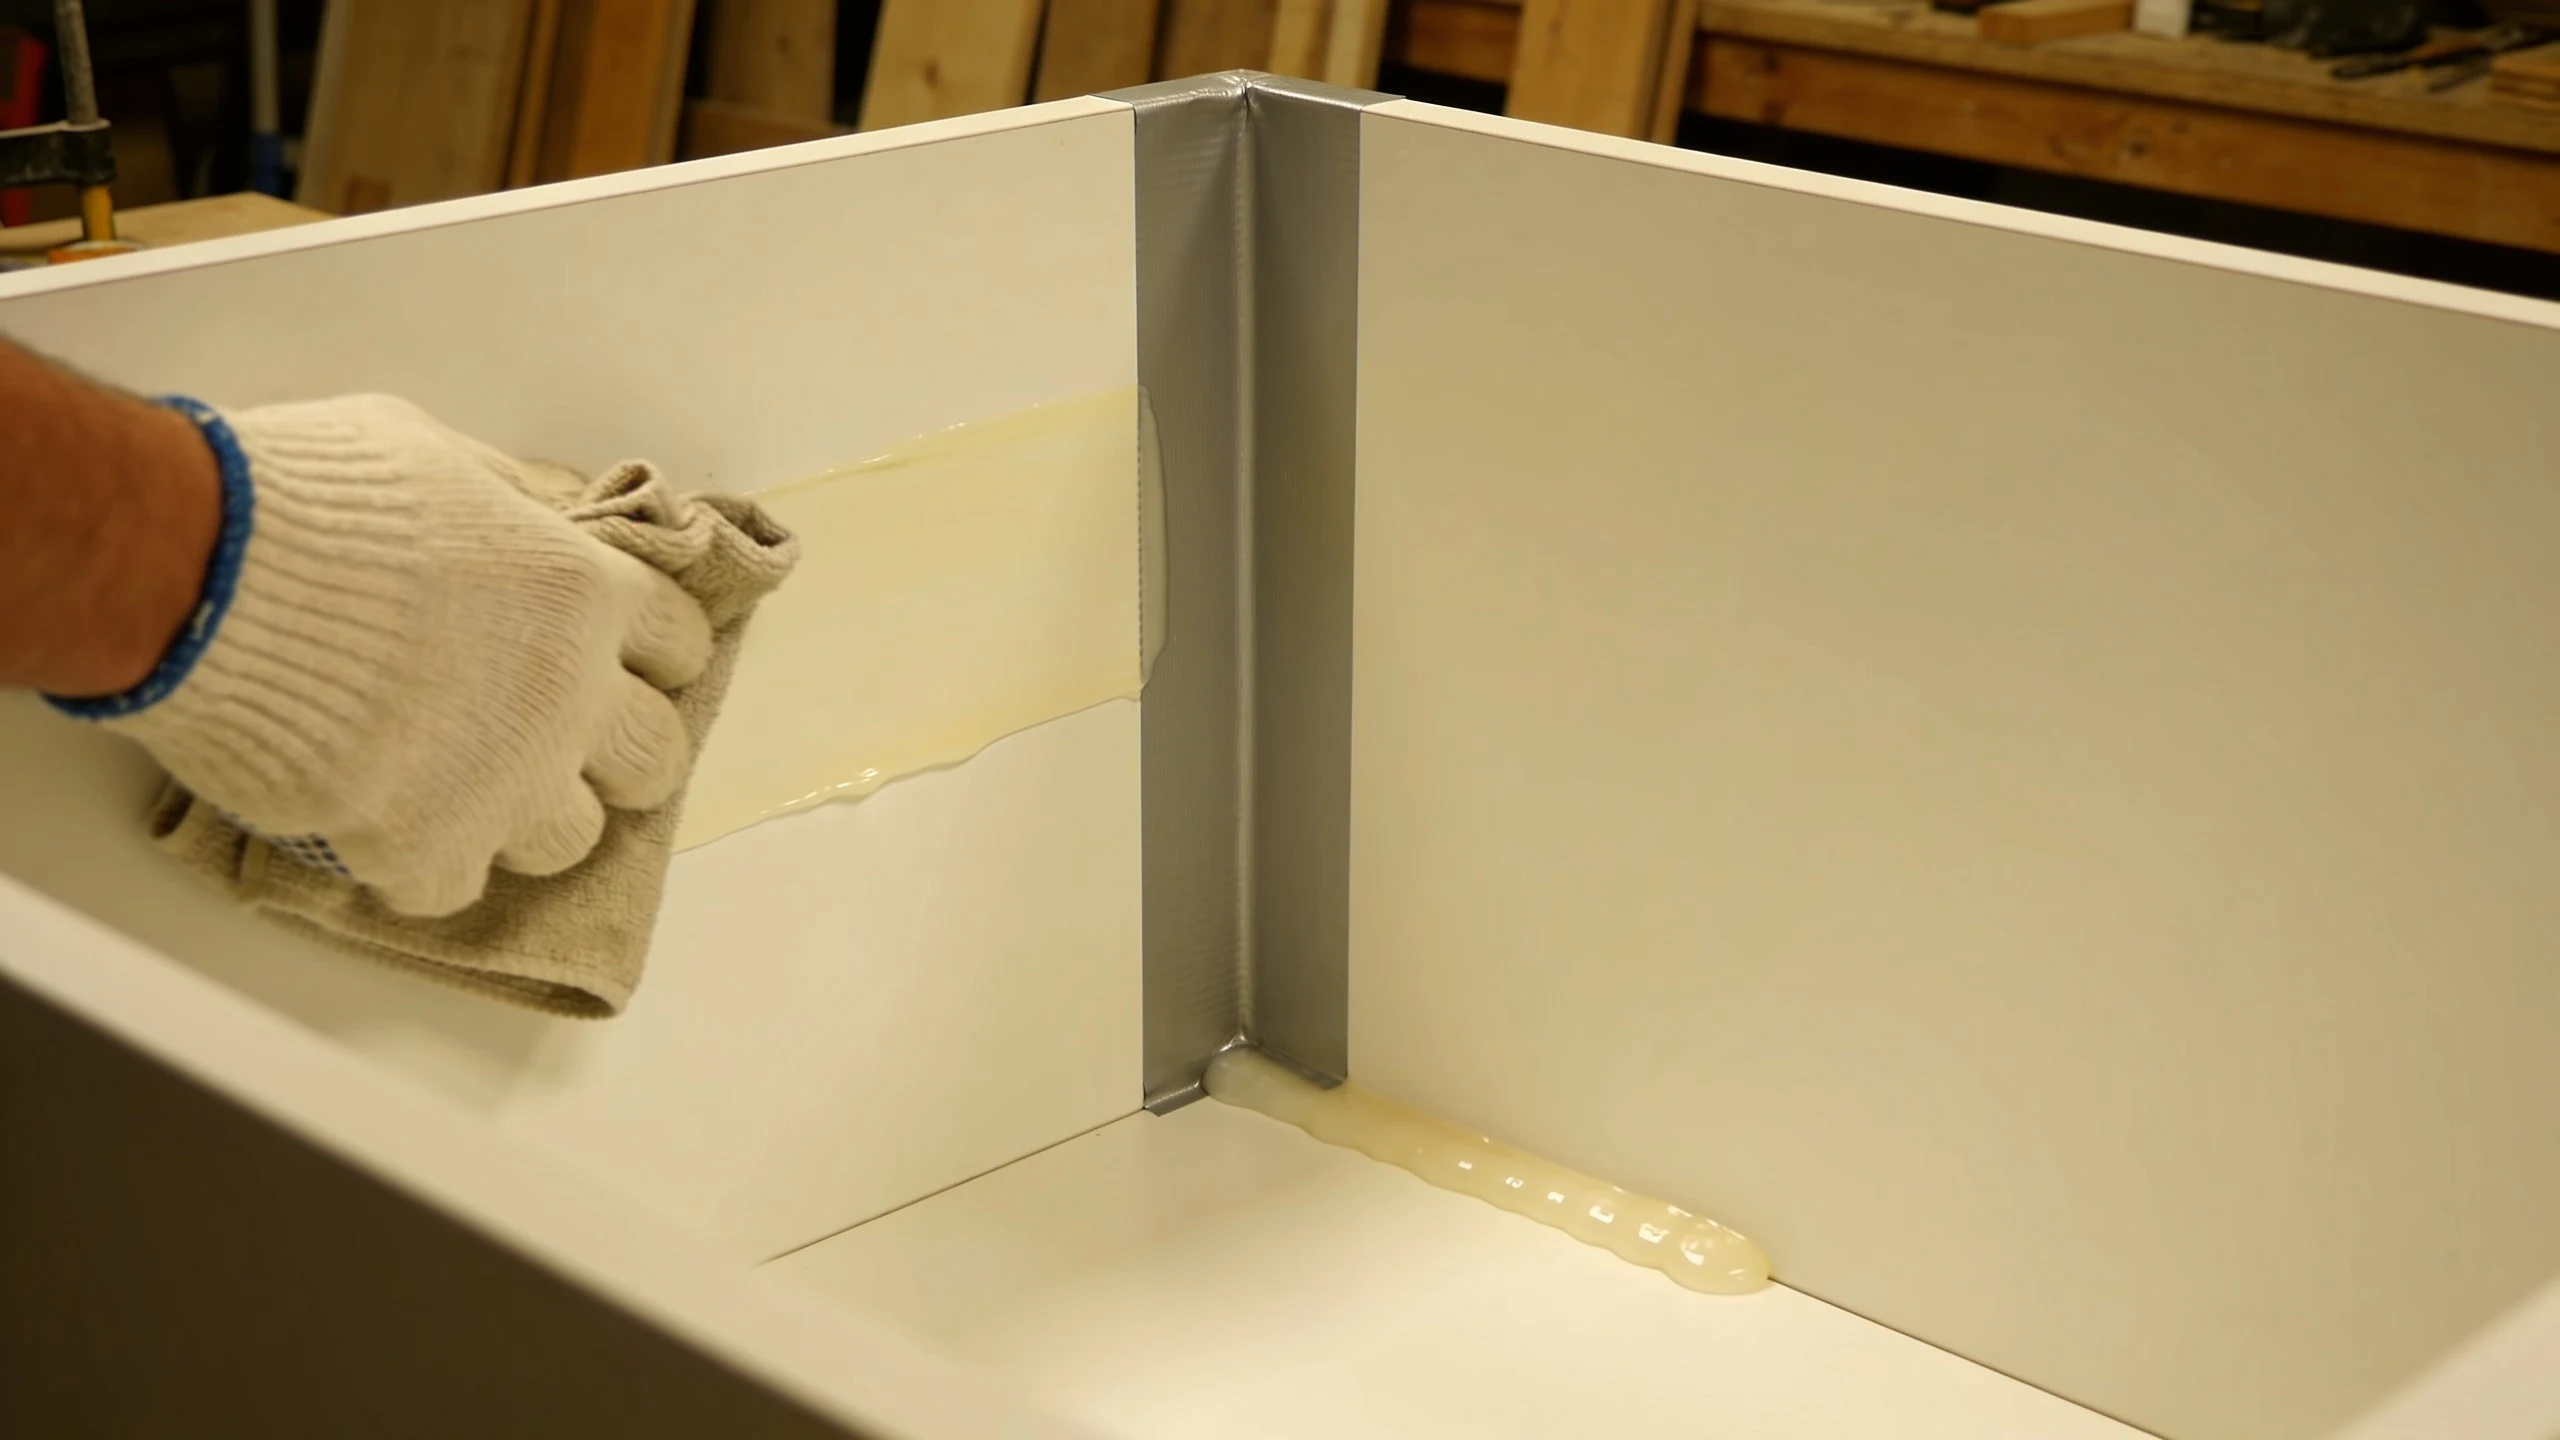
- Caulk every inside seam with a bead of silicone caulk, base to sides and corner to corner. This is not optional and it is not the same step as the release agent.
- Let the caulk cure fully. Chill Epoxy waits a full 24 hours. Blacktail runs a fast-dry caulk and still gives it 12 to 24 hours. Uncured caulk and epoxy do not mix well.
- Apply the release agent across every interior face, corners included. The next section covers exactly what to use and what to avoid.
- Level the form on sawhorses or a bench before you mix anything. Shim it until a level reads true in both directions; a form that’s off level pours a table that’s off level too.
- Mix and pour your epoxy per the product’s own instructions.
- Leave the form assembled. Chill Epoxy specifies at least 7 days before demoulding a river-table pour, and there’s no shortcut worth taking here.
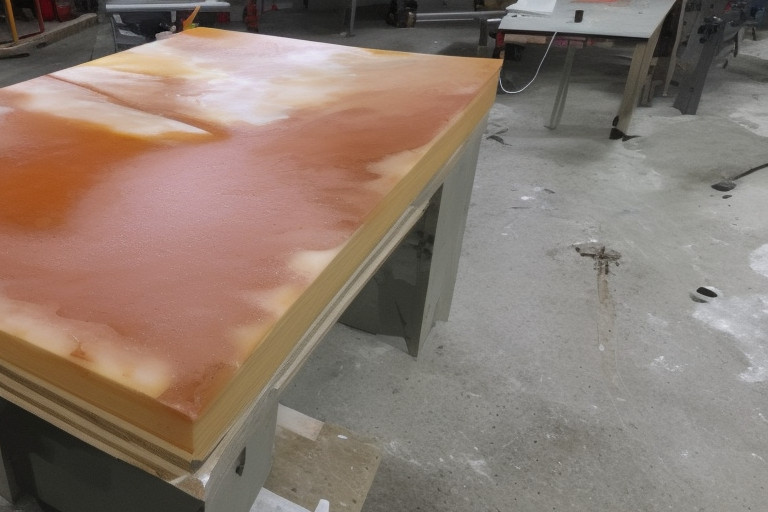
Most mid-pour leaks start at a seam. That is the same failure that lets epoxy resin run off an open edge on a flood coat.
3. Sealing and Release: What Actually Stops Epoxy From Sticking
Cured silicone is the release surface epoxy is least likely to bond to. Cured silicone caulk and cured silicone mold material both release epoxy cleanly. Commercial molds rely on silicone because epoxy won’t bond to it; so does step 5 above.
Only the cure state matters. Uncured caulk is tacky and grabs a pour; cured caulk is inert and won’t. Step 6 exists for that one reason.
Vaseline works fine as a release for small craft castings, same as it always has. It’s the wrong call for a show-quality table surface, since it prints its own texture into a glossy pour and leaves streaks under the finish. Save it for a test piece.
Blacktail Studio sprays a release and buffs the excess with paper towels. Chill Epoxy uses a liquid silicone release, its own CHILL RELEASE 110, and advises against spray. Either family works. Missed corners are the real failure point in release work, and the corner nearest where I start is the one I keep having to chisel a slab out of.
Once the pour has cured, releasing epoxy resin from the mold is its own skill, and how epoxy resin cures explains why melamine and cured silicone behave the way they do.
4. What Epoxy Sticks To, and What It Doesn’t
Epoxy is an adhesive first. Forget that and you’ll end up with a tabletop bonded permanently to its own form.
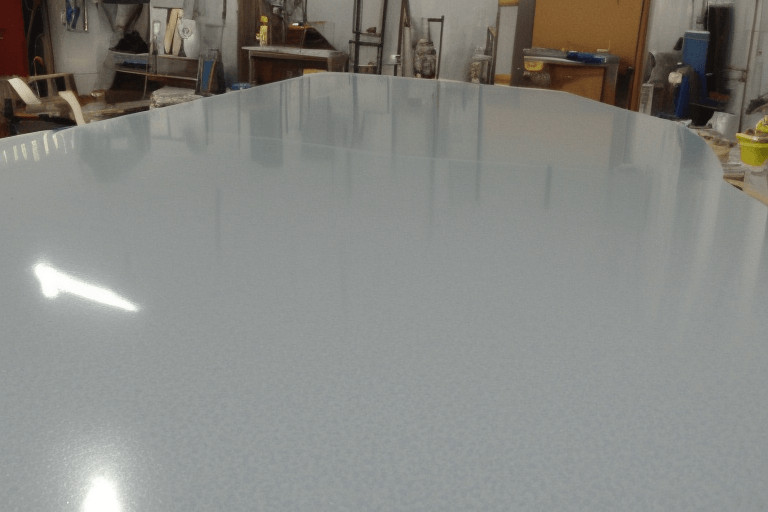
Epoxy bonds hard to:
- Bare, unsealed wood
- MDF
- Unprotected particleboard
Epoxy releases cleanly from:
- Polyethylene sheeting
- Polypropylene film
- Cured silicone
- HDPE
- Sheathing tape such as Tuck Tape
- Waxed melamine
Melamine’s factory face, HDPE scrap, cured silicone caulk and spray release all sit on the “releases cleanly” side on purpose. Bare wood and unsealed MDF need a barrier before resin touches them. The full list of materials epoxy resin does not stick to runs longer than this, down to individual plastics and shop finishes.
5. Can You Use Cardboard as a Mold?
Cardboard works for a coaster-sized test pour and fails for a table. Room-temperature resin doesn’t run hot enough to warp cardboard on its own; head pressure and soaking are the real failure. Liquid epoxy is heavier than it looks, and a flat cardboard wall under several gallons of it bows and soaks through before the pour sets. Lined with plastic it might survive a small test piece; it won’t survive the full edge run of a dining table.
6. How Deep You Can Pour, and What the Mold Has to Survive
Depth limits exist because epoxy generates heat as it cures, and a pour that goes too thick in one go traps that heat inside the slab. UltraClear’s own pour-depth guide is the source for the numbers below.
| Product / scenario | Maximum depth | Notes |
|---|---|---|
| UltraClear standard Bar & Table Top epoxy | 1/8 inch per pour | Thin coating formula, not for deep pours |
| UltraClear Deep Pour | 2 inches per layer | Formulated specifically for thick sections |
| Multiple deep-pour layers | Up to 1 inch per additional layer | Wait 12 hours after the previous layer before pouring the next |
| MAS Deep Pour | 1/2 to 1 inch per layer | Cures in 24 to 36 hours at 70°F |
| River-table pours generally | 2 to 3 inches | Typical range cited by Chill Epoxy for a finished river section |
Push past a product’s rated depth and the mold has to survive more than weight. Excessive exotherm from a too-thick pour shows up as cracking, discoloration, or in bad cases smoking, and a form that flexed or leaked earlier is more likely to fail once that heat builds. Pour thickness drives yellowing in epoxy resin more than any brand difference does.
7. Mistakes That Ruin a Form
Six mistakes account for most failed pours, and every one is avoidable.
- Pouring before the caulk has cured. Tacky caulk grabs resin and pulls apart under the pour’s weight.
- Screws driven through into the cavity. A screw tip poking into the mold sits directly in your finished tabletop.
- A form that flexes because there’s no bracing. Unsupported side rails bow outward under a full pour and the seam opens right where the caulk is thinnest.
- Demoulding early. Pulling the form before the epoxy is fully cured risks warping, weak edges, and a bond that never fully releases.
- Release skipped in the corners. Corners are where release agents get missed most often, and they’re exactly where a stuck pour is hardest to free.
- Reusing a form with old cured drips still on the faces. Leftover ridges from a previous pour telegraph straight into the next one.
A stuck pour is not automatically scrap, and getting epoxy resin out of a mold works often enough to be worth trying first.
Getting It Right the First Time
Build the form out of whatever solid melamine or MDF is already in the shop; torn-out shelving works as well as anything bought new. Put the money saved into good caulk and a real release agent, since those two separate a clean release from a fight with a pry bar. Follow the sequence in order and don’t skip the corners. Flattening, sanding and finishing, the whole epoxy resin wood projects stage, starts the moment the table comes out of the mold.
FAQ
Can a table mold be reused for a second pour?
Technically, if the seams and faces survived demoulding intact, but check every seam for cracks and every face for cured drips before trusting it again. Most salvage-built forms don’t come off clean enough to bother. It’s usually faster to cut a fresh one from the next piece of scrap than fight old glue lines and pinholes from the first pour.
Does epoxy stick to plastic wrap?
No, which makes it a cheap trick for masking off an area you don’t want resin to bond to, like a clamp or jig edge. Plastic wrap wrinkles, though, and every wrinkle telegraphs into the cured surface, ruling it out for a table’s show face.
Can I make a resin mold out of hot glue?
A hot glue bead can dam a tiny craft pour at jewelry scale. It has nowhere near the strength to hold a gallon-plus of resin flat across several feet of edge without bulging or letting go mid-pour.
Can you use epoxy without any mold at all?
Yes, for flood coats and seal coats. Those get poured straight onto an open, already-finished surface with nothing more than a taped dam around the edge, sometimes not even that. It only works because the surface underneath is already the finished piece.
Can I make my own silicone molds instead of building a rigid form?
For small castings, yes. Silicone rubber poured around a physical object is the standard way to make reusable molds for coasters, jewelry, or ornaments. It isn’t realistic at table scale. Making epoxy resin molds covers that smaller-scale process on its own.
How do you actually get the finished table out of the mold?
Most builders don’t pry the form off in one piece. Pull the fasteners from outside, knock the rails free with a mallet, or saw the form apart if it won’t budge. A form that has to flex risks chipping the epoxy edge, which is why a salvage-built mold gets treated as a one-use item.

Martin Flood
Martin Flood has been working in the construction industry for over 20 years as a general contractor with expertise in remodeling projects that are large or small. He has furthered his career by specializing in epoxy resin flooring, providing excellent service to both commercial and residential clients. Martin’s experience enables him to offer professional advice on how to choose the right type of project based on your needs and budget.
View all posts by Martin Flood →
2 thoughts on “How to Make a Mold for an Epoxy Resin Table”