
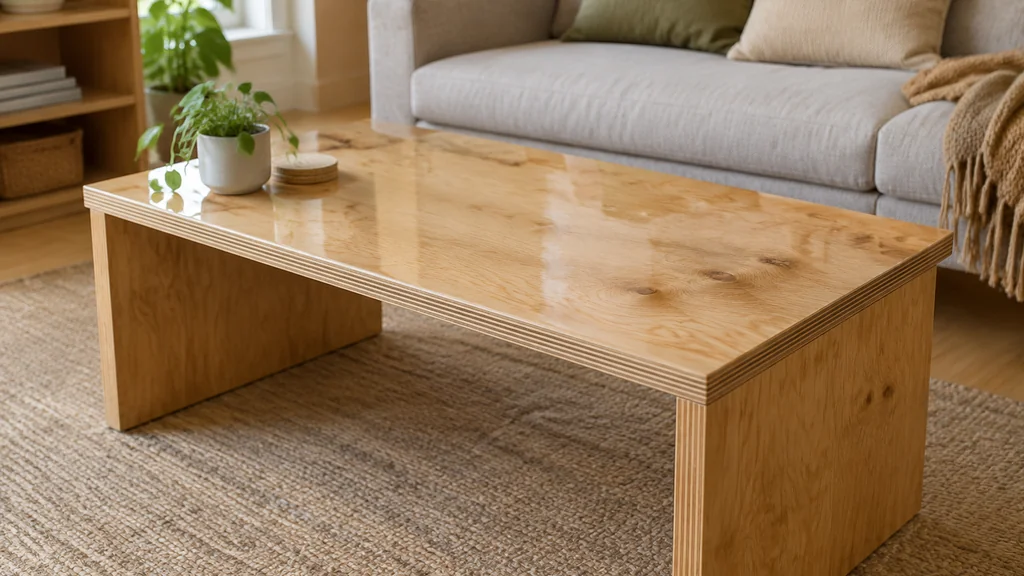
Sealing plywood with epoxy means coating every face and edge with a mixed two-part resin so moisture can’t reach the wood fibres. The resin soaks into the open grain, cures hard, and forms a waterproof shell that stops the swelling, delamination, and rot that plain plywood suffers outdoors or in wet rooms. The job is mostly preparation. If you rush the prep, the coating will fail no matter how good the epoxy is.
Why Plywood Needs a Sealer at All
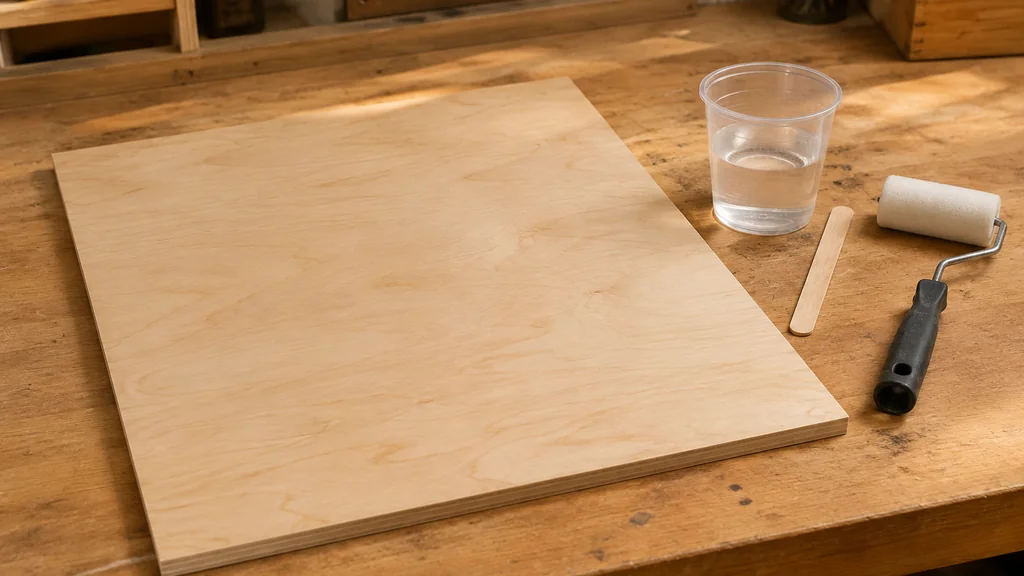
Plywood is thin layers of wood glued together, and those layers move at different rates as humidity changes. The edges are the weak point because the end grain is exposed and drinks water fast. A film of cured epoxy closes that door. It also hardens the surface so it resists dents and scuffs, which matters on a workbench top or a shop cabinet.
Not every sheet behaves the same. Interior-grade plywood uses glue that can fail when it gets wet, so it belongs indoors only. Exterior and marine grades use waterproof glue and are the right choice anywhere moisture is a real risk. If you are coating a floor rather than a panel, the same resin logic applies, and you can read more about it in this guide to putting epoxy on a wood floor.
Table of Contents
Choosing the Right Epoxy
You want a laminating or coating epoxy, not a quick-set five-minute glue. Coating resin stays thin long enough to flow out and self-level, which is what gives you a smooth film without brush marks.
Look for these traits on the label:
- Low viscosity so it wets out the grain and soaks into end grain.
- A slow hardener in warm weather, so you get time to work.
- UV resistance if the piece will sit in sunlight, since standard resin yellows over time.
- A clear or amber cure that suits your final finish.
Check the spec sheet for the pot life and the recoat window. Those two numbers decide how much you mix and how fast you move. Mix too much at once and the cup will heat up and cure in your hand.
Tools and Materials
Gather everything before you mix the first batch:
- Two-part epoxy resin and hardener
- Measuring cups or a digital scale
- Mixing sticks and clean plastic buckets
- A foam roller, a disposable brush, and a plastic spreader
- Sandpaper in a few grits, plus a sanding block
- Nitrile gloves, a respirator, and eye protection
- Denatured alcohol or acetone for cleanup
- Painter’s tape for masking edges you want to keep clean
Work in a space that stays above the minimum temperature on the label. Cold resin turns thick and stubborn, and it will not level out.
Preparing the Plywood Surface
This is where the job is won. Epoxy bonds to what it touches, so any dust, oil, or loose fibre becomes a weak layer under the film.
- Sand the face and edges with a medium grit to open the grain, then finish with a finer grit for a smooth surface.
- Vacuum off all dust, then wipe the panel with denatured alcohol and let it dry.
- Sand the edges square and slightly rounded so the resin wraps them without a sharp lip.
- Fill any voids, knots, or splits with a thickened epoxy mix and let it cure before coating.
- Mask the areas you don’t want coated with painter’s tape.
- Wipe the surface once more right before mixing, since dust settles fast in a shop.
End grain soaks up far more resin than the face. Expect the edges to need a second pass, and don’t panic when the first coat looks starved there.
Mixing and Applying the Epoxy
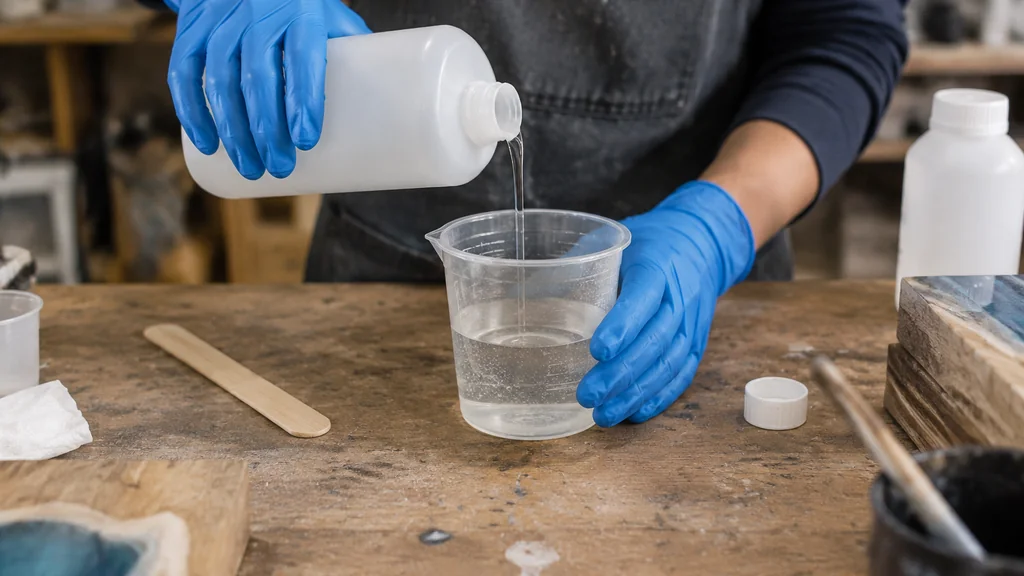
Follow the ratio on the label exactly. Too little hardener leaves a sticky mess, and too much makes a brittle film. Stir slowly for the full time the maker states, scraping the sides and bottom of the cup, because unmixed resin is the most common cause of a soft cure.
Then apply in thin coats:
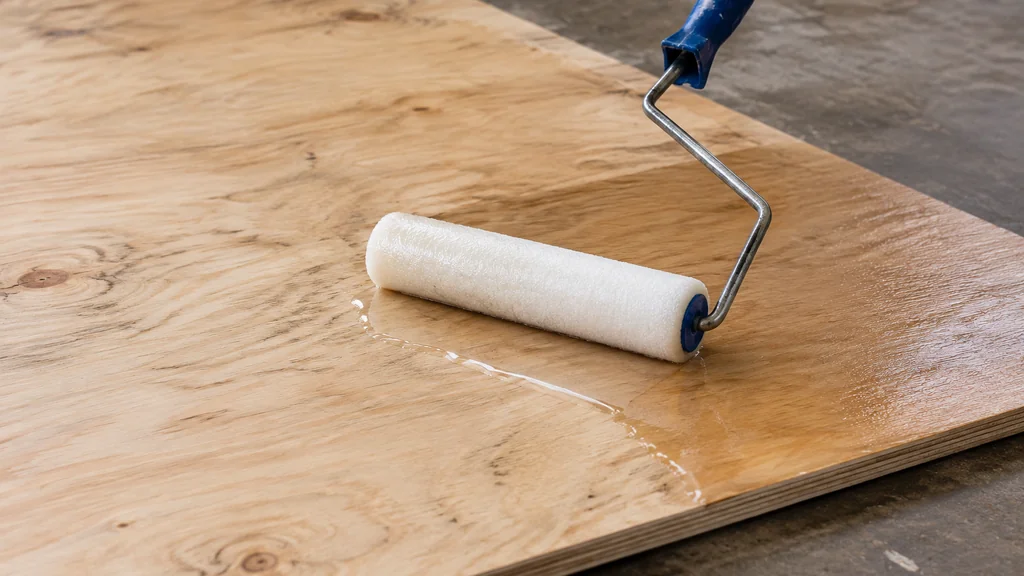
- Pour a small puddle on the panel and spread it with the plastic spreader or a foam roller.
- Work it out to a thin, even film, then tip off with light brush strokes to pop bubbles.
- Coat the edges first on the next pass, since they drink the most.
- Let the coat cure to the point where it is tacky but not wet, then add the next coat within the recoat window.
- Sand lightly between coats if the surface has dust nibs or a rough texture.
- Build two to three thin coats rather than one thick one.
Thin coats cure evenly and resist runs. A thick pour traps bubbles and can cure with a soft centre. If you have worked with two-part mixes before, the same patience you use when you apply epoxy grout carries over here, since both reward careful measuring and steady spreading.
For a countertop or a bar top, you may want a thicker flood coat for a glassy surface. The technique overlaps with what you would do when you build epoxy countertops over wood, where the resin both seals and becomes the finished face.
Curing, Sanding, and Finishing
Let the final coat cure fully before you touch it. The label gives a full-cure time, and it can run to several days in cool weather. The film will feel hard long before it is ready to sand, so wait it out.
When it is cured, you can flatten the surface with fine grit if you want a matte look, or leave it glossy. If the panel will face sunlight, top it with a UV-blocking varnish or a marine finish, because epoxy alone will amber over the years. Wipe the cured surface with a damp cloth to check for missed spots, and touch up any dry edges with another thin coat.
Common Mistakes to Avoid
- Skipping the sanding. Resin won’t grip a glossy or dusty surface.
- Mixing by eye. Use the stated ratio every time.
- Coating only one face. An unbalanced panel can cup as it takes on moisture from the other side, so seal both faces and all edges.
- Working in the cold. Below the label minimum, the resin stays tacky.
- Applying too thick. One heavy pour traps bubbles and cures unevenly.
- Forgetting the edges. End grain is where water gets in first.
Sealing Plywood with Epoxy FAQ
How many coats of epoxy does plywood need?
Two to three thin coats are typical for a sealed panel. The first coat soaks in and may look patchy, the second builds the film, and a third smooths it out. Edges often need an extra pass because end grain absorbs more resin.
Can I seal plywood with epoxy indoors?
Yes, but ventilation matters. Two-part resin gives off fumes while it cures, so open windows, run a fan, and wear a respirator while mixing and applying. Some makers offer low-odour formulations, so check the label before you buy.
Does epoxy stop plywood from swelling?
A full coat on every face and edge keeps liquid water and most humidity out, which greatly reduces swelling. It is not a permanent barrier, since wood still moves with the seasons, so seal all sides and keep the piece out of standing water.
Can I paint or varnish over cured epoxy?
Yes, once the resin is fully cured and sanded dull. Use a finish made for the job and test a small area first. A UV-blocking topcoat is a good idea outdoors, since epoxy alone will yellow in sunlight.
What grit should I sand plywood to before sealing?
A medium grit to open the grain, then a finer grit for smoothness, is a solid routine. The exact numbers depend on the finish you want, so check the spec sheet for your resin and test on a scrap piece first.

Martin Flood
Martin Flood has been working in the construction industry for over 20 years as a general contractor with expertise in remodeling projects that are large or small. He has furthered his career by specializing in epoxy resin flooring, providing excellent service to both commercial and residential clients. Martin’s experience enables him to offer professional advice on how to choose the right type of project based on your needs and budget.
View all posts by Martin Flood →