

Black epoxy resin gets its colour from pigment or dye stirred into the mixed resin, and its finish comes from how you pour, degas and sand it. Getting a true, even black is mostly about dosing the colourant correctly and not over-stirring. The rest is patience with bubbles and sandpaper.
Start With the Right Black
Not every black is the same. A pigment paste, a liquid dye and a mica powder all behave differently in resin, and the one you choose decides whether you get a flat jet black or a shimmering depth.
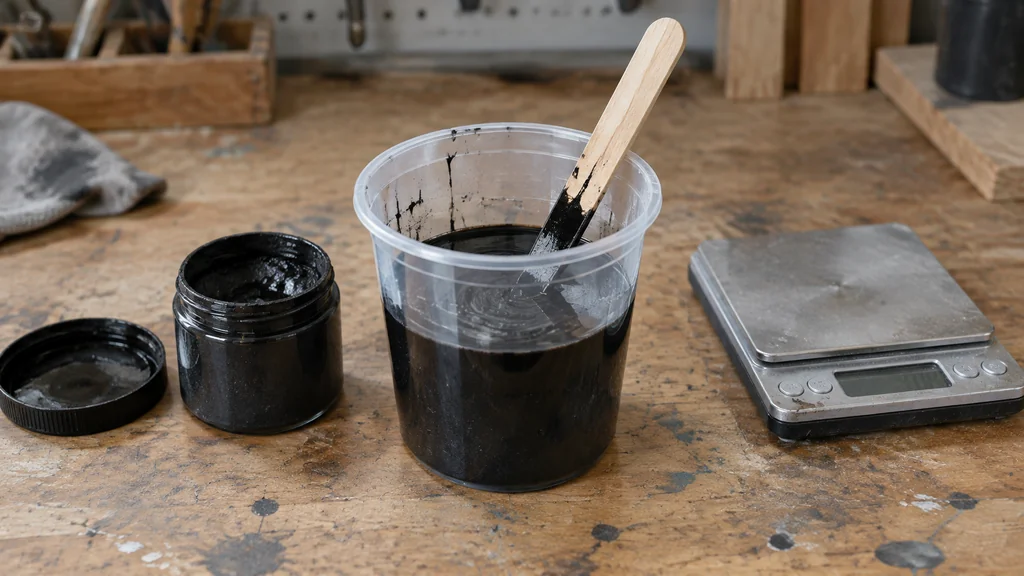
Pigment paste is a thick dispersion of colour in a carrier. It stays suspended well, covers strongly, and is the usual choice when you want an opaque, solid black that hides the wood or the repair underneath. Liquid dye is thinner and more transparent, so it tints rather than blocks. Mica powder sits somewhere between: it is a fine mineral powder that reflects light, and a black mica gives a metallic sheen instead of a flat surface.
For a deep, glassy black on a tabletop, most makers reach for a paste. A dye creates a subtle smoked effect over figured timber. Mica glitter adds movement and sparkle.
Check the label on whatever you buy. Some colourants are formulated for specific resin chemistries. The wrong match can slow the cure or leave a tacky surface.
Table of Contents
How Much Pigment to Add
There is no single number that works for every product, because pigment strength varies from brand to brand. The safe approach is to add in small increments and judge by eye under the same light you will view the finished piece in.
Use these practical rules across most projects:
- Add colourant at around a small percentage of the total mixed resin, then increase until you reach the depth you want.
- Never exceed the maximum load stated on the pigment label; too much pigment can stop the resin curing properly.
- Mix the pigment into the resin component first, before you add the hardener, so it disperses evenly.
- Stir slowly and consistently, scraping the sides and bottom of the cup, for the full mixing time.
Over-pigmenting is the most common mistake. It makes the resin thick, traps air, and can leave a surface that never fully hardens. If the mix starts to feel unusually thick, you have gone too far.
Step by Step: Mixing and Pouring Black Resin
The order of operations matters more than any single product choice. Work through it in sequence and the finish takes care of itself.
- Warm the room and the resin to a comfortable working temperature, because cold resin traps bubbles and flows poorly.
- Measure resin and hardener by weight or volume exactly as the label instructs, into separate cups.
- Stir pigment paste into the resin component until the colour is uniform, with no streaks left in the cup.
- Add the hardener and mix slowly for the full time given on the label, scraping the sides and bottom.
- Let the mixed resin sit for a few minutes so rising bubbles can break at the surface.
- Pour in a thin, steady stream from one end, letting the resin flow and self-level rather than pushing it around.
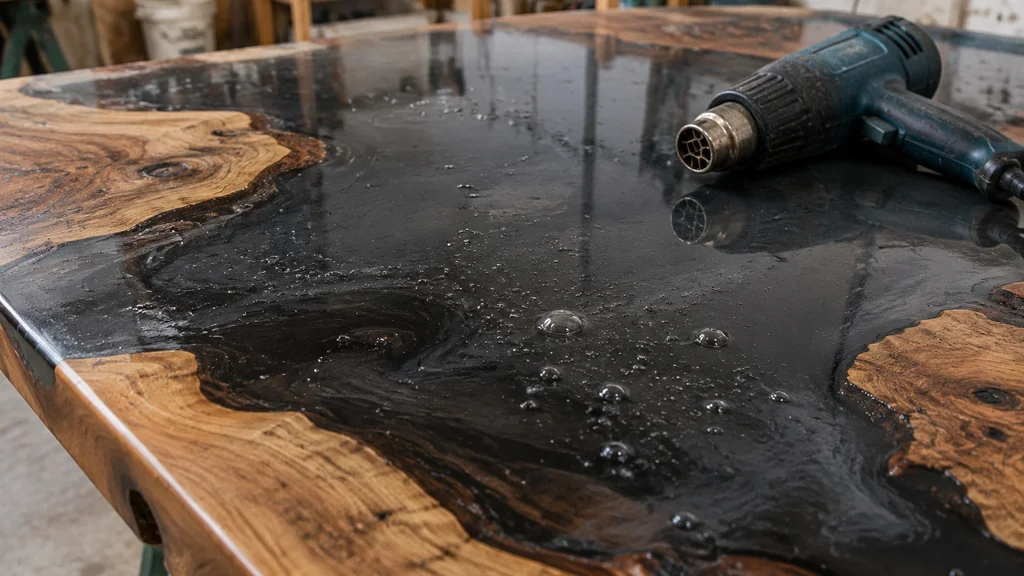
- Pass a heat gun or torch quickly over the surface to pop remaining bubbles, keeping the flame moving.
- Cover the piece to keep dust off while it cures, and leave it alone for the full cure time.
That last point is where people ruin good work. Dust settles on wet resin and there is no fixing it later without sanding back through the whole pour.
If you are sealing a porous surface first, a thin base coat keeps bubbles from rising out of the wood and into your black layer. The same principle applies whether you are casting a river table or filling a knot, and it is covered in more detail in this guide to using epoxy resin on wood.
Avoiding Swirls, Cloudiness and Bubbles
A black pour that looks patchy or grey usually has uneven pigment dispersion, trapped air, or a pour that was worked too long.
Swirls come from under-mixing the pigment. You think it is blended because the surface looks dark, but the bottom of the cup still holds a pocket of paste. Scrape the sides and the bottom every few strokes and mix until the colour is consistent all the way through.
Cloudiness comes from moisture or from amine blush, a waxy film some hardeners leave on the surface. Warm, dry working conditions and correct measuring reduce the risk. If a blush forms, wash it off with warm soapy water before you sand or topcoat.
Bubbles come from agitation and from cold resin. Mix slowly, warm the components, and give the mix a rest before pouring. A quick pass with a torch finishes the job.
Mica glitter behaves differently again. The flakes settle and orient as the resin flows, so using too much can make the surface streaky and glittery. Use it sparingly and stir gently for a consistent sheen.
Sanding and Polishing the Finish
Cured black resin shows every scratch, so the sanding sequence has to be methodical. Skip a grit and you will chase marks for hours.
Start with a coarser grit to flatten the surface and remove any high spots, drips or dust nibs. Work through progressively finer grits, changing direction between each one so you can see the previous scratches disappear. Keep the paper wet or use a lubricant to stop it clogging, and wipe the surface clean between grits.
Once the surface is uniformly matte with no visible scratches, move to polishing compound and a soft pad. Work in small sections and buff until the black reads deep and even. A final coat of a UV-stable topcoat protects the finish from sunlight and everyday wear.
Black is unforgiving under bright light. Inspect the piece from several angles before you call it done. A scratch that vanishes in shadow will show up near a window.
Where Black Resin Works Best
Black epoxy works well for filling cracks and knots in dark timber, river tables, and repairs where the surrounding material is already dark. It hides discolouration and old filler better than a clear pour.
On pale woods, black resin creates a strong contrast. Heat and UV affect how resin ages, so check that the formulation is rated for direct sunlight. For more on durability, see whether epoxy dining tables hold up. For projects where heat resistance matters, see this comparison of thermal epoxy products.
When to Call a Pro
Call in a professional when the piece is large, when the resin has to meet a structural requirement, or when the surface must be food-safe or heat-rated for its intended use. A warped antique top or a veneered panel that has already lifted can be easy to damage further.

Black Epoxy Resin FAQ
Why does my black epoxy look grey or patchy?
Grey patches usually mean the pigment was not mixed evenly, or too little was added. Scrape the cup sides and bottom while stirring, and add pigment in small increments. Cold working conditions can also dull the look.
Can I use mica glitter in black resin?
Yes. It creates a metallic shimmer. Use it sparingly and stir gently, because the flakes settle and orient as the resin flows.
How do I stop bubbles in a black pour?
Warm the resin before mixing, stir slowly, and let the mixed cup rest for a few minutes. Pour in a thin stream and pass a heat gun quickly over the surface. A thin base coat on porous wood also helps stop air rising out of the timber.
Can I sand and polish cured black resin?
Work through progressively finer grits, changing direction each time. Keep the paper lubricated and wipe between grits. Finish with polishing compound and a soft pad, then inspect under bright light.
Does black pigment affect curing?
It can if you overload the resin. Every pigment has a maximum recommended load on its label. Going past it can leave the surface tacky or stop the cure altogether. Measure the resin and hardener accurately.

Martin Flood
Martin Flood has been working in the construction industry for over 20 years as a general contractor with expertise in remodeling projects that are large or small. He has furthered his career by specializing in epoxy resin flooring, providing excellent service to both commercial and residential clients. Martin’s experience enables him to offer professional advice on how to choose the right type of project based on your needs and budget.
View all posts by Martin Flood →