
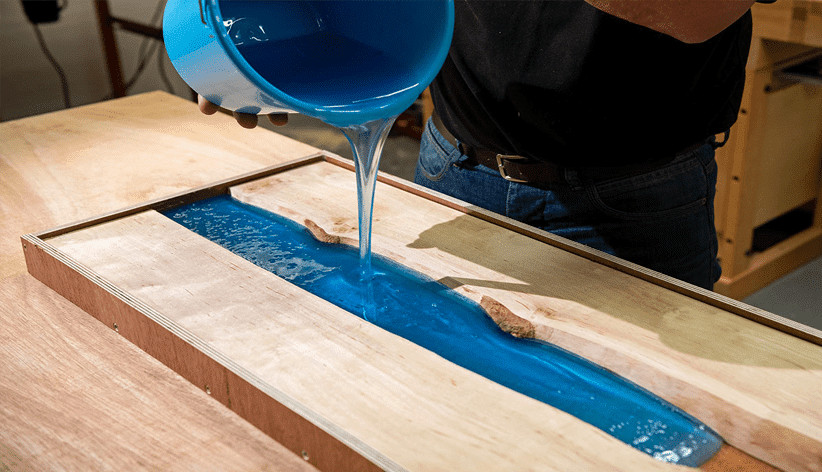
Yes, you can put epoxy on a wood floor, but whether it lasts comes down to what’s under it. On a stable plywood or OSB subfloor, or on a finish you’ve sanded back and cleaned properly, epoxy grips and holds for years. On solid hardwood that swells and shrinks with the seasons, a rigid epoxy film often cracks or peels — the wood moves, the epoxy doesn’t, and something has to give.
So the honest answer isn’t “always” or “never.” It’s “yes, if the surface underneath stays still and you prep it right.” Below I’ll walk through where epoxy on wood actually works, where it fails, and how I’d do it if the floor were mine.
The short answer: your subfloor decides
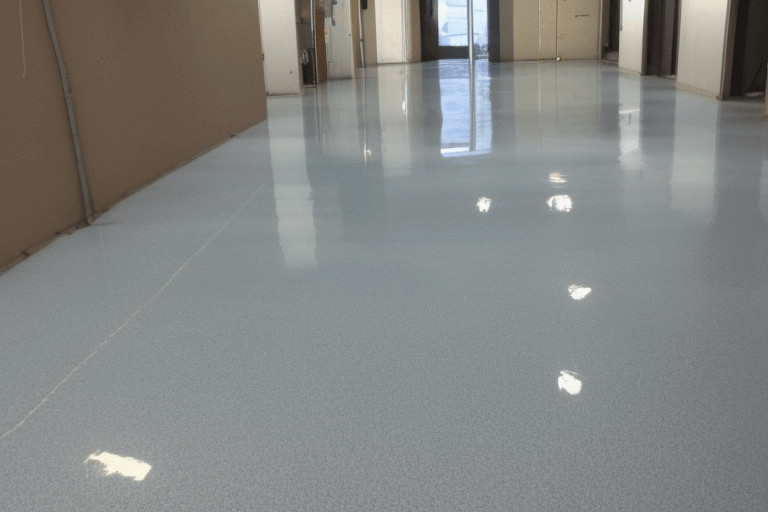
Epoxy is a hard, rigid coating. It bonds best to something that doesn’t flex or move much. That’s why it’s a garage-floor favorite: concrete barely budges. Wood is the opposite. It breathes with humidity, gaining and losing moisture through the year, and it moves as it does.
Plywood and OSB are the stable end of the wood family. They’re built from cross-laminated or compressed layers, so they hold their shape far better than a run of solid boards. Coat one of those, prep it well, and epoxy behaves.
Solid hardwood is the risky end. A wide-plank floor can move enough across a humid summer to crack a rigid film or lift it at the seams. It can be done, but you’re fighting the material. If you have your heart set on epoxy over solid boards, keep it to a small, climate-controlled room and go in knowing the odds.
The season you work in matters too. Wood that’s bone-dry in a heated winter room will take on moisture and swell come summer. Coat it at its driest and the film has the most movement to survive later. Rooms with underfloor heating or big humidity swings are the hardest cases of all, because the wood never really settles. On a floor like that, a flexible finish is a safer bet than a rigid one.
Table of Contents
Can you put epoxy over an existing wood floor?
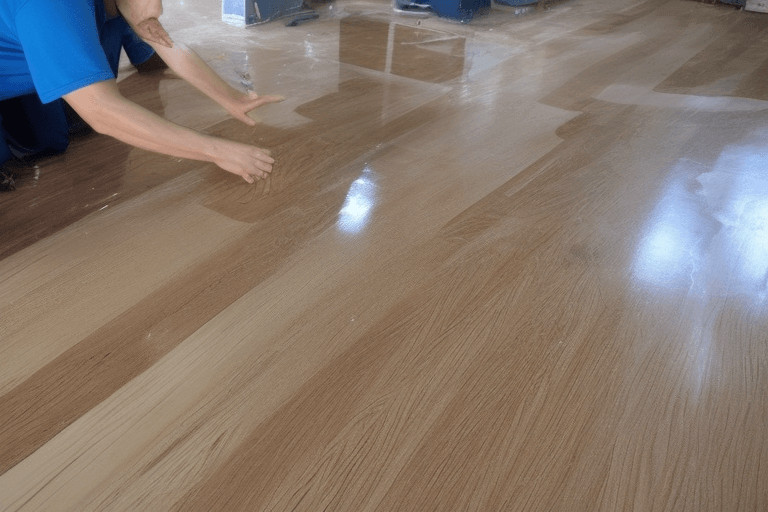
You can, but a glossy, finished floor is the one place people rush and regret it. Epoxy needs a surface to bite into. Poured straight over polyurethane, varnish, or wax, it can bead up, cloud, or peel off in sheets months later.
The fix is mechanical. Sand the old finish to a dull, uniform scratch pattern so the epoxy has tooth to grab. Strip any wax completely — epoxy will not stick over wax, full stop. Then vacuum, wipe down, and let it dry.
Moisture is the other silent killer. Wood that reads damp will trap water under the coating and blister it from below. Give the floor time to acclimate to the room, and don’t coat a floor over a damp crawlspace or a fresh slab. Get the prep right and an epoxy coating will last a long time; skip it and you’ll be scraping it off by next year. Epoxy can be a smart way to protect a floor in your home — it just rewards patience.
Epoxy on a plywood or OSB subfloor
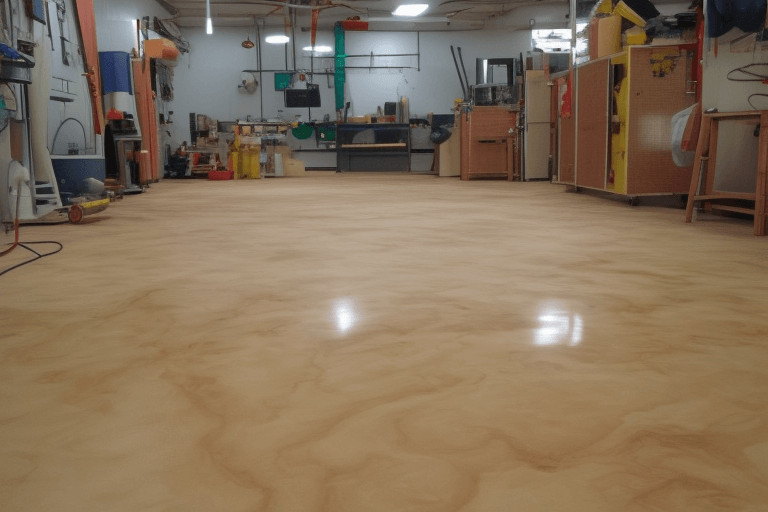
This is where epoxy on wood earns its keep. A properly fastened plywood or OSB subfloor is stable, flat, and porous enough to grip a coating, a much better match than solid boards.
Start with a bonding or epoxy primer. Bare plywood and OSB drink up resin, so a primer seals the surface and stops the build coat from soaking away and starving the bond. Pay attention to the seams and edges: OSB in particular swells if water gets into an unsealed edge, so seal the gaps and give the panel edges a coat too.
Let new panels acclimate in the room for a few days first, so they’ve settled to the space’s humidity before you lock them under a rigid coat. Make sure the panels are screwed down tight with no spring or squeak before you start — any flex underfoot telegraphs straight through a rigid coating. If you plan to lay flooring over the epoxy later, check that your adhesive is rated to bond to a cured epoxy surface. And yes, you can even put fresh epoxy over old epoxy if you scuff-sand the existing layer first.
Will garage floor epoxy stick to wood?
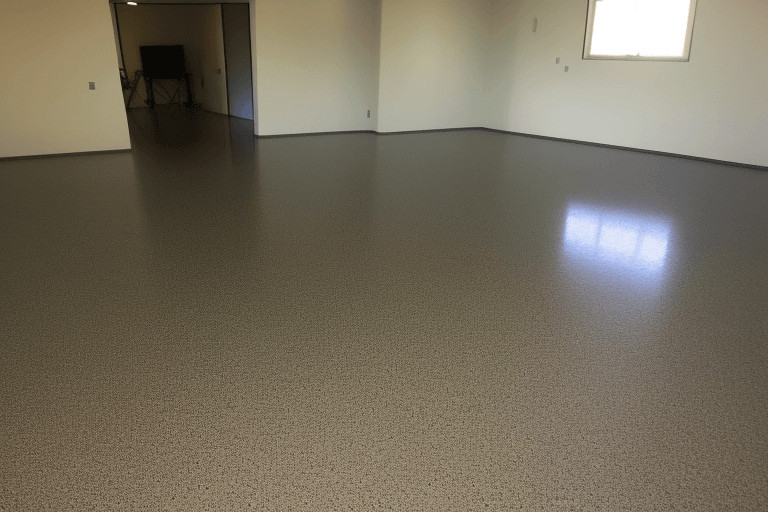
It will stick, as long as you prep the wood the same way you’d prep anything else — clean, dry, sanded, primed. Garage-floor epoxy kits are formulated for concrete, but the resin doesn’t refuse wood. What it refuses is a dusty, sealed, or damp surface.
The catch is that a garage floor and a wood floor live different lives. A concrete slab doesn’t move; a wood subfloor does, at least a little. So expect a garage kit over wood to be more prone to hairline cracking than the same kit over concrete. Use it on a solid, well-fastened wood subfloor, prime it first, and it holds up fine for a workshop or utility space.
One difference worth knowing: most garage kits are water-based and thinner than the two-part build epoxy you’d use for a poured floor. That makes them easy to roll on, but the film is lighter, so it leans on your primer and prep even more. On wood, that means priming isn’t optional with a garage kit. It’s the coat doing half the work.
Epoxy sealer vs. epoxy paint for wood
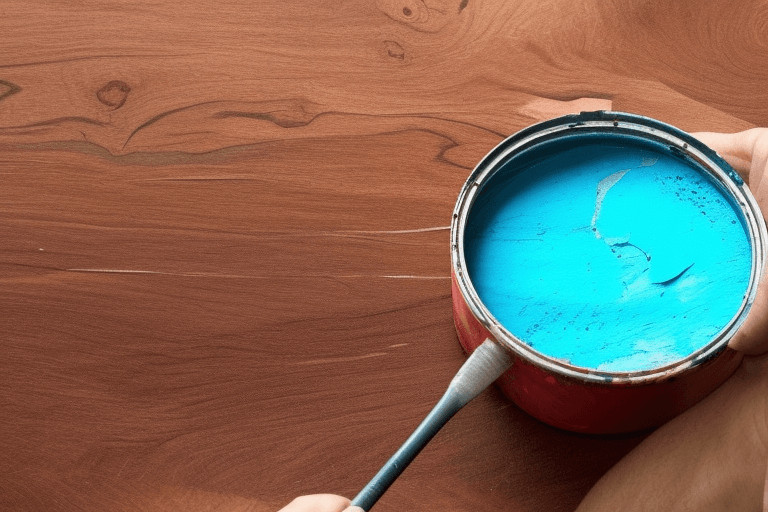
People use “sealer” and “paint” as if they’re the same product, and they’re not. A clear epoxy sealer soaks in and hardens the wood while showing the grain. Epoxy paint is pigmented — it hides the grain under a solid color and leaves a thicker, tougher film. Which you want depends on whether you’re protecting a floor or covering one.
| Clear epoxy sealer | Epoxy paint | |
|---|---|---|
| Look | Shows the wood grain | Solid color, hides grain |
| Film | Thin, penetrating | Thicker, harder wearing |
| Best for | Keeping wood visible + protected | Worn or ugly floors you want to cover |
| Effort | Simpler, fewer coats | Prime + two coats for durability |
If you want color and coverage on a garage or utility floor, an epoxy paint kit is the easy route. I’ve had good results pointing people to the Rust-Oleum garage floor epoxy paint. The kit comes with the roller, stir stick, and gloves, and it’s forgiving for a first-timer. Want the wood to show through? Reach for a clear penetrating sealer instead.
What you’ll need
None of this is exotic, but skipping an item usually shows up in the finish. Gather it all before you open the resin, because once two-part epoxy is mixed the clock is running and you won’t have time to hunt for a stir stick.
- A sander: a random-orbital for a small room, a floor sander for anything bigger, plus fresh sandpaper.
- Vacuum and tack cloths for getting the surface truly dust-free.
- Wood filler for gaps, holes, and open seams.
- A bonding or epoxy primer sized for your floor area.
- Two-part epoxy or an epoxy paint kit, resin and hardener, enough for two coats.
- Rollers, a brush for edges, and a mixing bucket with a stir stick.
- Anti-slip aggregate if the floor is anywhere near water.
- Gloves, a mask, and ventilation: epoxy fumes are strong in a closed room.
How I’d prep and apply it
Prep is ninety percent of the job. The pour is the easy part. Here’s the order I’d follow on a wood floor:
- Clean it down. Sweep, vacuum, then wipe up grease and dust. Grit or oil left behind becomes a weak spot in the bond.
- Check for moisture. The wood has to be dry. Coat a damp floor and the water gets trapped, and you’ll see it come back as bubbles and blushing.
- Sand to a dull scratch pattern. Knock the sheen off any existing finish so the epoxy has tooth to grab. Bare wood just needs a light key.
- Fill gaps and cracks. Big seams and holes get filled and levelled first, or they’ll telegraph through the finish.
- Prime. A bonding or epoxy primer on plywood, OSB, or bare wood stops the build coat soaking away and locks down the surface.
- Mix small, work fast. Two-part epoxy has a working time, and once it kicks in the bucket you’re done. Mix only what you can spread before it sets.
- Two thin coats beat one thick one. A thin, even coat cures harder and traps fewer bubbles than a heavy pour.
- Let it cure fully. It’ll feel dry long before it’s hard. Give it the full cure time on the tin before you walk on it, and longer before furniture goes back.
One more thing: cured epoxy is slick when it’s wet. If the floor’s anywhere near water — an entry, a laundry, a bathroom — broadcast a fine anti-slip aggregate into the topcoat. It’s the step people skip and then wonder why the floor’s an ice rink. If you want the full method, here is how to apply an epoxy floor coating start to finish.
Mistakes to avoid
- Skipping the moisture check. Trapped damp is the number-one reason epoxy on wood fails.
- Coating unstable solid hardwood. Wide, moving boards crack a rigid film. Stable subfloor first, always.
- Not abrading a sealed finish. Epoxy over glossy poly, varnish, or wax peels. Sand it dull or strip it.
- One thick pour. Heavy coats trap bubbles and cure soft. Thin and even wins.
- Walking on it too soon. Dry to the touch isn’t cured. Rush it and you’ll dent and mark the surface.
Frequently asked questions
What does epoxy cracking on wood look like? Fine hairline cracks that follow the board seams, usually showing up a season or two in when the wood has been through its first big humidity swing. Catch it early and you can sometimes recoat; left alone, water works into the cracks and the film starts lifting at the edges.
What grit should I sand to before epoxy? For keying an existing finish, 60–80 grit knocks the sheen off and leaves the tooth epoxy needs. Raw wood only wants a light scuff. You’re not trying to sand a floor back to bare boards, just kill the gloss and the dust from it.
How do I make an epoxy floor less slippery? Broadcast a fine anti-slip aggregate, silica sand or aluminum oxide, into the topcoat while it’s still wet, then seal over it. A matte or satin topcoat also grips better underfoot than a high-gloss one, which is worth knowing for a bathroom or entry.
How do I test if epoxy will stick to my sealed floor? Do a small patch in a hidden corner: sand it, coat it, and leave it a full day, then try to scrape a corner up with a putty knife. If it peels or flakes, the surface needs more abrasion or a bonding primer before you commit to the whole room.
How long does epoxy last on a wood floor? On a stable, well-prepped subfloor, years. The variable isn’t the epoxy, it’s the wood under it and the prep behind it. A moving hardwood floor or a rushed prep job shortens that life fast.
Can you epoxy over laminate flooring? It’s a poor candidate. Laminate has a slick, sealed wear layer that epoxy struggles to grip, and the planks float and flex. If you must, sand the surface thoroughly for a key and prime it, but a stable subfloor is a far better base.
The bottom line
Put epoxy on a stable plywood or OSB subfloor, prep it properly, and you’ll get a hard, good-looking floor that lasts. Put it on wide solid hardwood that moves with the weather and you’re gambling — it might hold, it might crack by next summer. Whatever the surface, the coating is only as good as the prep underneath it: clean, dry, sanded, primed. Do that part right and epoxy on wood is a solid project. Skip it and no product on the shelf will save you.
And it’s worth asking whether epoxy is even the right call. If you’ve got a genuine hardwood floor with life left in it, sanding and refinishing it usually serves it better than burying the grain under a plastic film. Save the epoxy for subfloors, garages, utility rooms, and floors too far gone to restore. That’s the restorer’s rule of thumb: coat what you can’t save, refinish what you can.
— Martin Flood, salvagesecretsblog.com. I write about restoring and finishing what most people would rip out — the pieces and floors worth saving, and how to tell when they’re not.

Martin Flood
Martin Flood has been working in the construction industry for over 20 years as a general contractor with expertise in remodeling projects that are large or small. He has furthered his career by specializing in epoxy resin flooring, providing excellent service to both commercial and residential clients. Martin’s experience enables him to offer professional advice on how to choose the right type of project based on your needs and budget.
View all posts by Martin Flood →
3 thoughts on “can you put epoxy on a wood floor?”