

Clear casting resin for deep molds is a slow-curing epoxy formulated to stay workable long enough that trapped air rises out and the curing heat spreads through a thick block. You pour it in stages, keep the mold cool, and let each layer set before the next. The resin itself is only half the job. The mold, the mixing and the room all decide whether the casting comes out clear or cracked.
What Makes a Resin Suitable for Deep Molds
Depth is the whole problem. A thin pour in a shallow mold sheds its curing heat quickly into the air and the bench. A deep block holds that heat in the middle, and the core can run far hotter than the surface. That temperature difference is what causes the internal stress, the shrinkage pull and, in bad cases, the crack that appears hours after you have gone to bed.
Standard casting epoxy is mixed in small batches and sets fast. It suits coasters, small paperweights and shallow trays. A deep-pour grade is different. It is formulated to cure slowly, so the exotherm has time to spread and dissipate, and it usually carries a lower peak temperature.
Polyester resin is a poor choice for depth. Polyester resins show relatively low shrinkage of between 4–8% during curing. In a thick block the pull is concentrated and the casting can distort or craze. Polyester also carries a strong styrene smell while it cures. Polyester concrete overlays are based on isophthalic acid cut with styrene at high levels, usually up to 50%.
Epoxy is the practical clear-cast resin for deep molds. It shrinks less, bonds to itself between layers and stays clear. The chemistry has been around a long time. Condensation of epoxides and amines was first reported and patented by Paul Schlack of Germany in 1934, and Pierre Castan’s claim of discovery of bisphenol-A-based epoxy resins dates to 1943. Sylvan Greenlee patented a bisphenol-A and epichlorohydrin derived resin in 1946. The clear casting epoxies on the shelf today come from that line of development.
One more distinction matters. Solid epoxy resin contains more repeating units, with n ranging from 2 to 30, and is a colorless solid at room temperature. Those solid grades are intended for coatings and composites. A clear block needs a liquid, low-viscosity laminating or casting epoxy with a slow hardener. What you want is a liquid, low-viscosity laminating or casting epoxy with a slow hardener. If you are unsure what you are holding, the difference between the families is covered in this piece on resin defined as natural, synthetic and epoxy.
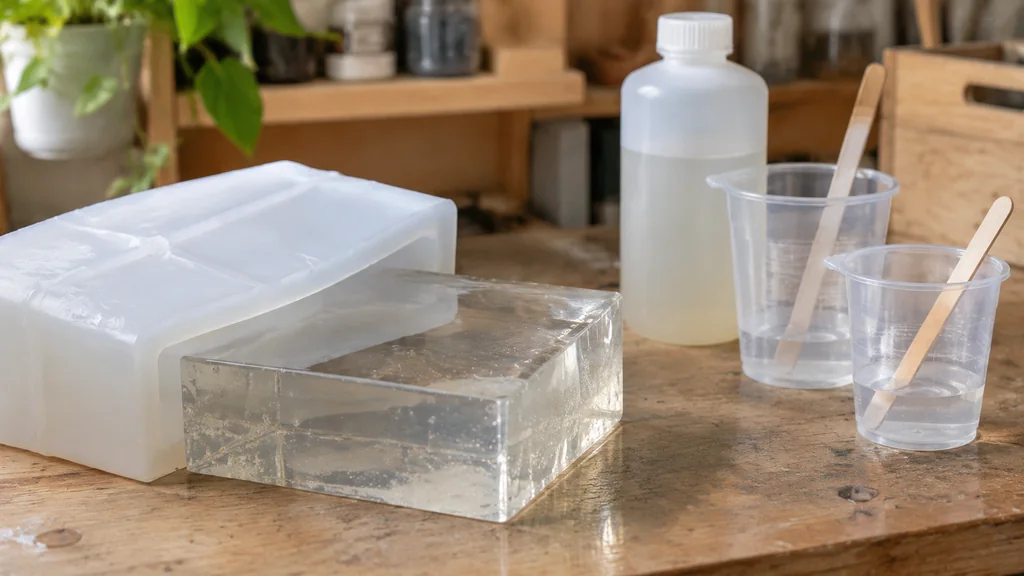
Table of Contents
Choosing the Mold and Preparing It
A deep mold has to do three things. It has to hold its shape under the weight of liquid resin, it has to release without tearing, and it has to survive the cure heat. Silicone does all three well and is the default for hobby casting. If you are building your own, the two common routes are a poured block mold and a brushed-on jacket, both set out in this guide to making a silicone mold for resin.
Rigid molds work too, in polyethylene or polypropylene, but they give you no flex at release. For a deep rectangular block, a built box lined with silicone sheet is often easier than a giant block mold, and it lets you pull one wall at a time.
Preparation is where deep pours are won or lost.
- Seal the master. Porous masters drink resin and leave a dull skin on the casting.
- Use a release agent unless the mold maker says the silicone is self-releasing. A thin, even coat, buffed out, beats a wet film.
- Support the mold walls. A deep mold bulges under hydrostatic pressure. Set it in a box or a cradle so the sides cannot bow.
- Level the bench. A mold that is a degree or two off level gives you a wedge-shaped block with a visible taper.
- Warm the mold slightly before the first pour. A cold mold chills the resin against the surface and traps air there.
Clamp or weight the mold if it has a lid or a seam. Resin finds gaps.
Mixing Clear Cast Resin Without Bubbles
Clear cast resin shows every mistake. A bubble that would vanish in a pigmented pour sits there like a bead of glass. Mixing is where most of them start.
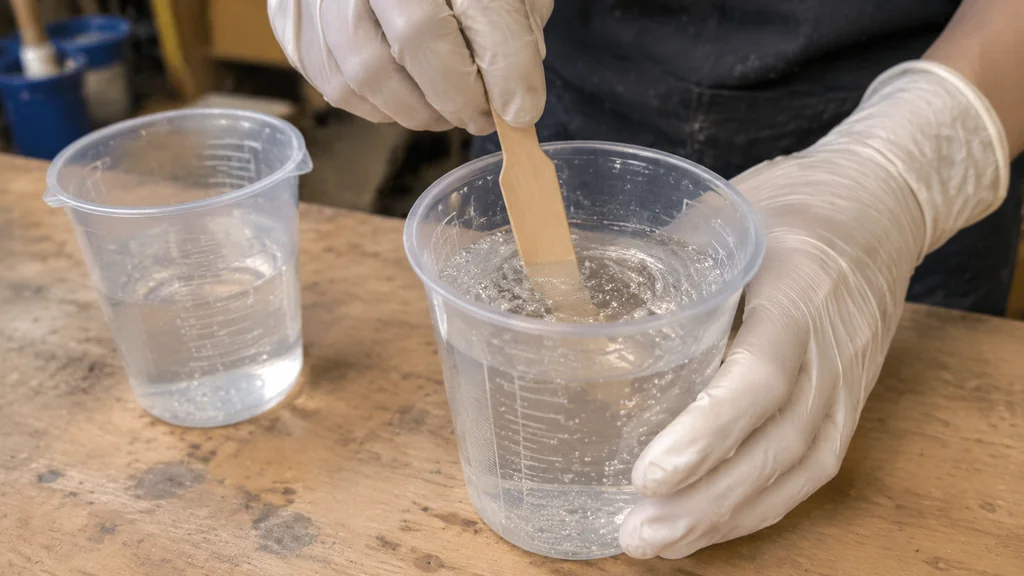
Measure by weight if the maker gives a ratio by weight, and by volume only if that is what the label states. Eyeballing a two-part mix is the single most common cause of a casting that stays tacky in the middle. Mix in one cup, scrape the sides and the bottom, then pour into a second clean cup and mix again. The second cup catches the unmixed film that clings to the first.
Stir slowly with a flat stick or a paddle. Whipping in air with a fast circular motion is what puts foam into the mix. Fold the resin over itself and scrape down the walls every few strokes.
Then let it stand. A few minutes of quiet in the cup lets the big bubbles climb out before the resin ever meets the mold. If your resin is thick, warm the room instead of heating the cup. Heat shortens the working time fast.
For a really clear result, a vacuum chamber pulls trapped air out of the mixed resin before the pour. A pressure pot does the opposite job after the pour, compressing the remaining bubbles until they are too small to see. Either one is a real upgrade for deep work.
Pigment changes the rules. A tinted deep pour hides bubbles but can also hide a bad mix. If you are working with dark colorants, the behavior of the pigment in a thick section is worth reading up on in this article on black epoxy resin pigments and finish.
The Staged Pour, Step by Step
The main procedure for a deep mold is a staged pour. Each layer bonds to the last while it is still slightly soft, and the whole block cures as one piece.
- Set up the workspace. Level bench, mold supported and level, room at a steady comfortable temperature, everything you need within reach before you open the resin.
- Mix a batch sized for one layer. Follow the maker’s maximum pour depth per layer, not your patience. Check the spec sheet for that number.
- Degas if you can. Vacuum the cup, or plan on a pressure pot after the pour.
- Pour slowly down a stick or the mold wall. Let the resin run down rather than drop into the mold. This is the cheapest way to avoid a curtain of bubbles.
- Wait for the gel stage. The layer should be firm enough to hold the next pour but still tacky to a gloved finger. Too wet and the layers mix and heat together. Too dry and you get a visible seam.
- Roughen if the layer has fully cured. If you had to leave it overnight, scuff the surface and wipe it clean so the next layer has something to grip.
- Repeat to the top, then cover and leave it alone. A dust cover keeps flies and grit out of the final skin.
The gel stage is the part that catches people. A deep-pour epoxy can stay workable for a long time, and the wait between layers is measured in hours. Plan the pour for a day when you are home.
Heat is the other variable. Many epoxy resin/hardener combinations require heat curing, with temperatures up to 150 °C (302 °F) being common, and some specialist systems require cure temperatures up to 200 °C (392 °F). Those are industrial systems. Your clear casting resin cures at room temperature. Do not put a deep pour in front of a heater to speed it up. The outside skins over, the inside keeps cooking, and the block cracks.
Managing Heat, Shrinkage and Cracking
Exotherm is the heat the resin makes as it sets. In a deep block it has nowhere to go. The core runs hot, the surface stays cool, and the difference sets up stress that shows up later as a crack, a cloudy patch or a sunken top.
Three things control it.
- Pour thinner layers. More layers, less heat per layer. This is the main lever.
- Keep the room cool and stable. A basement bench in a mild season is better than a warm kitchen.
- Do not insulate the mold. Setting it on a foam pad or wrapping it in a blanket traps the heat you are trying to lose.
A large block can also sink at the top as it cures, because the resin shrinks slightly and the center pulls down. The fix is a top-up pour after the first set, or pouring the last layer a little proud and sanding it flat.
Polyester behaves differently again. Polyesters can withstand a temperature up to 80 °C, and the linear thermal expansion of polyester resin ranges from 100–200 × 10−6 K−1. That expansion matters if a casting sits in a hot car or a sunny window. Epoxy is more stable, but no clear resin likes a baking dashboard.
If a crack does appear, a clean crack can sometimes be filled and polished out, the same way a chip in a cast piece is dealt with. If the crack runs through the block, the casting usually needs rebuilding.
When to Call It and Start Over
Some castings cannot be saved, and knowing the signs saves you hours of polishing.
- Tacky or gummy after the full cure time. The mix ratio was off or the resin was too cold. It will not harden later.
- A soft, sticky layer under a hard skin. The hardener separated. Cut it out or start again.
- Cloudy white streaks through the block. Moisture or trapped air. Sometimes polishable, often not.
- A crack that runs the full depth. The stress is in the whole block. A repair will show.
- A visible seam between layers. The gel stage was missed. Cosmetic, but it will not disappear with sanding.
For a deep pour, a failed casting is expensive resin and a lot of waiting. That is the argument for a test pour in a small deep mold first. Learn the gel time, the exotherm and the bubble behavior on a cheap block before you commit a large batch.
Costs, Tools and What to Buy
The tool list for deep casting is short.
- Slow-curing casting epoxy in a size that matches your project, with the hardener included.
- Two graduated mixing cups and flat stirring sticks.
- A silicone mold or mold-making silicone and a master.
- A digital scale if the ratio is by weight.
- Nitrile gloves, a dust cover and a level.
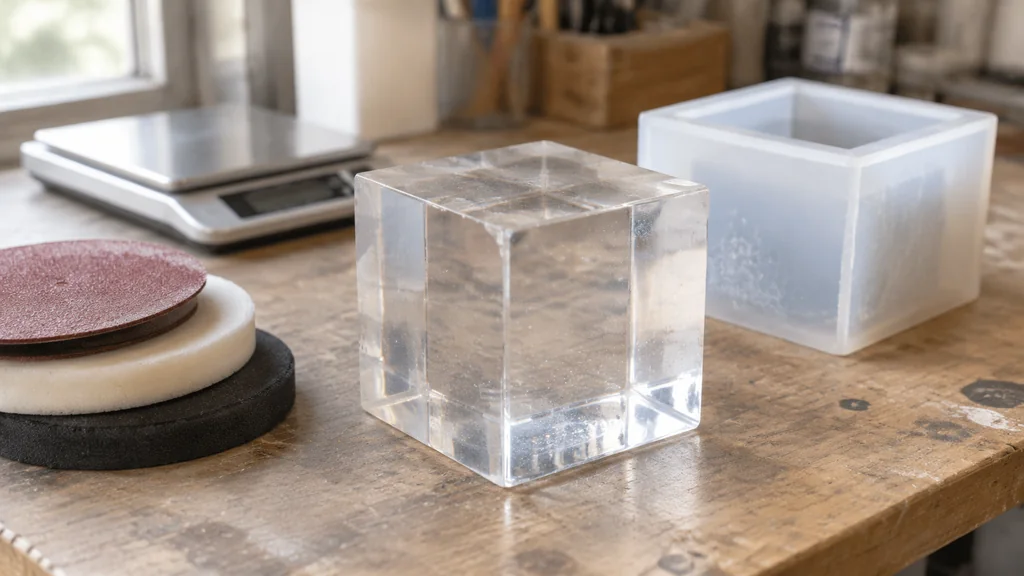
- Optional but useful: a vacuum chamber or pressure pot, polishing pads and a fine abrasive for the final finish.
Cost is driven by resin volume, and deep molds take a lot of it. A block that looks modest on the bench can swallow a surprising amount of mixed resin. Work out the volume from the mold dimensions before you buy, and add a margin for the top-up pour.
Resin prices move with the market and vary by brand and pack size, so check the label and the supplier’s current price. An old forum post may show a different figure. The same goes for cure times. Two resins that both say slow-set can differ by hours.
Epoxy has been used in industrial flooring since the 1960s, and since 2000 epoxy and polyurethane resins have been used in interiors, mainly in Western Europe. The chemistry is well understood. What varies is the formulation in the can, and that is why the spec sheet matters more than the marketing on the front.
Clear Casting Resin for Deep Molds FAQ
How deep can you pour clear casting resin at once?
It depends on the resin. Every deep-pour epoxy has a maximum layer depth on its spec sheet, and that number is set by the exotherm. Follow the maker’s figure and pour in stages. Do not guess.
Why did my deep casting crack after it looked fine?
The core overheated while the surface stayed cool, and the stress released as a crack. Pouring thinner layers, keeping the room cool and not insulating the mold all reduce the risk.
Can I use polyester resin for a deep clear mold?
It is a poor fit. Polyester shrinks noticeably during cure and carries a heavy styrene load, and it is far less forgiving in a thick section than a slow-curing epoxy.
How long should I wait between layers?
Wait until the layer has gelled but is still slightly tacky, which for a slow-set casting epoxy can be several hours. If it has fully cured, scuff the surface before the next pour so the layers bond.
Do I need a pressure pot for a clear deep pour?
No, but it helps. A pressure pot compresses leftover bubbles until they are invisible, and a vacuum chamber removes air before the pour. Careful mixing and a slow pour down the mold wall get most of the way there without either.

Martin Flood
Martin Flood has been working in the construction industry for over 20 years as a general contractor with expertise in remodeling projects that are large or small. He has furthered his career by specializing in epoxy resin flooring, providing excellent service to both commercial and residential clients. Martin’s experience enables him to offer professional advice on how to choose the right type of project based on your needs and budget.
View all posts by Martin Flood →