
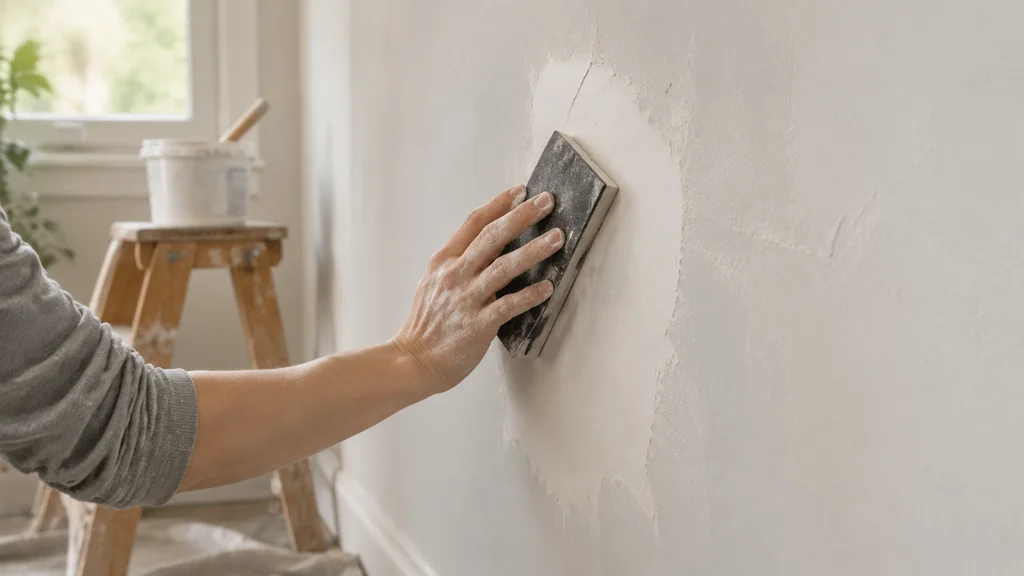
Fairing compound is a thickened epoxy paste used to fill low spots, blend seams and level a surface before paint or varnish. Common materials in this work include Epoxy, Microballoons and Colloidal Silica. You mix the resin and hardener first, stir in a lightweight filler until the paste holds its shape on a stick, spread it slightly proud of the surrounding surface, then sand it back with a long board until your straightedge shows no gap. The mixing is quick. The sanding is where most people ruin the job.
What Fairing Compound Actually Is and Where It Belongs
Fairing compound is not a structural repair material. It is a shaping material. Its job is to turn a wavy, pitted or seamed surface into something flat enough that a finish will not telegraph every defect back at you.
The base is epoxy. What makes a fairing compound different from plain epoxy is the filler load. You are adding a powder that bulks the resin up, makes it sandable and lowers its density so you are not dragging a heavy, glass-hard layer across the whole panel.
Two families of filler do most of the work:
- Lightweight microballoons. Glass or phenolic spheres that make the cured paste easy to sand. This is the classic fairing filler.
- Silica and other thixotropic powders. These stiffen the mix and stop it sagging on a vertical face, but they cure hard and sand slowly.
Most fairing jobs want a blend. A scoop of silica for body and no-sag behaviour, then microballoons to keep it sandable. If you are working on wood rather than a hull, the same logic applies, and the filler choice overlaps heavily with the thickeners used for general gap filling and glueing, which I cover in the guide to epoxy thickeners, wood flour, colloidal silica and fibers.
Fairing compound bridges and levels. It does not add strength across a joint that is moving, and it does not replace a proper structural repair. If the substrate under the fairing is soft, crumbling or delaminated, fix the structure first.
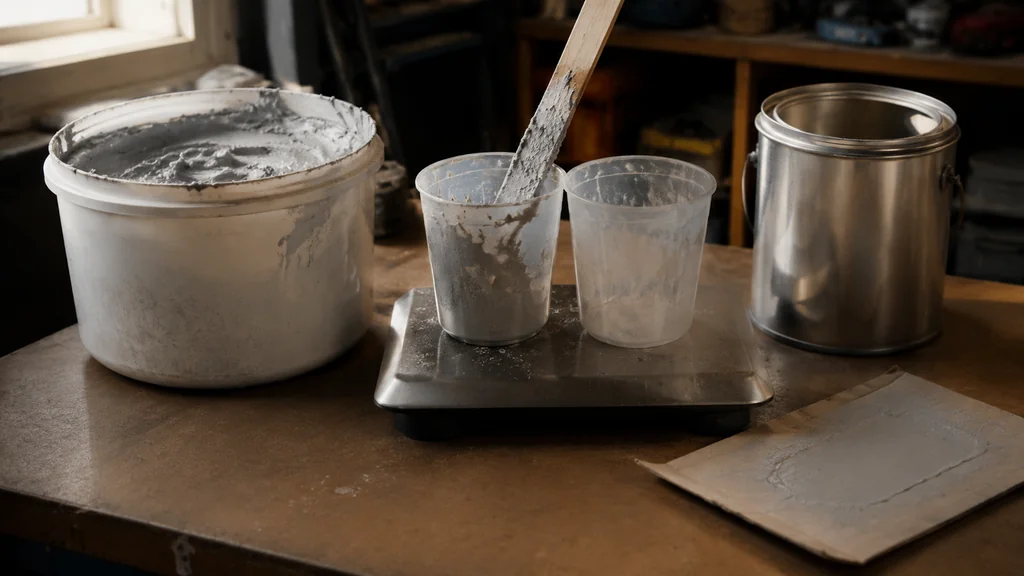
Table of Contents
Mixing Epoxy Fairing Compound Without Lumps
The sequence matters more than the recipe. Resin and hardener go together first and get stirred thoroughly on their own. Only then does the filler go in. If you dump powder into unmixed resin you will trap dry pockets that never wet out, and those pockets turn into craters the moment you sand.
A few practical rules:
- Measure by weight if you can. A cheap digital scale removes all doubt about ratio. Check the spec sheet for the exact ratio your resin calls for, because they differ between brands and between fast and slow hardeners.
- Mix small batches. Fairing compound kicks faster than neat resin because the filler holds heat in. A batch you cannot spread in the working time is a batch you throw away.
- Add filler in stages. Stir in a scoop, mix to uniform, add another. Aim for a consistency like smooth peanut butter that holds a peak on the stick and does not slump off it.
- Scrape the sides and bottom of the cup. Unmixed resin on the cup wall is the single most common cause of a tacky, never-curing patch.
Epoxy chemistry is not fussy about much, but it is fussy about ratio and about temperature. Cold resin is thick and hard to mix evenly. Warm the resin and hardener gently before you start if the workshop is cold, and keep the mixed batch out of direct sun while you work.
If your project is filling defects in timber rather than fairing a whole panel, the method shifts a little toward thicker mixes and deeper fills. There is a full method for that in the article on epoxy for filling wood cracks.
Spreading the Fairing Compound
Spread it proud, slightly above the surrounding surface. You are going to remove material, and you cannot remove what is not there. A skim coat applied flush will end up below the low spots after sanding and you will be back at the start.
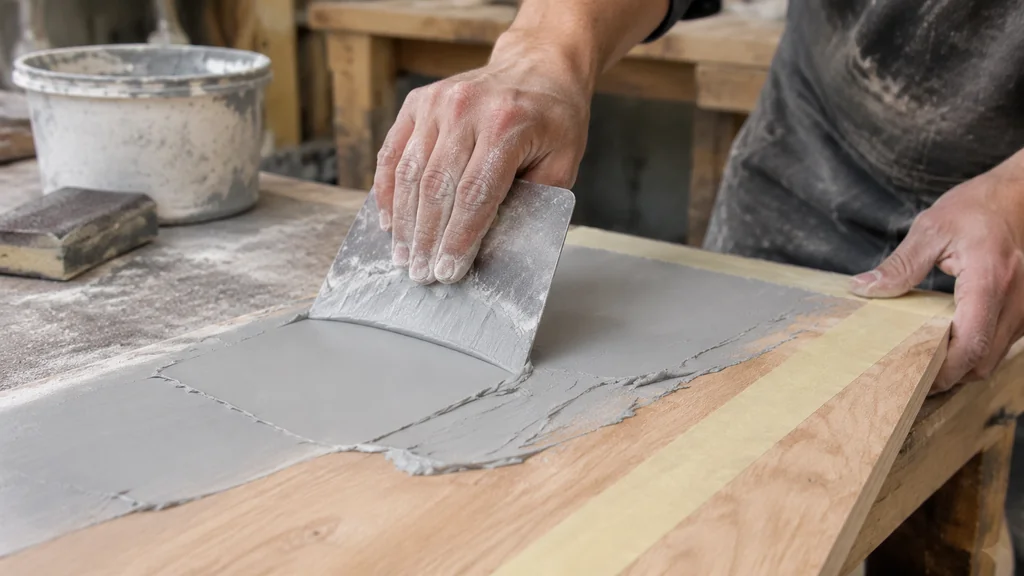
Work in one direction with a flexible spreader, then cross back over at an angle to knock down the ridges. On a vertical face, apply with an upward stroke so gravity helps the spreader edge carry the compound.
Where the fairing is thick, build it in layers. A heavy single pass of fairing compound can shrink and print through later, and thick sections generate more exotherm heat while curing. Thin passes, cured between coats, give a more stable result.
Pay attention to the edges of your patch. Feather the compound to a thin edge at the perimeter. A hard edge is a sanding nightmare and it will show under any gloss finish. On a long seam or a hull panel, run masking tape along the boundary you want and pull it while the epoxy is still green but no longer wet. That gives you a clean shoulder to sand into.
For structural work where the epoxy is doing load-bearing duty, the approach and mix ratios are less forgiving. That is covered in the piece on epoxy wood hardener for structural repairs.
Sanding Fairing Compound Flat
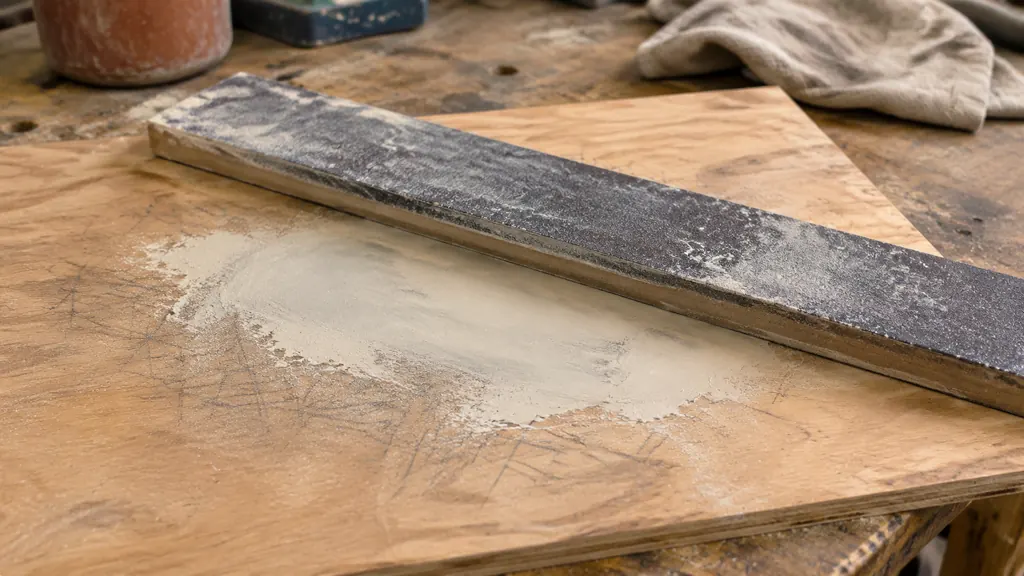
This is the part that separates a professional-looking job from a lumpy one. A long sanding board does the work. A random orbit sander or a sanding block held in your palm follows the surface and preserves every wave. Plywood panels and Fibreglass hulls respond differently to sanding, so use the board to check the profile across the actual substrate. A long board bridges across the low spots and cuts the high ones.
The procedure:
- Let the epoxy cure fully. Green epoxy clogs paper and smears. Check the spec sheet for the recoat and sanding window your hardener gives you.
- Mark the surface. A light dusting of a contrasting powder or a pencil crosshatch across the fairing shows you exactly where you are cutting.
- Start with a coarse grit on a long board and work diagonally across the panel.
- Change direction with each grit. Diagonal one way, then the other, so you can see which scratches belong to which pass.
- Stop when the marks tell you the surface is flat, then step up through finer grits.
- Check with a straightedge or a batten before you declare victory.
The pencil marks are the whole trick. They show you the high spots first, because those are where the paper bites. When the marks are gone across the whole panel, the panel is flat. If you sand until the surface looks smooth without marking it first, you are guessing.
Fairing compound clogs paper faster than most materials. Change sheets early. Worn paper polishes the surface. You will sand for twice as long with half the result. On a big panel, a dust extractor on the sander keeps the paper alive and keeps your lungs out of it.
Watch the edges of the patch. It is easy to dish a hollow into the surrounding surface while chasing a high spot in the fairing. Keep the board flat and let it overhang the patch.
Common Mistakes That Cost You a Repaint
Sanding before full cure. Soft epoxy balls up under the paper and tears instead of cutting. Give it the time the spec sheet states.
Skipping the guide coat. Without marks you cannot tell flat from shiny. Shiny is not flat.
Too much silica. A mix that is mostly silica sands like concrete. It feels satisfyingly stiff when you spread it and miserable when you sand it.
Fairing over a moving joint. Any flex in the substrate will crack the fairing along the joint line. Deal with the movement first.
Mixing a giant batch. Heat builds in the cup, the working time collapses, and you end up spreading half-cured lumps.
Not feathering the edges. A proud lip at the edge of the patch will show under gloss and catch a rag every time you clean the surface.
When to Stop and Call a Professional
Fairing is slow, dusty work but it is not complicated. The cases where I would hand it over are the ones where the diagnosis matters more than the technique.
If the surface under the fairing is soft, wet or delaminated, stop. Fairing compound over a wet core traps moisture and the repair fails. That is a structural assessment, and on a hull it may mean a surveyor.
If the fairing is going onto a surface that has to hold a specific shape, such as a curved hull section or a shaped component where the profile is critical, a professional with a long board and a template will get there faster than you will learning on the job.
And if the finish coat is a high-gloss dark colour, be honest about your sanding. Dark gloss shows every ripple. A fairing job that looks fine under primer can look terrible under gloss black.
Fairing Compound FAQ
How long does epoxy fairing compound take to cure before sanding?
It depends entirely on the hardener speed and the workshop temperature, so check the spec sheet for your product. Fast hardeners in a warm shop can reach a sandable state in a few hours, while slow hardeners in a cold workshop may need overnight or longer. Sand when the surface is hard and no longer tacky. The clock alone does not determine readiness.
Can I mix fairing compound with silica only?
You can, but it will sand very hard and slowly. Silica adds stiffness and no-sag behaviour, which is useful on vertical faces, but a fairing mix usually wants lightweight microballoons in the blend to keep it workable under the sanding board. A silica-only mix is better suited to structural filleting than to fairing a broad panel.
Why is my fairing compound tacky after curing?
The usual cause is an inaccurate mix ratio or unmixed resin left on the side or bottom of the cup. Epoxy needs the correct ratio of resin to hardener to cure fully, and a small error or a poorly scraped cup leaves patches that never harden. Cold working temperatures can also slow the cure to the point where it looks tacky for much longer than expected.
Do I need to sand between fairing coats?
Yes, if the previous coat has cured hard. A quick scuff with coarse paper gives the next coat something to key into and knocks down any ridges or drips. If you are applying the next coat while the previous one is still green, within the recoat window on the spec sheet, you can often skip the sanding and save yourself the dust.
What grit should I start sanding fairing compound with?
Start coarse enough to cut, then step up through the grits. The exact starting number depends on how much material you need to remove and how hard your filler is, so check the spec sheet for the filler and test on an offcut first. Working diagonally and changing direction with each grit keeps the scratches visible so you can read your progress.

Martin Flood
Martin Flood has been working in the construction industry for over 20 years as a general contractor with expertise in remodeling projects that are large or small. He has furthered his career by specializing in epoxy resin flooring, providing excellent service to both commercial and residential clients. Martin’s experience enables him to offer professional advice on how to choose the right type of project based on your needs and budget.
View all posts by Martin Flood →