
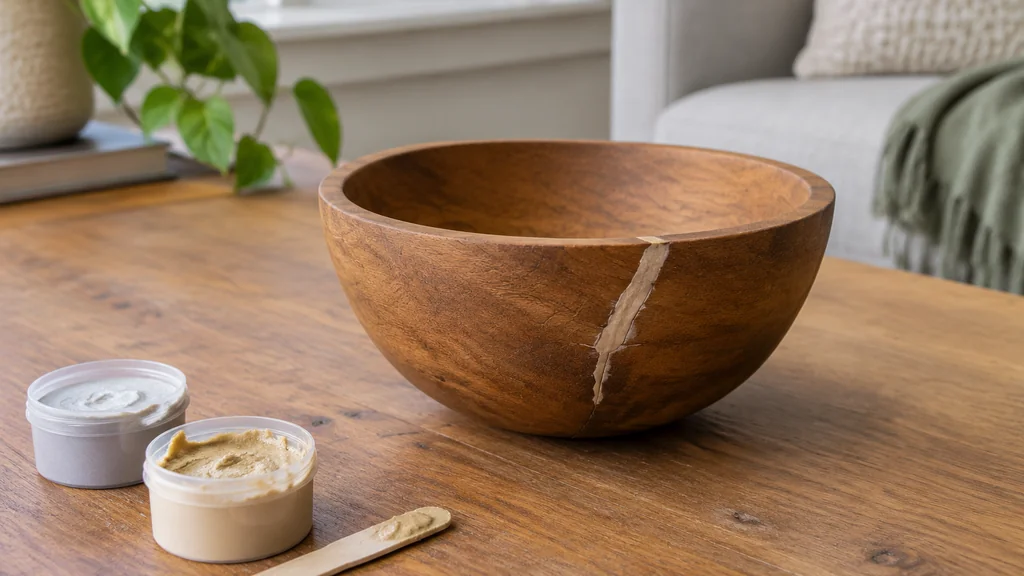
Epoxy putty for wood repair is a two-part, hand-kneadable filler that cures hard enough to drill, sand and take paint. You dig out the soft, crumbling wood, pack the putty into the void, shape it before it sets, then finish it like the surrounding timber. It suits small to medium repairs where the wood around the damage is still sound.
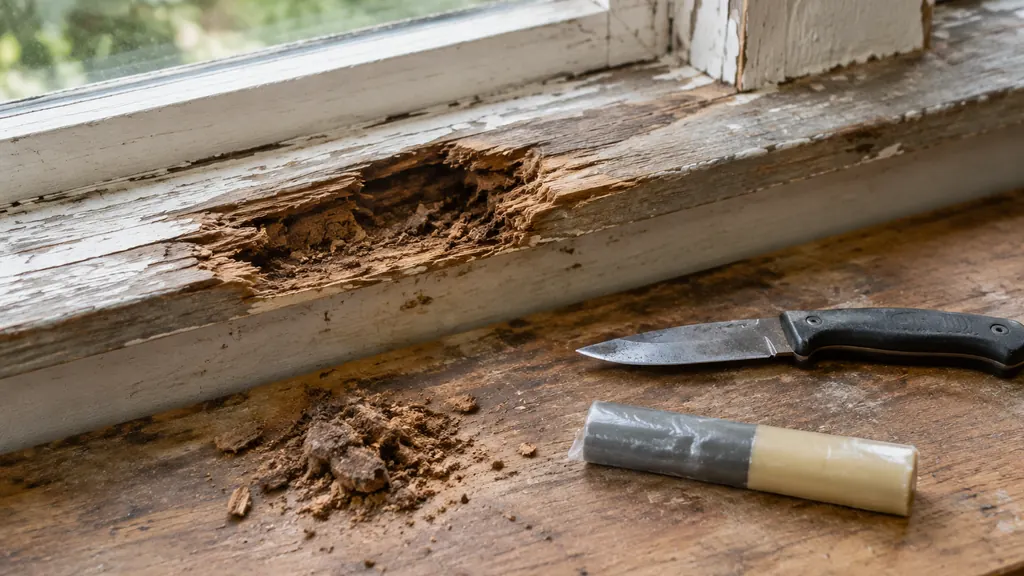
Why epoxy putty earns its place in a restoration kit
In old houses, joints, sills and rail ends can go soft. Epoxy putty lets you rebuild a damaged corner without replacing the whole window frame or porch baluster.
The material is a two-part Polyester Resin or Epoxy Resin loaded with fillers, sold as a stick or a tub that you knead together. Once mixed, it sets in minutes to a few hours depending on the product, so read the label for working time. It cures harder than wood filler and does not shrink back the way a solvent-based filler can.
Two things make it useful on a job site. It grips to damp-ish timber better than most fillers, and it holds a screw once fully cured. That matters on a door jamb where the strike plate has torn loose.
Table of Contents
- Why epoxy putty earns its place in a restoration kit
- When putty is the right call, and when it isn’t
- The tools and materials to have ready
- Key points for a sound epoxy putty repair
- Step-by-step: filling a rotted section with epoxy putty
- Finishing details for a sound epoxy putty repair
- Getting a patch that takes paint and holds a screw
- Mistakes that cost you the repair
- Cost and when to call a pro
- Signs that a repair may need more than putty
- Preparing a patch for paint or stain
- Epoxy Putty for Wood Repair FAQ
When putty is the right call, and when it isn’t
Putty works when the damage is contained. A gouge, a nail hole, a rotted corner, a split that has not spread. The surrounding wood must be solid enough to hold the patch.
It is the wrong tool when the rot runs deep into the core of a structural member. If a joist end or a post base has gone soft through, you are into sistering or splicing new timber, not filling. Probe with an awl. If it sinks in easily over a wide area, the section needs replacing.
There is also a point where the repair is cosmetic and the piece is too far gone to justify the effort. That is a judgement call. If the veneer lifts but does not crumble when you press it, you can usually save it.
The tools and materials to have ready
Gather everything before you mix, because the clock starts the moment the two parts meet.
- Two-part epoxy putty stick or tub
- Awl or a thin screwdriver for probing
- Utility knife and a small chisel
- Drill with a bit sized to the damage
- Coarse abrasive, around 60 to 80 grit, then finer paper
- Disposable gloves
- Denatured Alcohol or a recommended solvent for clean-up
- Painter’s tape to mask surrounding surfaces
- A scrap of plastic or wax paper to knead on
For deep or spongy areas, a low-viscosity consolidant is worth having on hand. A Penetrating Epoxy for soft, rotted wood soaks in and hardens the fibres before you fill, which gives the putty something solid to bond to.
Key points for a sound epoxy putty repair
- Remove weakened fibres and prepare a firm surface for the patch.
- Use a consolidant where the remaining wood is spongy.
- Mix the putty thoroughly and press it into the cavity.
- Leave a little extra material for shaping and sanding.
- Finish with primer and a suitable topcoat.
Step-by-step: filling a rotted section with epoxy putty
This is the sequence I use on sills, rails and jamb corners.
- Probe and map the damage. Run an awl across the area to find every soft spot. Mark the boundary with a pencil so you cut to a known edge.
- Cut back to sound wood. Use the chisel and knife to remove all crumbling, discoloured timber. Undercut the edges slightly so the putty keys into the cavity instead of sitting on top like a plug.
- Clean and dry the cavity. Brush out dust and debris. Wipe with denatured alcohol and let it flash off. If the wood is damp, give it time to dry or use a consolidant rated for the conditions.
- Consolidate if needed. On spongy timber, flood the area with penetrating epoxy and let it cure per the label before filling.
- Mask the surroundings. Tape off finished surfaces you do not want to sand later.
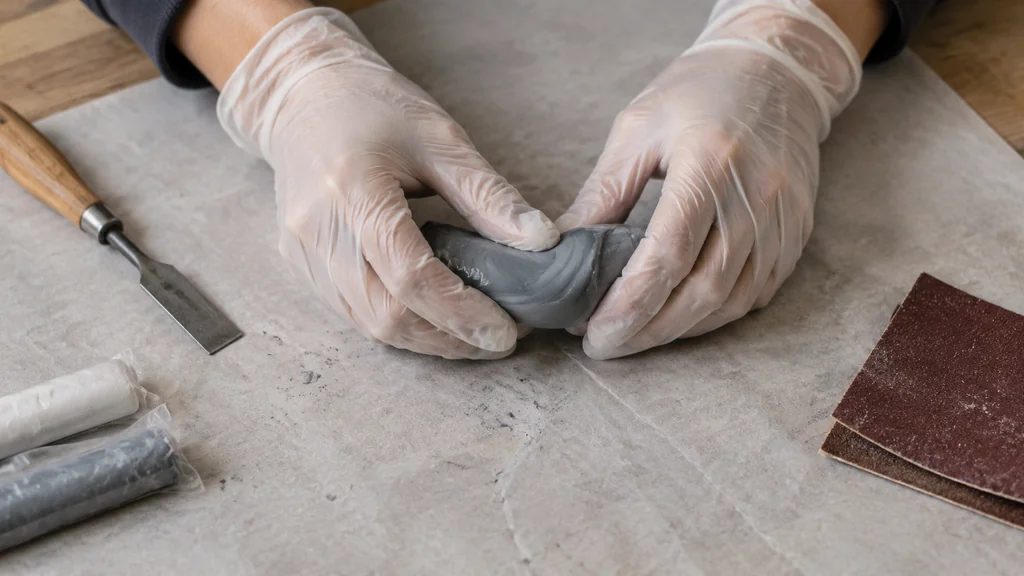
- Knead the putty. Work the two parts together until the colour is uniform. Wear gloves. Some people find a little water on the hands helps with stickier products.
- Pack it in. Press the putty firmly into the cavity, working from the back forward to avoid trapping air. Overfill slightly so you can sand back flush.
- Shape before it sets. Carve the profile with a knife or chisel while the putty is still leather-hard. It is far easier to shape now than to sand a cured lump.
- Cure, then sand and finish. Once hard, sand flush with the surrounding wood, prime and paint or stain to match.
If you are working on a larger area of rot, the same principles apply at bigger scale. There is a fuller walkthrough on using epoxy resin wood filler for rot and damage that covers deeper cavities and backing.
Finishing details for a sound epoxy putty repair
- Let the patch cure fully before sanding or drilling.
- Start sanding with coarse grit, then move to finer paper.
- Feather the edges to avoid a ridge beneath the paint.
- Use primer to help the topcoat blend with the surrounding timber.
- Drill a pilot hole before driving a screw into the cured patch.
- Avoid over-tightening, since cured putty can be brittle under a point load.
Getting a patch that takes paint and holds a screw
A putty patch that fails usually fails at the bond line, not in the body of the filler. That comes down to prep. Dust, oil and loose fibres all weaken the grip.
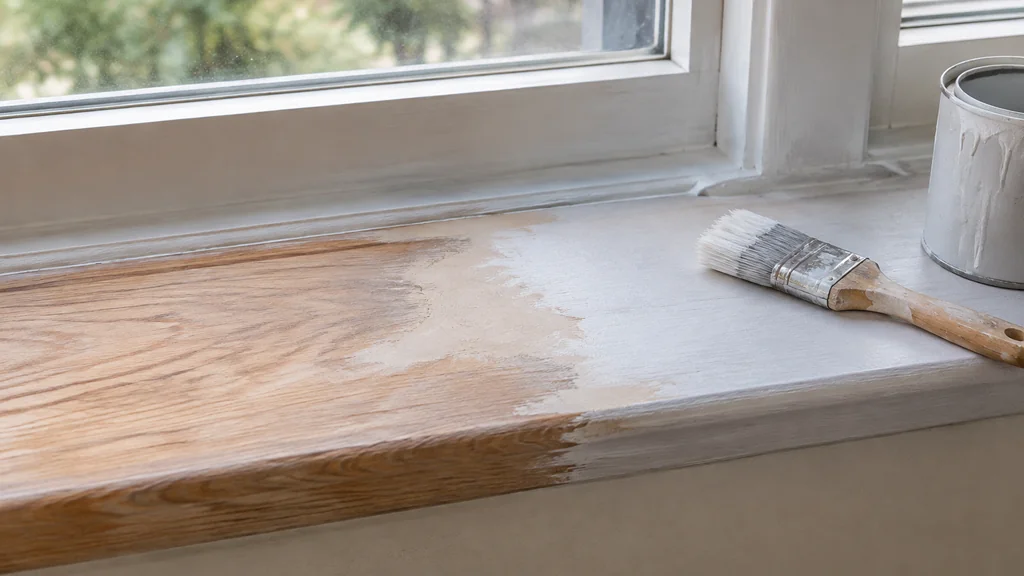
Once cured, epoxy putty is dense. It sands slower than wood and it can clog paper, so use coarse grit first and let the paper do the work. Feather the edge so you do not feel a ridge under paint. A coat of primer over the patch helps the topcoat blend with the timber around it.
For screw holes, drill a pilot hole slightly smaller than you would in solid wood. The putty holds a thread well, but it is brittle under a point load, so avoid over-tightening. On a hinge or strike plate, back the repair with solid wood if you can.
Mistakes that cost you the repair
The common failures come from rushed preparation or mixing. Filling over soft wood leaves a weak bond, while unevenly mixed putty may not cure properly. Consolidate spongy areas, shape the patch while leather-hard, and check the label for recoat times before painting.
Cost and when to call a pro
A stick of epoxy putty is an inexpensive item at any hardware store, and one stick covers a surprising number of small repairs. The real cost is time, and on a single sill or jamb that is usually an afternoon.
Call in a pro when the damage is structural, when a repair sits in a load-bearing member, or when you are dealing with widespread rot across a frame. A carpenter can tell you in minutes whether a section needs splicing. The same goes for anything involving original joinery you are not confident rebuilding.
If you are pulling apart a countertop to get at water damage underneath, that is a different job with its own sequence. The guide to removing an undermount sink from granite epoxy walks through the careful separation without cracking the stone.
Signs that a repair may need more than putty
- A wide area of wood gives way under an awl.
- Rot extends through a joist end or post base.
- A load-bearing member has softened.
- Damage spreads across a frame or affects original joinery.
- A carpenter can assess whether the section needs splicing.
Preparing a patch for paint or stain
- Remove dust, oil and loose fibres before filling.
- Mask finished surfaces before mixing the putty.
- Shape the patch while it is still leather-hard.
- Wait for a full cure before sanding.
- Apply primer before the topcoat to help it blend with the surrounding wood.
Epoxy Putty for Wood Repair FAQ
Can you use epoxy putty on wet wood?
Most epoxy putties tolerate slightly damp timber better than water-based fillers, but standing water and saturated wood will weaken the bond. Dry the area as much as you can and check the label for the product’s limits. On spongy, wet rot, a penetrating consolidant first is the safer route.
Does epoxy putty accept stain and paint?
Yes, once fully cured and sanded. Prime the patch first, because the putty surface is denser and less porous than the surrounding wood and will otherwise take stain unevenly. A primer coat helps the topcoat blend across the repair.
How long does epoxy putty take to cure?
Working time and cure time vary by product, so read the label. A typical stick gives you a few minutes to shape and reaches a sandable hardness within a couple of hours. Cooler temperatures in a garage or unheated porch slow the cure considerably.
Can epoxy putty be drilled and screwed?
Yes, once hard. Drill a pilot hole and drive the screw gently, since the cured putty is strong but brittle under a point load. For hinges and strike plates, back the repair with solid timber where the load is heaviest.
Is epoxy putty better than wood filler for rot?
For rot and voids, yes. Wood Filler suits surface blemishes and nail holes, but it shrinks and does not rebuild a missing section. Epoxy putty cures hard, holds a screw and stands up to weather, which is why it is the go-to for exterior repairs on sills and rails.

Martin Flood
Martin Flood has been working in the construction industry for over 20 years as a general contractor with expertise in remodeling projects that are large or small. He has furthered his career by specializing in epoxy resin flooring, providing excellent service to both commercial and residential clients. Martin’s experience enables him to offer professional advice on how to choose the right type of project based on your needs and budget.
View all posts by Martin Flood →
1 thought on “Epoxy Putty for Wood Repair: A Practical Guide to Filling and Rebuilding Damaged Timber”