
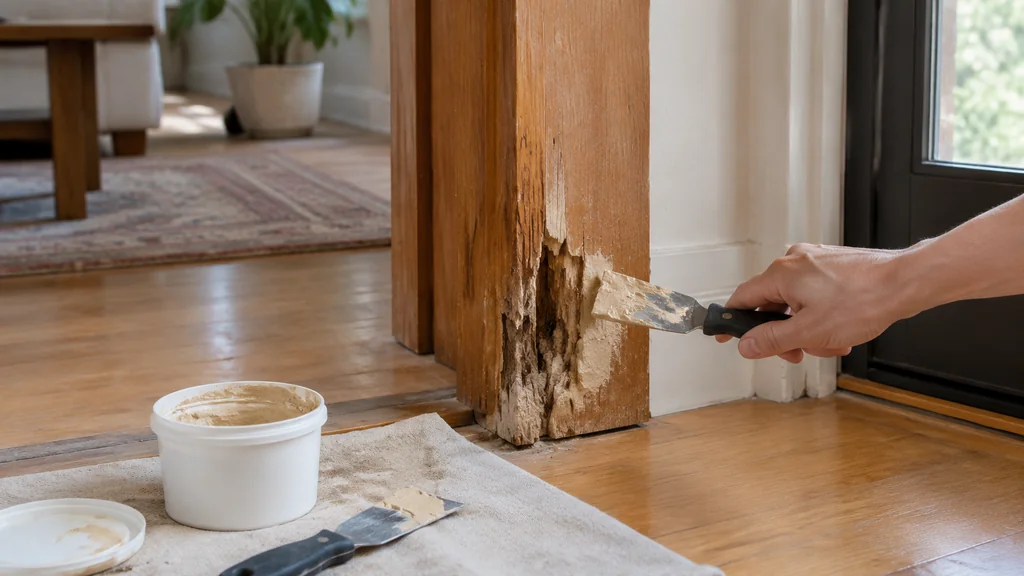
Yes, you can use wood filler on rotted wood, but only after the rot is dead, dry and cut back to sound timber. Filler is a cosmetic patch. It does not treat decay. If the wood is still soft, damp or crumbling, filler may fail. Cut back to sound timber and let it dry before filling.
The answer depends on one question. Is the damaged section structural, or is it a surface blemish on a piece you want to keep? Everything below follows from that.
What wood filler can and cannot do
Standard Wood Filler is a mix of wood dust and a binder that sets hard. It fills nail holes, dents, gouges and small cracks beautifully. It sands smooth and takes stain reasonably well on interior work. Water-Based Wood Filler uses water as its carrier, while Solvent-Based Wood Filler uses a solvent binder.
What it cannot do is stop decay. Rot is a fungus, and fungus needs moisture. Seal a wet, infected pocket under a layer of filler and you have built a small greenhouse. The rot keeps eating outward, the filler loses its grip, and the repair fails.
So the sequence matters more than the product. Kill the moisture source, remove every soft fibre, let the timber dry, then decide whether filler is enough or whether you need something with more backbone.
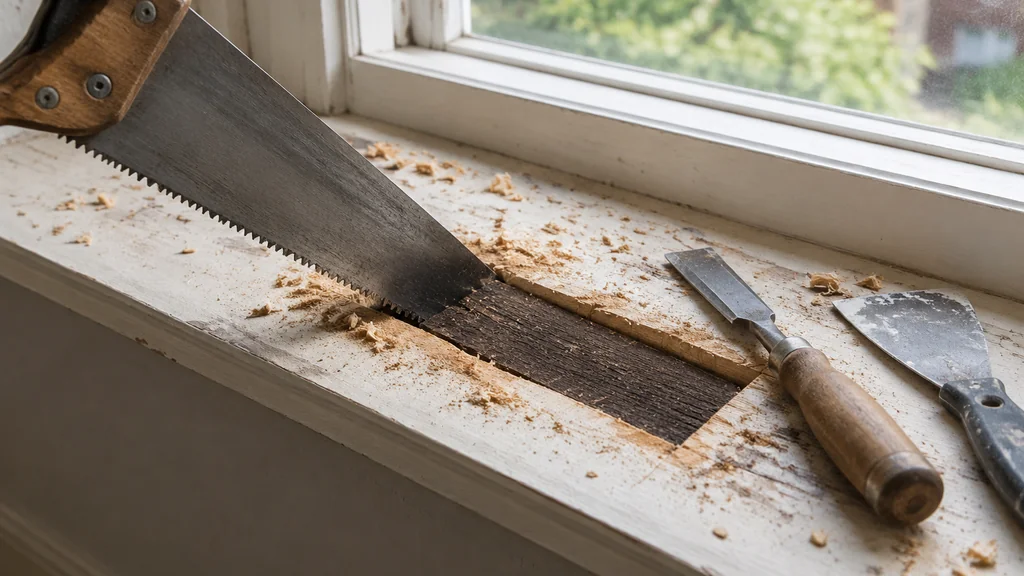
Table of Contents
How to tell if the rot is shallow enough to fill
Press a screwdriver tip into the suspect area. Sound wood resists. Rotten wood gives, and the tip sinks in without much effort.
- Surface rot only: the damage is a shallow pocket, the surrounding wood is firm, and the timber is dry. Filler or epoxy putty may work.
- Deep or widespread rot: the section is spongy through its thickness, or crumbles between your fingers. Cut it out and splice in new timber.
- Structural members: joists, studs, rafters, stair stringers and deck framing. Do not fill these. Replace or sister in new material.
- Painted trim and furniture: usually fillable once dry, because the load is decorative.
One more test. Tap the area with a screwdriver handle. A dull thud instead of a sharp knock means the decay runs deeper than the surface shows.
The tools and materials that actually matter
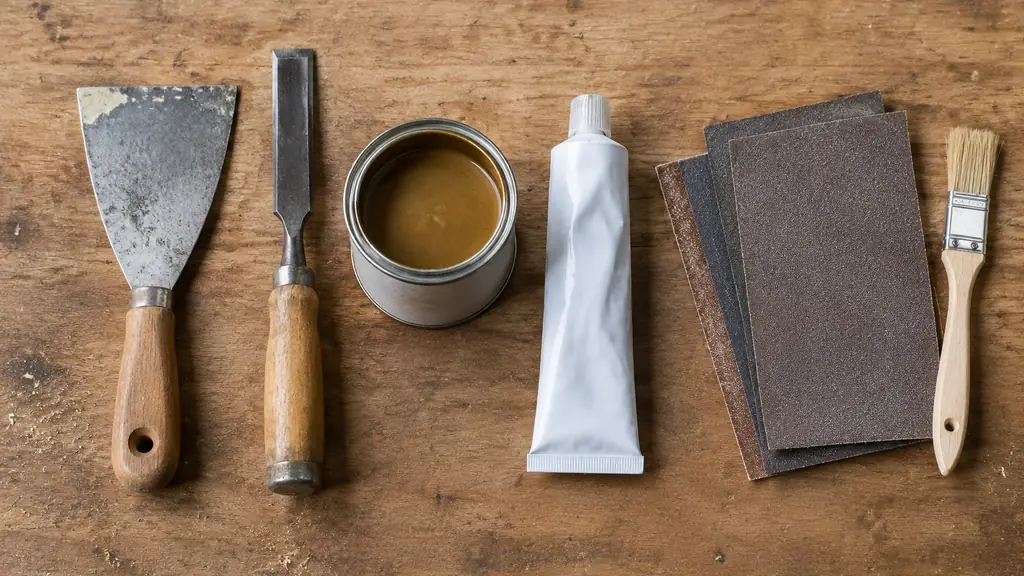
You do not need much, but the wrong version of each item costs you the repair.
- A putty knife, stiff and narrow. Flexible blades skate over the surface instead of packing material into the cavity.
- A chisel or oscillating tool for cutting back soft fibre.
- A stiff brush and a vacuum to clear dust from the pocket.
- Wood Hardener, a thin consolidant that soaks into spongy fibre and sets it firm.
- Epoxy Putty, a two-part epoxy material for holes deeper than a shallow scrape. It cures hard, does not shrink, and tolerates damp far better than water-based filler.
- A wood preservative for the surrounding timber.
- Sandpaper in a couple of grits, plus primer and a topcoat. Use a Putty Knife to pack filler into the cavity and a Chisel to remove softened wood.
Water-based filler shrinks as it dries, so it needs two or three passes on anything but a shallow dent. Solvent-based filler shrinks less. Epoxy shrinks hardly at all. If you are weighing the options, this comparison of wood repair putty and compounds is a fair place to start.
Step by step: filling a rotted section
Work through these steps in order to prepare the repair and help protect it.
- Find and fix the water source. A leaking gutter, a failed seal, a dripping pipe. Filler over an active leak is a temporary cosmetic fix at best.
- Cut, scrape and chisel out every soft, dark or crumbly fibre until you reach timber that resists a screwdriver.
- Brush and vacuum the cavity clean, then let the wood dry. Indoors this can take days. A moisture meter takes the guesswork out.
- Soak the exposed fibres with wood hardener and let it cure fully.
- Apply preservative to the surrounding sound timber, following the label.
- Pack in epoxy putty or wood filler in thin layers, pressing it into the corners with the putty knife. Build slightly proud of the surface.
- Let it cure for the full time on the label, then sand flush, feathering the edges into the surrounding wood.
- Prime and topcoat. Paint or stain is the real weather seal, so do not skip it.
The reason for thin layers is simple. A thick lump of water-based filler skins over on top while staying soft underneath, and that soft core shrinks and cracks weeks later. Thin passes cure evenly.
If the cavity is deep enough that filler alone feels flimsy, rebuild the shape with epoxy putty first and skim filler over it. That two-stage approach is covered in this guide to epoxy putty for wood repair, and it is the method I reach for on exterior trim.
When filler is the wrong answer
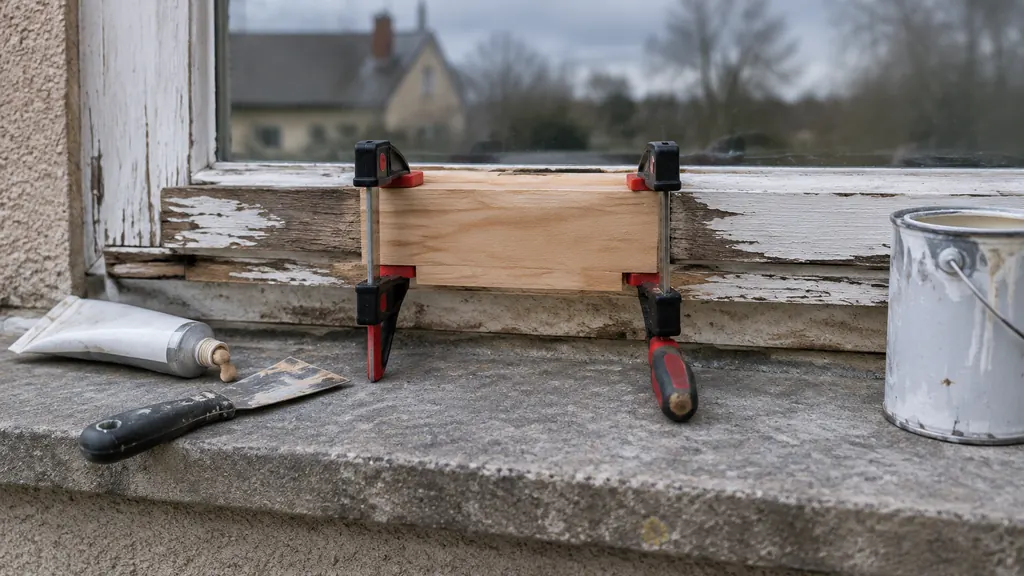
Some jobs need replacement timber, especially when the damage affects a structural member.
- Any load-bearing member. A filled joist end may not provide a reliable repair.
- Wood that stays damp. Sills sitting in standing water, deck boards with no airflow, anything below a leaking roof.
- Large voids. If you are filling more than a shallow pocket, you are rebuilding a section, and new wood is cheaper than a deep tub of epoxy.
- Furniture with structural cracks. A split leg or a loose joint needs glue and clamping, not filler.
For furniture, the salvage instinct is usually right. A solid mahogany chair with a rotted foot is worth splicing. A particleboard cabinet that has swollen and crumbled is not, because the core has no grain to hold anything. Press the damaged edge. If it crumbles, the damaged section needs rebuilding.
Stopping the rot from coming back
Filler is the last step after the moisture source has been fixed. Rot returns because moisture returns.
Clear gutters and check that water sheds away from the timber. Keep exterior joints sealed and repaint when the film breaks down. In a bathroom or kitchen, fix the ventilation so surfaces dry between uses. On a deck, keep boards off the ground and let air move underneath.
Use a wood preservative on bare timber and primer and a topcoat on the finished repair, following the product labels. If a repair sits in a spot that stays wet, filler may not hold; fix the moisture source before filling.
Rotted wood repair FAQ
Can I use wood filler on rotted wood without cutting it out?
No. Filler bonds to what it touches, and it cannot bond to soft, crumbling fibre. Cut or scrape back to sound wood first, treat what remains, and let it dry. Filler applied over live rot may fail.
Is epoxy putty better than wood filler for rot?
For anything deeper than a shallow pocket, yes. Epoxy putty cures hard, does not shrink, and tolerates slight damp. Water-based filler is fine for surface dents and small cracks on dry interior wood, and it is easier to sand.
Will vinegar stop wood rot?
No. Vinegar may clean a surface, but it does not kill the fungus inside the timber or dry the wood out. The fix is removing the moisture source, cutting out the decay, and treating or replacing the affected section.
How do I know if rot has gone too far to repair?
If a screwdriver sinks in easily, if the wood crumbles when you press it, or if the damage runs through the full thickness of a structural member, replace the timber. Filler and putty are for surface damage on sound, dry wood.
Can I paint over wood filler on a repair?
Yes, once it is fully cured and sanded. Prime first, because filler absorbs paint differently from bare timber and can leave a dull patch. Use an exterior-rated primer and topcoat on any repair that sees weather.
Do I need to treat the wood before filling?
Treat the sound timber around the repair with a preservative, and soak any softened fibre with hardener. Let both cure fully before filler goes in. Trapping solvent or moisture under a patch causes the same failure you are trying to fix.
For a wider look at patching, rebuilding and refinishing salvaged timber, the main guide on whether wood filler works on rotted wood covers the same ground from a furniture-restoration angle.

Martin Flood
Martin Flood has been working in the construction industry for over 20 years as a general contractor with expertise in remodeling projects that are large or small. He has furthered his career by specializing in epoxy resin flooring, providing excellent service to both commercial and residential clients. Martin’s experience enables him to offer professional advice on how to choose the right type of project based on your needs and budget.
View all posts by Martin Flood →