
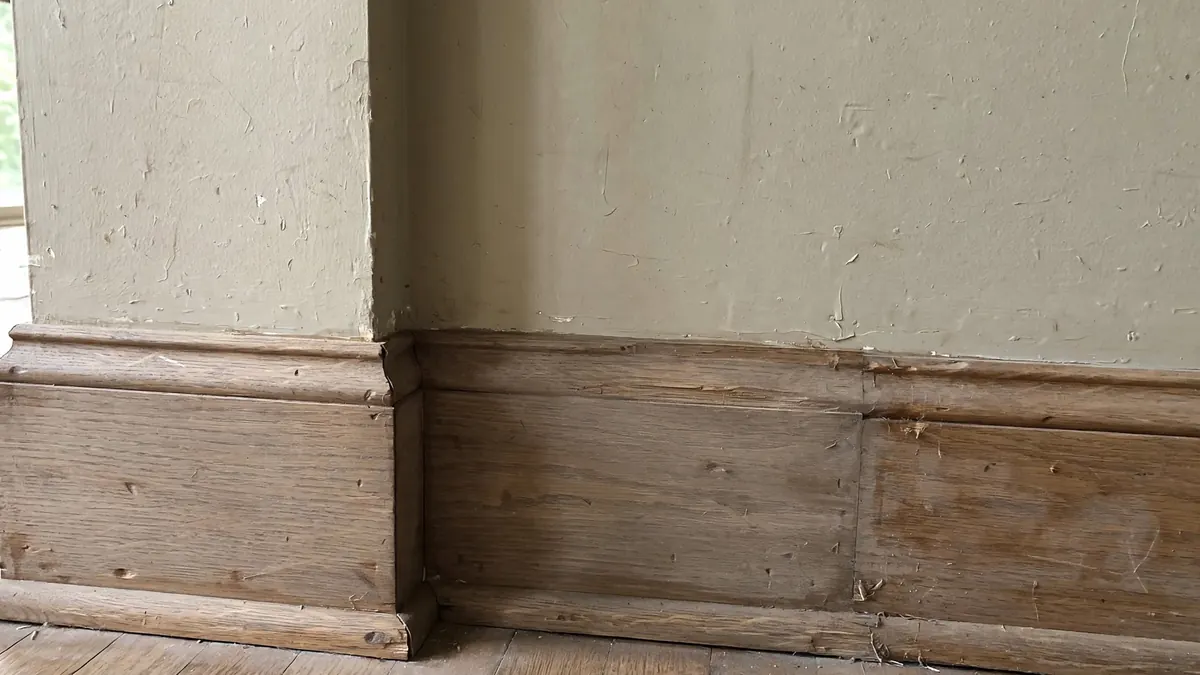
Epoxy resin wood filler is a two-part adhesive putty that cures harder than the wood around it, making it the right choice for filling rot pockets, gouges, and cracked joints that ordinary wood filler cannot handle. Unlike water-based fillers, epoxy bonds mechanically to the surrounding grain and resists moisture after curing, so a properly prepared repair can outlast the board itself.
Why Epoxy Beats Conventional Wood Filler for Rot
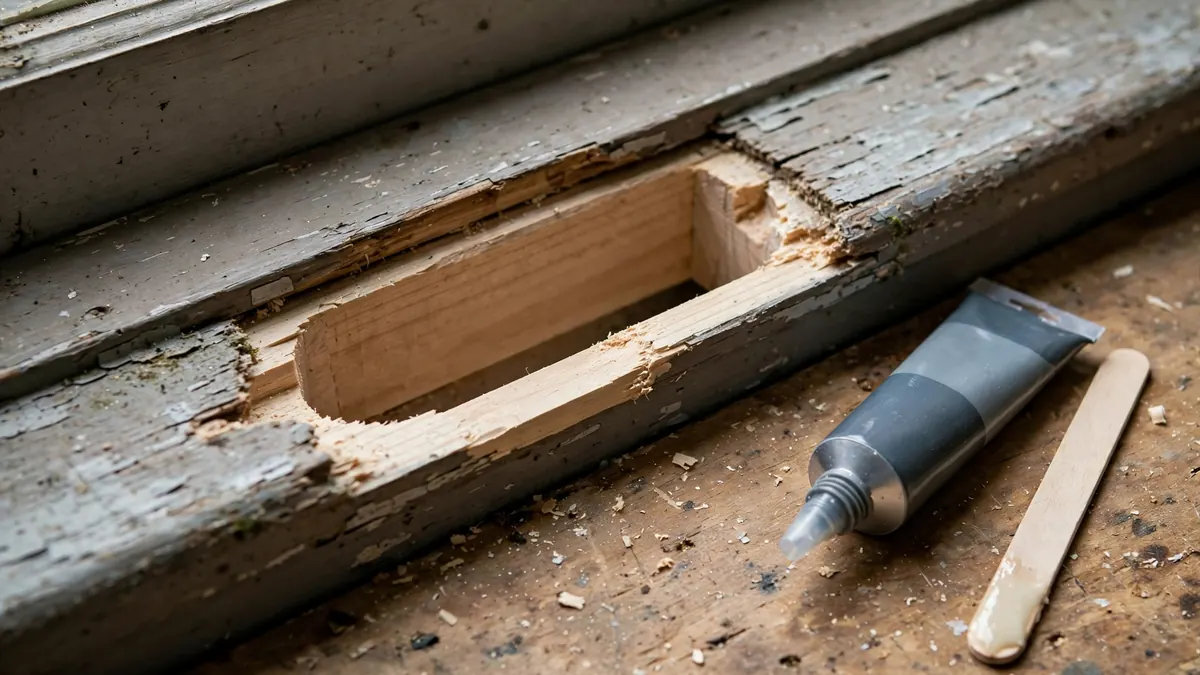
Standard wood filler is fine for nail holes and shallow surface defects. It fails in rot repairs for one reason: rot is a moisture problem, and most fillers are water-based or solvent-based products that shrink, crack, or soften when damp. Epoxy resin wood filler cures through a chemical reaction and does not shrink or re-absorb water once set.
The structural difference matters too. A rot pocket in a sill, threshold, or fascia board is often deeper than the remaining sound wood is thick. Epoxy filler can bridge that gap and carry load. Conventional filler cannot. If the damage is soft and spongy with no clean cavity, a penetrating epoxy primer is often the better first step before any filler goes in.
The trade-off is working time and cost. Epoxy is more expensive per ounce than tub filler, and you cannot sand it as easily once it fully cures. Those limits are manageable with the right sequence.
Table of Contents
Tools and Materials You Need
Gather everything before you mix. Epoxy has a working life measured in minutes, and hunting for a stir stick mid-pot is how repairs go wrong.
- Two-part epoxy wood filler (paste or putty consistency)
- Drill with a small bit for probing and a mixing paddle
- Awl or pick for testing wood soundness
- Utility knife and a stiff scraper
- Chisel and mallet for squaring cavity edges
- Denatured alcohol or acetone for cleaning
- Disposable gloves, mixing cups, and wooden stir sticks
- Sandpaper in a few grits, plus a sanding block
- Painter’s tape for masking adjacent surfaces
- Primer and paint or stain for the finish coat
Check the label on your specific product for mix ratio and cure time. Ratios vary between brands and getting them wrong is the most common cause of a tacky, never-curing repair.
Step-by-Step: Repairing Rot with Epoxy Wood Filler
- Probe the damage. Push an awl into the suspect area. Anything soft, dark, or crumbly comes out. Stop when the tool meets firm resistance.
- Remove all unsound wood. Use a chisel, knife, or small gouge to cut back to solid material. Undercut the edges slightly so the epoxy keys into the cavity instead of sitting on top like a plug.
- Dry the area thoroughly. Epoxy will not bond to damp wood. Let the repair sit in dry conditions until the moisture reads acceptable on a meter, or check the product’s guidance on maximum moisture content.
- Mask and clean. Tape off surrounding surfaces you want to keep clean. Vacuum dust out of the cavity and wipe with denatured alcohol.
- Mix the epoxy. Combine resin and hardener at the ratio on the label. Stir slowly for the full recommended time, scraping the sides and bottom of the cup.
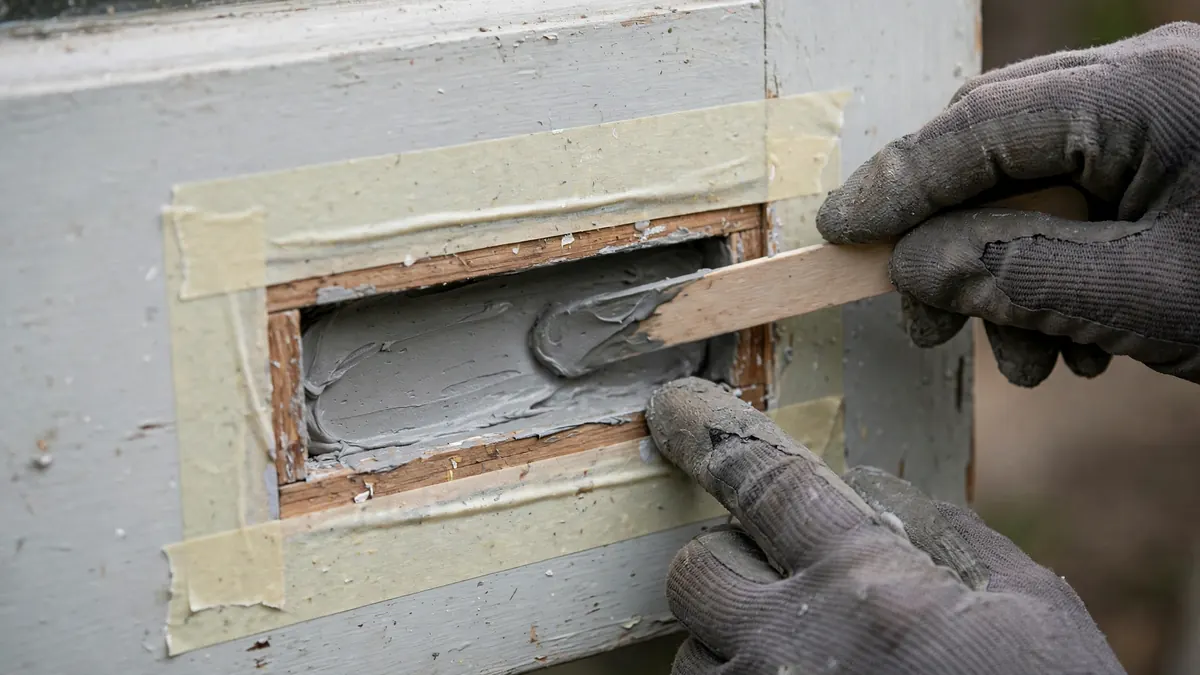
- Apply in stages for deep cavities. Fill in layers rather than one thick pour, especially on vertical surfaces. Pack the first layer in firmly with a stir stick to work out air pockets.
- Shape while it is still soft. Once the epoxy begins to firm up but before it fully cures, trim the excess with a knife or scraper. This saves a lot of sanding later.
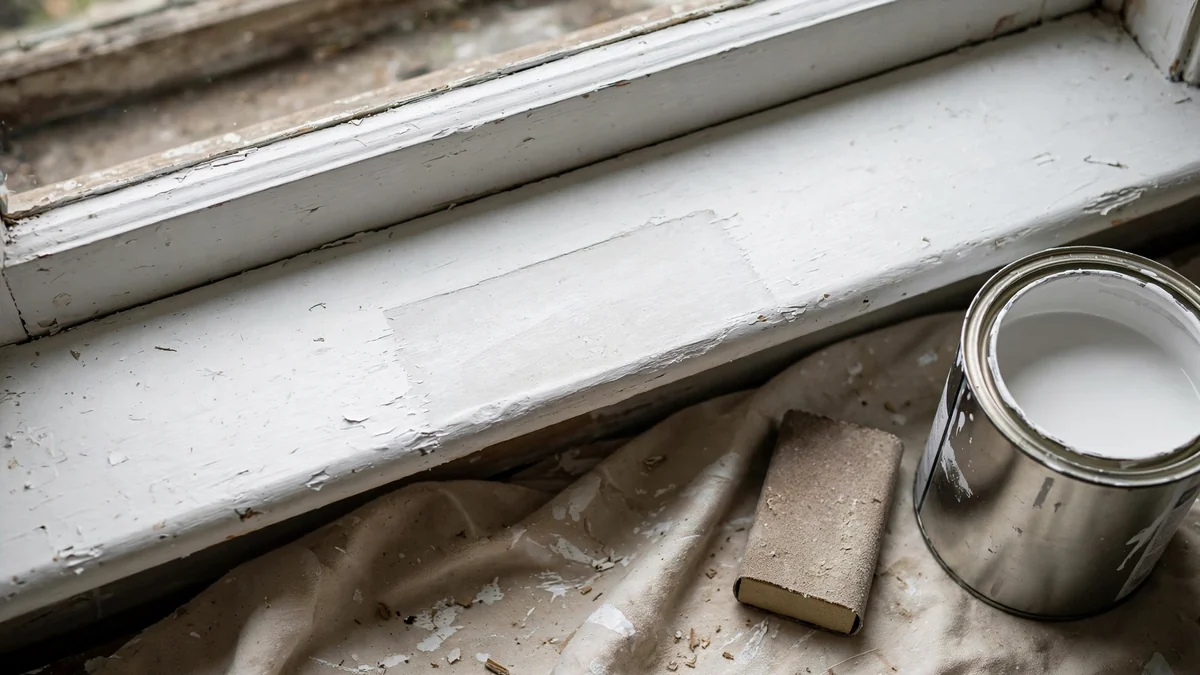
- Sand, prime, and finish. After full cure, sand flush and feather the edges. Prime and topcoat to match the surrounding wood.
Matching Epoxy to the Damage You Have
Not every repair calls for the same product. A paste filler suits vertical faces and overhead work where a runny mix would sag. A pourable epoxy is better for horizontal cavities and cracks you want to flood. For very soft, spongy wood where the fibers have started to break down but the shape is still there, a low-viscosity penetrating epoxy soaks in and consolidates the wood before any filler is needed.
For exterior trim, thresholds, and anything that sees rain, choose a filler rated for exterior use and finish it with a waterproof topcoat. Comparing waterproof epoxy sealers before you commit to a topcoat is worth the time, because the sealer determines how long the repair survives weather. On visible repairs where you want a dark, uniform patch, black epoxy resin pigments can be mixed into the filler to blend the repair with stained or painted wood.
Common Mistakes That Ruin an Epoxy Repair
- Filling over soft wood. Epoxy bonds to what it touches. If the substrate is crumbling, the repair will fail at the boundary.
- Wrong mix ratio. Eyeballing the hardener leaves uncured patches that stay gummy indefinitely.
- Trapping moisture. Sealing damp wood under epoxy locks water in and rot continues underneath.
- One thick pour in a deep cavity. Thick sections generate heat as they cure and can crack or distort.
- Sanding too early. Epoxy clogs paper when it is still soft. Wait for a full cure and use a light touch.
- Skipping the finish coat. Epoxy is not UV-stable in most formulations. Unpainted exterior repairs chalk and yellow over time.
When the Damage Is Beyond Filler
Epoxy is a repair material and cannot substitute for missing timber. If a sill has rotted through its full depth, or a joist end has lost more than the outer fibers, the right move is to cut out the bad section and splice in new wood, then use epoxy at the joint. The same applies where rot has spread along a wall plate or into a rim joist, since those members carry load and a cosmetic patch hides a problem that will return.
A simple test helps. If you can push a screwdriver into the wood with hand pressure, the section is gone. If the wood resists and only the surface is checked or furrowed, filler will hold. In heritage homes, matching old-growth fir or chestnut with new stock is often harder than the epoxy work itself, so save the original material wherever the structure allows.
Epoxy Wood Filler FAQ
Can you use epoxy wood filler on wet or damp wood?
No. Epoxy will not develop a proper bond to damp wood, and sealing moisture under a cured patch invites rot to continue beneath it. Dry the area first and check the product label for the maximum moisture content it tolerates.
How long does epoxy wood filler take to cure?
Working time and cure time vary by product and by temperature. Warmer conditions shorten both. Check the label for the specific figures, and remember that a deep fill needs longer before sanding than a thin skim coat.
Can epoxy wood filler be painted or stained?
It can be painted once fully cured and sanded. Staining is less reliable because epoxy does not absorb stain like wood does. For visible repairs, tint the epoxy itself with pigment or a stain additive to get closer to the surrounding color before topcoating.
Is epoxy wood filler strong enough for structural repairs?
For small defects in trim, sills, and door frames, yes. For load-bearing members with significant section loss, no. Cut out the damaged section and splice in new wood, using epoxy to consolidate and protect the sound material around the joint.
Why is my epoxy wood filler still sticky after a day?
Almost always an incorrect mix ratio or incomplete stirring. Scrape the sides and bottom of the mixing cup while stirring, and measure both parts carefully. Sticky epoxy has to be removed before you try again, since fresh epoxy will not bond to an uncured layer.

Martin Flood
Martin Flood has been working in the construction industry for over 20 years as a general contractor with expertise in remodeling projects that are large or small. He has furthered his career by specializing in epoxy resin flooring, providing excellent service to both commercial and residential clients. Martin’s experience enables him to offer professional advice on how to choose the right type of project based on your needs and budget.
View all posts by Martin Flood →