
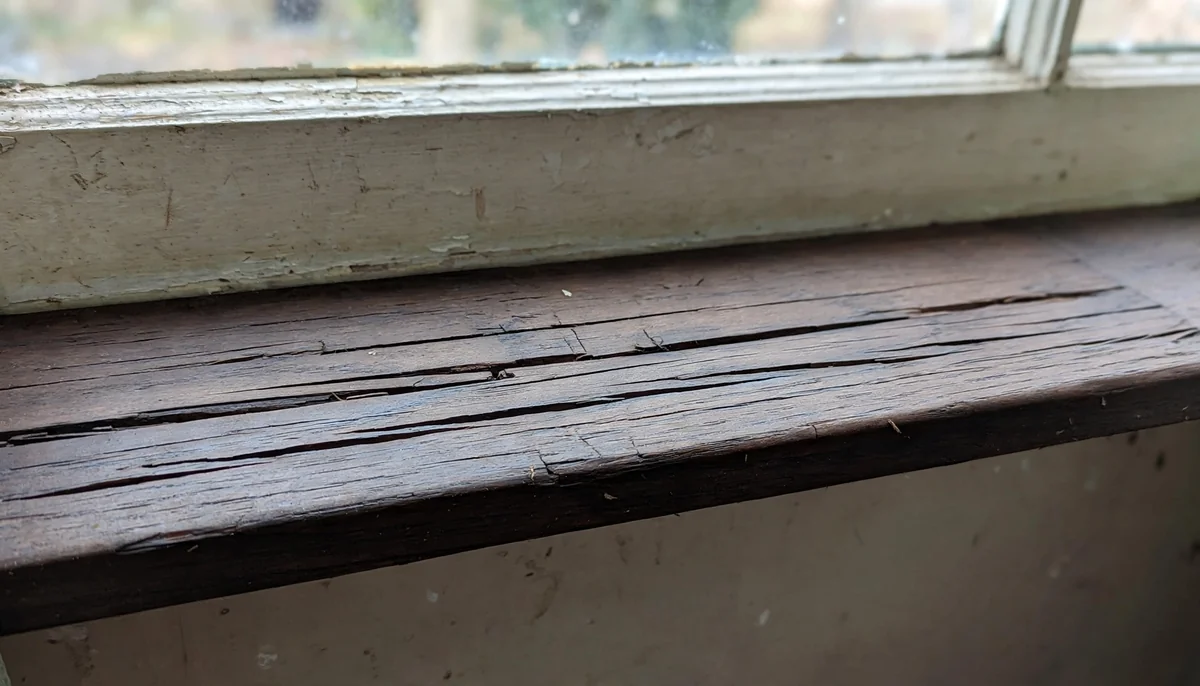
Penetrating epoxy is a low-viscosity two-part resin that soaks into porous, decayed wood fibers and cures hard, restoring structural strength to soft or crumbling timber. It works best on wood that is still intact enough to absorb the resin. Wood that has turned to powder or lost its shape is not a candidate for this treatment. If you can press a screwdriver into the surface and the wood springs back without crumbling, you have a candidate for repair rather than replacement.
What Penetrating Epoxy Actually Does
Standard epoxy sits on top of wood as a coating. Penetrating epoxy is thinned to a water-like consistency so it wicks into the cell walls of decayed timber. Once inside, it cures and binds the remaining fibers together.
The key word is remaining. Penetrating epoxy is a consolidant that stiffens wood that has lost some density but still holds its shape. It will not rebuild a void, bridge a gap, or replace missing material.
Two-part penetrating epoxies typically mix at a 1:1 or 2:1 ratio by volume. The mixed pot life is short, often 20 to 40 minutes depending on temperature. Work in small batches and keep the container shallow so the resin does not cook off in the cup.
Table of Contents
How to Tell If Wood Is a Candidate for Treatment
Before you mix anything, test the wood. This is the step most people skip, and it is the one that decides whether you are restoring or rebuilding.
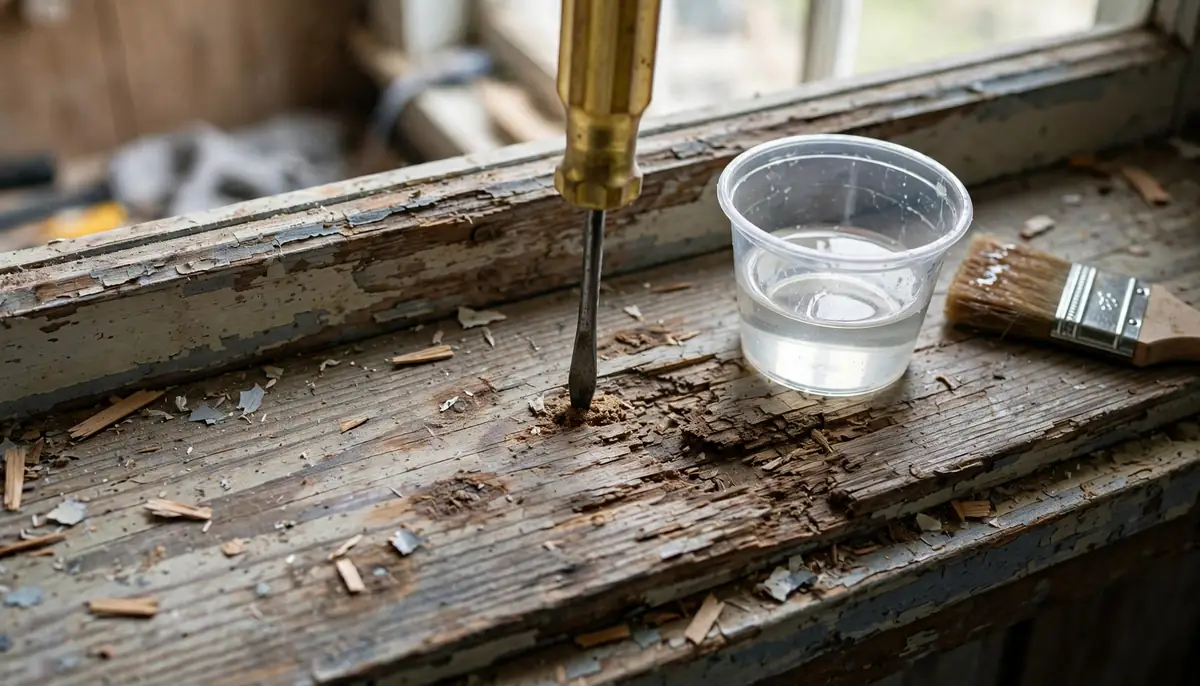
- Screwdriver test: Push a flathead screwdriver into the suspect area. If it sinks in but the wood holds together, treat it. If it crumbles and falls away, you are looking at replacement.
- Awl test: A sharp awl shows you exactly where the soft zone ends. Mark the boundary with a pencil.
- Tap test: Tap the surface with a small hammer. A dull thud versus a sharp ring tells you where the decay is hollow.
- Moisture check: Epoxy will not bond to wet wood. Use a moisture meter and confirm the reading is in the acceptable range for your product. Check the label.
If more than about a third of the cross-section is gone, consolidation will not restore load-bearing capacity. A scarf joint or a new piece of wood is needed.
Tools and Materials You Need
Gather everything before you open the resin. Penetrating epoxy gives you a short working window.
- Two-part penetrating epoxy (check the label for mix ratio and pot life)
- Disposable mixing cups and stir sticks
- Disposable brushes, acid brushes work well for small areas
- Syringe or squeeze bottle for injecting into cracks and end grain
- Nitrile gloves and safety glasses
- Denatured alcohol for cleanup before cure
- 80-grit and 120-grit sandpaper
- Moisture meter
Nitrile gloves matter here. Uncured epoxy is a sensitizer, and repeated skin contact can trigger an allergic response that gets worse with each exposure. The OSHA Hazard Communication Standard requires manufacturers to supply a safety data sheet, so read it before you start. Follow the EPA guidance on safe handling and disposal of chemical products.
Step-by-Step Application
1. Stop the moisture source first
Epoxy over active rot is a temporary fix. Find the leak, the failed paint joint, or the ground contact that is feeding the decay, and correct it. If the wood stays wet, the repair will fail from the inside.
2. Remove loose material
Scrape away crumbling fibers, old finish, and dirt with a putty knife and a wire brush. You want sound wood at the edges of the repair. Vacuum the area out.
3. Dry the wood
Let it dry to the moisture content your product specifies. Indoors, that usually means a few days to a couple of weeks depending on thickness. Do not rush this with a heat gun, which can case-harden the surface and trap moisture below.
4. Mix a small batch
Follow the ratio on the label exactly. Stir for the full time stated, scraping the sides and bottom of the cup. Incomplete mixing is the most common reason a repair stays tacky.
5. Apply wet-on-wet
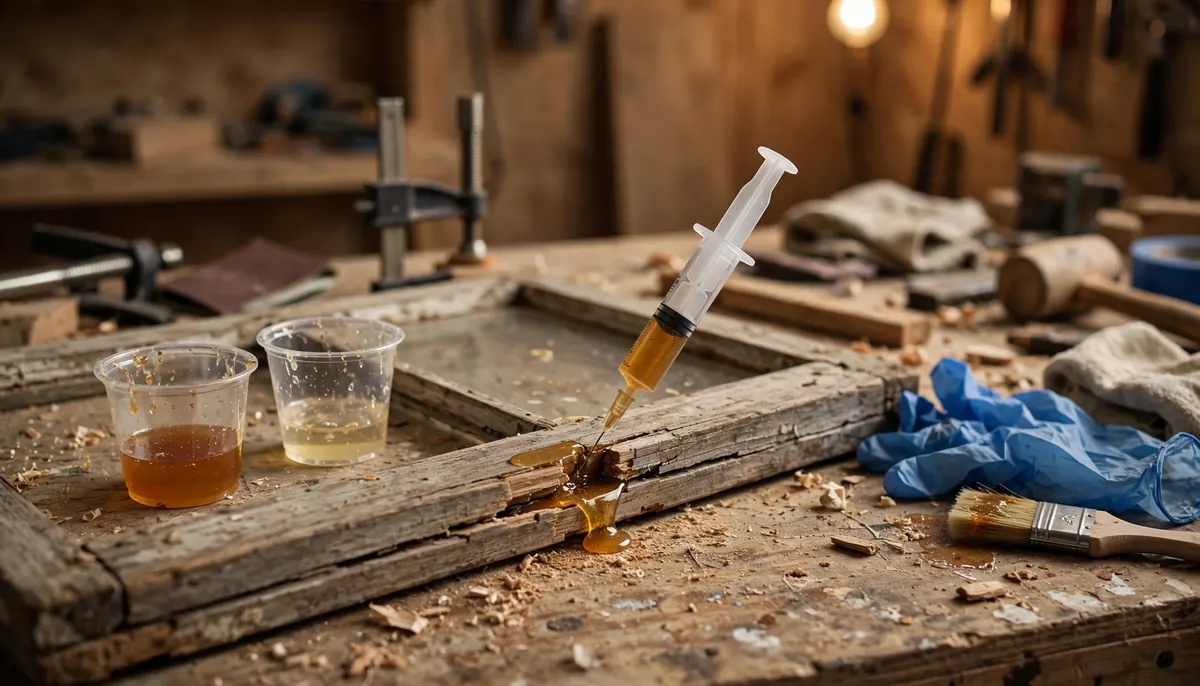
Brush or syringe the resin onto the surface and let it soak in. Keep applying as long as the wood keeps drinking it. The first coat often disappears in seconds on end grain. Do not let the first coat cure before adding more, or you build a barrier that stops further penetration.
6. Watch for bleed-through
On thin stock, resin can push all the way through and drip out the far side. Set cardboard underneath and check back within the first half hour.
7. Let it cure fully
Full cure takes longer than the label’s “dry to touch” time, often 24 to 72 hours. Do not sand or drill until the resin is hard throughout. Cool temperatures slow the cure dramatically.
8. Fill any voids
Once the consolidant has cured, deeper holes can be filled with a thickened epoxy or a wood filler matched to the surrounding timber. Shape it while it is still slightly soft, then sand flush after full cure.
If your repair is part of a larger floor project, the same principles apply to surface coatings. Read about whether you can put epoxy on a wood floor before you commit to a full pour.
Common Mistakes That Ruin the Repair
- Treating wet wood. Resin cannot bond to water-filled cells.
- Mixing too large a batch. A deep cup of mixed epoxy can generate enough heat to smoke and cure in minutes.
- Skipping the second coat. One pass rarely saturates decayed wood.
- Sanding too early. Gummy resin clogs paper and tears the surface.
- Using it as a structural fix. Penetrating epoxy consolidates; it does not carry load. A rotted floor joist or a structural beam needs a carpenter, not a syringe.
- Painting over uncured resin. Finish will not adhere and may never dry.
When to Call a Professional
Call a pro when the decay reaches structural members, when the affected area is larger than you can comfortably reach, or when the wood is part of a load path. Rot in a sill plate, a header, or a floor joist is an engineering question, not a finishing question.
A restoration carpenter can also tell you whether the piece is worth saving. That calculation is often about matching original profiles and species. If you are weighing surface treatments on other substrates, whether you can put epoxy over tiles also depends on adhesion and substrate condition.
Finishing and Sealing After Treatment
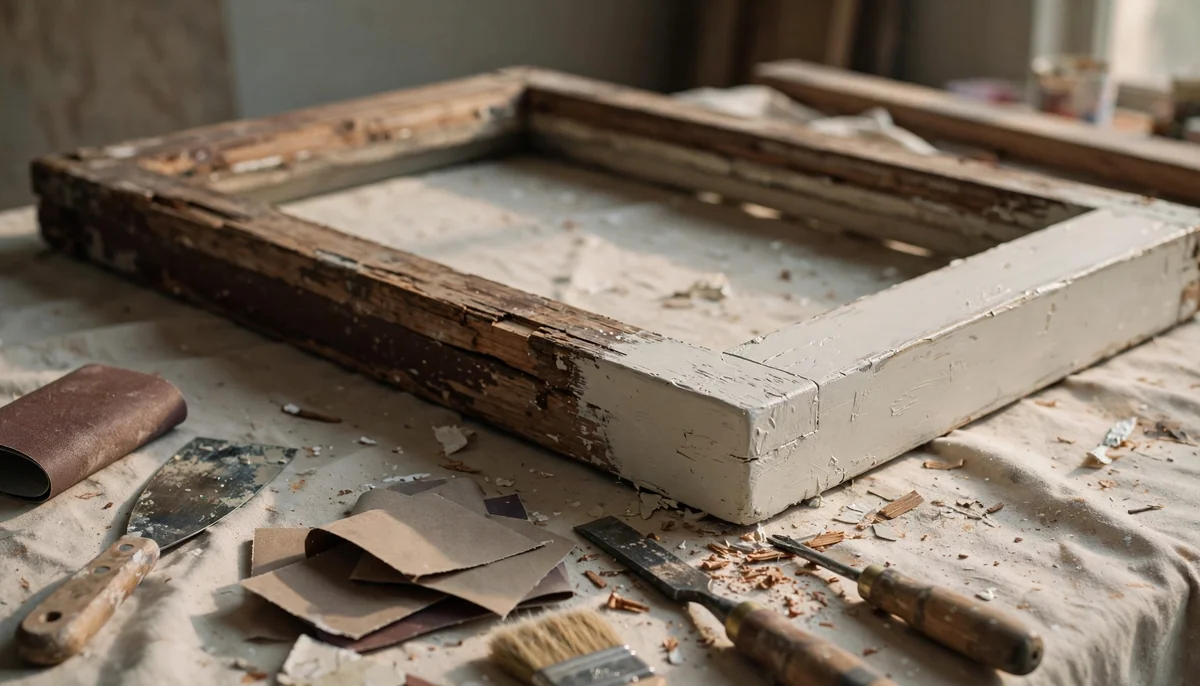
Cured penetrating epoxy leaves a hard, resin-rich surface that does not take stain evenly. If you want a natural wood look, test a scrap first. Many restorers treat the wood, sand it back, and then apply a penetrating epoxy sealer for wood as a primer coat under paint.
A penetrating epoxy sealer for wood works well as a primer on end grain and on porous species that soak up paint unevenly. It seals the fibers so the topcoat builds consistently. Sand between coats with 220-grit and wipe off the dust.
On exterior work, topcoat with a paint or finish that blocks UV. Epoxy itself degrades in sunlight, so it always needs a protective layer. For grout and tile situations, the sealer only performs if the substrate underneath is sound. Read about whether you can put a sealer on epoxy grout, including how cure state and surface prep affect the result.
Penetrating Epoxy for Soft and Rotted Wood FAQ
Can penetrating epoxy restore a rotted floor joist?
No. Penetrating epoxy consolidates surface fibers and small soft spots, but it does not restore the load-bearing capacity of a structural member. A rotted joist, sill, or header needs to be sistered or replaced by a qualified carpenter, and often inspected before it is covered back up.
How long does penetrating epoxy take to cure?
Dry to touch usually happens within a few hours, but full cure commonly takes 24 to 72 hours. Cold temperatures extend that window significantly. Do not sand, drill, or topcoat until the resin is hard throughout, and follow the cure schedule printed on the product label.
Can I apply penetrating epoxy over old paint or varnish?
Only if you remove the coating first. Paint and varnish block the resin from reaching the wood fibers, which defeats the purpose. Strip or sand back to bare wood in the repair zone, then clean the surface and let it dry before applying resin.
Does penetrating epoxy work on wet or green wood?
No. Water in the cells prevents the resin from bonding, and trapped moisture can push the cured resin off later. Dry the wood to the moisture content your product specifies, using a meter to confirm, before you mix any resin.
Can I stain wood after using penetrating epoxy?
Staining over cured epoxy is unreliable because the resin seals the surface and does not absorb pigment the way raw wood does. If you need a stained finish, test on a scrap first, or plan to treat only hidden areas and use a stain-compatible filler on visible surfaces.

Martin Flood
Martin Flood has been working in the construction industry for over 20 years as a general contractor with expertise in remodeling projects that are large or small. He has furthered his career by specializing in epoxy resin flooring, providing excellent service to both commercial and residential clients. Martin’s experience enables him to offer professional advice on how to choose the right type of project based on your needs and budget.
View all posts by Martin Flood →
3 thoughts on “Penetrating Epoxy for Soft and Rotted Wood: A Restoration Guide”