
Welcome to the world of DIY home improvement! Today, we’re diving into the nitty-gritty of removing undermount sinks from granite epoxy. This guide is your trusty sidekick, designed for homeowners, DIY enthusiasts, and anyone who’s ever thought, “I can do that!” when faced with a home repair challenge.
Understanding Undermount Sinks and Granite Epoxy
First things first, let’s get to know our main characters: the undermount sink and granite epoxy.
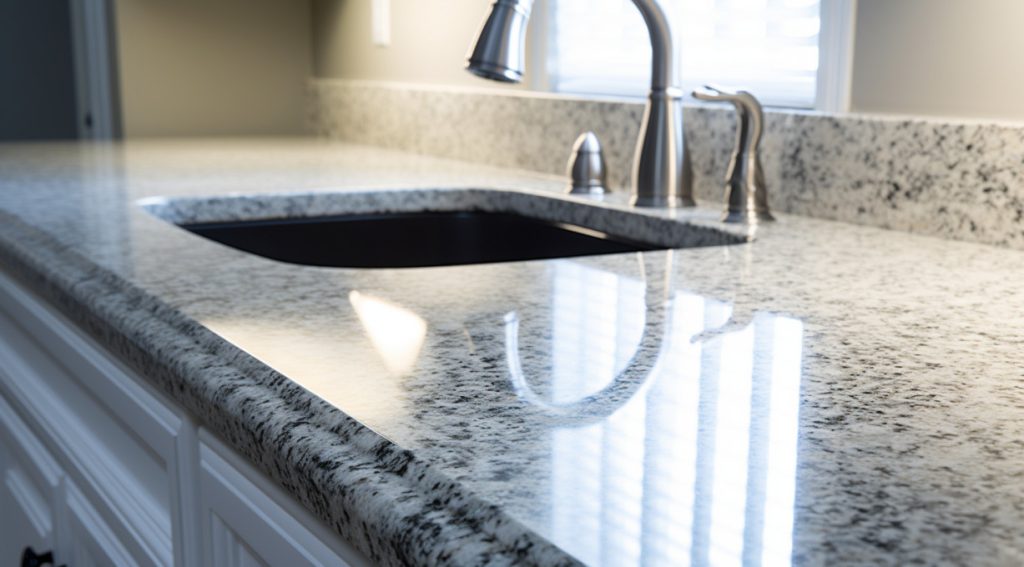
An undermount sink is a popular choice for kitchens and bathrooms alike. Its sleek design allows it to be mounted directly under the countertop, creating a seamless look and making cleanup a breeze. No more crumbs or water getting stuck in that annoying lip between the sink and the counter!
Next up is granite epoxy. This is a special kind of adhesive that’s used to secure the undermount sink to the granite countertop. It’s strong, durable, and resistant to heat and water – basically, it’s the superhero of adhesives. But even superheroes have their weaknesses, and in this case, it’s the fact that granite epoxy can be a bit of a pain to remove. But don’t worry, we’ve got you covered!
Speaking of coverings, you might be wondering what kind of paint you can use with epoxy resin. Well, wonder no more! Check out our article on What Kind of Paint Can You Use with Epoxy Resin? for all the details.
Table of Contents
Tools and Materials Needed
Now, let’s talk about the tools and materials you’ll need for this task.
You’ll need a putty knife, a heat gun, protective gloves, and a good dose of patience. The putty knife will help you pry the sink away from the countertop, while the heat gun will soften the epoxy, making it easier to remove. The gloves are to protect your hands during the process, and the patience… well, that’s self-explanatory!

For a more detailed discussion on the tools needed and some handy tips from fellow DIY enthusiasts, check out this Reddit discussion on removing undermount sinks.
Safety Precautions
Before we dive into the process of removing an undermount sink from granite epoxy, let’s talk safety. After all, a safe DIY-er is a happy DIY-er!
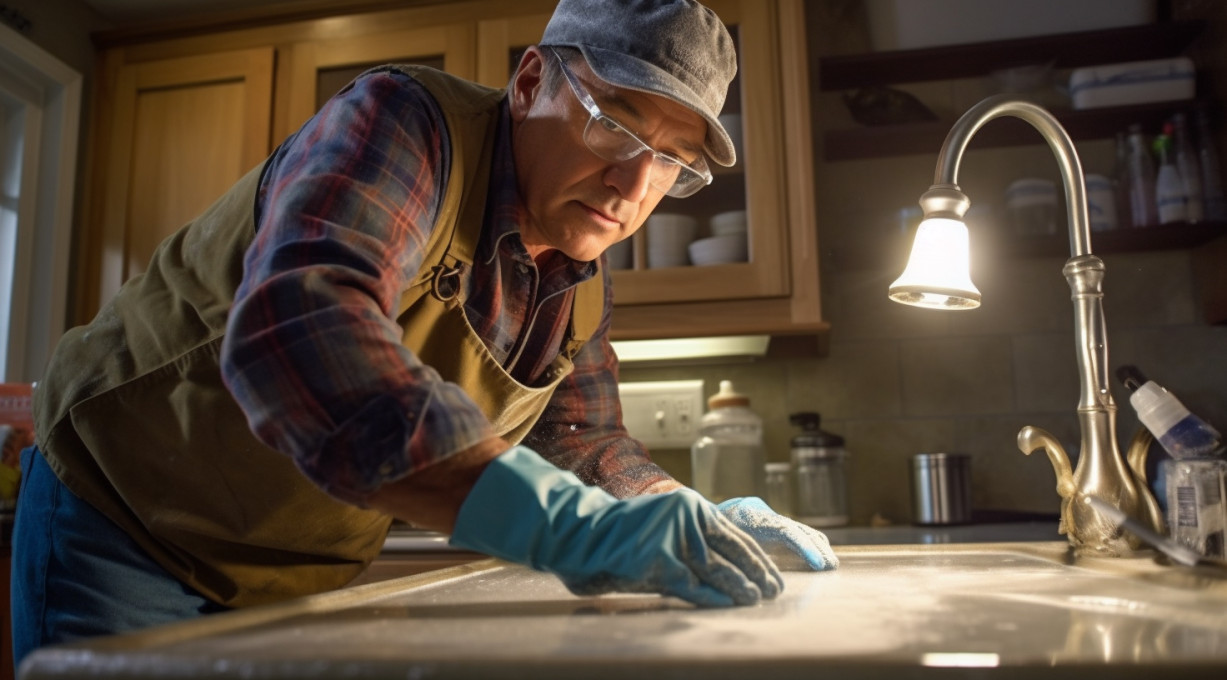
First, make sure you’re wearing protective gloves and safety goggles. This isn’t just a fashion statement – these items will protect your hands and eyes from any debris or sharp edges.
Next, clear the area of any unnecessary items. You don’t want to trip over a stray pot or pan in the middle of the process!
Finally, remember to take it slow. Rushing can lead to mistakes, and in this case, those mistakes could lead to damage to your countertop or sink.
| Safety Precautions | Description |
|---|---|
| Wear protective gloves | Protect hands from debris and sharp edges |
| Wear safety goggles | Protect eyes from debris |
| Clear the work area | Remove any unnecessary items that could cause accidents |
| Take it slow | Avoid rushing to prevent mistakes and damage |
For more safety tips, especially when working with resin, check out our article on Can I Put Fresh Fruit in Resin?.
Detaching the Plumbing
Now that we’re all geared up and ready to go, it’s time to start the process of removing the undermount sink. The first step is to detach the plumbing.
Turn off the water supply to the sink, then disconnect the drain pipe and the water supply lines. Be sure to have a bucket handy to catch any water that might spill out.
Remember, this isn’t a strength contest – you don’t need to wrench the pipes apart. A gentle twist should do the trick!
Removing the Sink from the Granite Epoxy
With the plumbing detached, we can now focus on the main event: removing the undermount sink from the granite epoxy.
Start by using a putty knife to gently pry the sink away from the countertop. Be careful not to damage the granite in the process.
Next, use a heat gun to soften the epoxy. This will make it easier to remove the sink.
Once the epoxy is soft, you can continue to pry the sink away from the countertop. This might take some time and patience, but keep at it – you’re doing great!

For a visual guide on how to remove an undermount sink, check out this helpful YouTube video.
Cleaning and Repairing the Granite Epoxy
Congratulations! You’ve successfully removed your undermount sink from the granite epoxy. Now, it’s time for some cleanup and repair.
Start by cleaning the area where the sink was attached. Use a gentle cleaner to remove any remaining epoxy or debris. Be careful not to scrub too hard, as you don’t want to scratch the granite.
Next, inspect the granite for any damage. If you notice any scratches or chips, don’t panic! These can often be repaired with a granite repair kit, available at most home improvement stores.
If there’s any leftover epoxy residue, you might be wondering if you can simply cover it with a vinyl decal. Before you do, check out our article on Can You Epoxy Over Vinyl Decals? for some important considerations.
Replacing the Undermount Sink
Now that your countertop is clean and repaired, you might be thinking about replacing the undermount sink. If so, the process is similar to the removal, but in reverse.
You’ll need to apply a new layer of granite epoxy, position the sink, and then wait for the epoxy to cure before reconnecting the plumbing.
For a detailed guide on how to install an undermount sink, check out this Hunker guide.
Wrapping Up
We’ve covered a lot of ground in this guide, from understanding undermount sinks and granite epoxy, to the actual process of removing an undermount sink from granite epoxy, and finally cleaning up and replacing the sink.
Remember, DIY home improvement is a journey, not a destination. Each project is an opportunity to learn, grow, and gain confidence in your abilities.
So, don’t be afraid to take on new challenges, ask questions, and share your experiences. After all, we’re all in this together!
For more DIY tips and tricks, check out our article on Will Clear Coat Make Paint Shiny?.
And remember, the only stupid question is the one not asked. So, if you have any questions or if there’s something you’re not sure about, don’t hesitate to drop a comment below. Happy DIY-ing!
Frequently Asked Questions
Q1: What is an undermount sink?
An undermount sink is a type of sink that is installed directly under the countertop, creating a seamless look and easy cleanup.
Q2: What is granite epoxy?
Granite epoxy is a strong adhesive used to secure undermount sinks to granite countertops. It’s durable and resistant to heat and water.
Q3: What tools do I need for removing undermount sink from granite epoxy?
You’ll need a putty knife, a heat gun, protective gloves, and a bucket to catch any water from the plumbing.
Q4: How do I detach the plumbing?
Turn off the water supply, then disconnect the drain pipe and water supply lines. Use a bucket to catch any water.
Q5: How do I remove the sink from the granite epoxy?
Use a putty knife to pry the sink away from the countertop. Use a heat gun to soften the epoxy, then continue to pry the sink away.
Q6: How do I clean and repair the granite epoxy after removing the sink?
Clean the area with a gentle cleaner. Repair any scratches or chips with a granite repair kit.
Q7: Can I replace the undermount sink after removing it?
Yes, you can replace the undermount sink by applying a new layer of granite epoxy, positioning the sink, and waiting for the epoxy to cure before reconnecting the plumbing.
Q8: Can I epoxy over vinyl decals?
It’s possible, but there are important considerations. Check out our article on Can You Epoxy Over Vinyl Decals? for more information.
Martin Flood
Martin Flood has been working in the construction industry for over 20 years as a general contractor with expertise in remodeling projects that are large or small. He has furthered his career by specializing in epoxy resin flooring, providing excellent service to both commercial and residential clients. Martin’s experience enables him to offer professional advice on how to choose the right type of project based on your needs and budget.
View all posts by Martin Flood →