
Bonding fiberglass cloth to a surface with epoxy is a common repair and building task. The job has two parts. You wet out the cloth with mixed epoxy. You then build up coats until the weave is filled. Two guides cover the method well. The WEST SYSTEM guide “Applying Fiberglass Cloth & Tape” walks through the dry method step by step. Epoxyworks, in “The Basics of WEST SYSTEM Epoxy”, explains how the resin and hardener behave. This article follows both sources and adds links to related posts on this site.
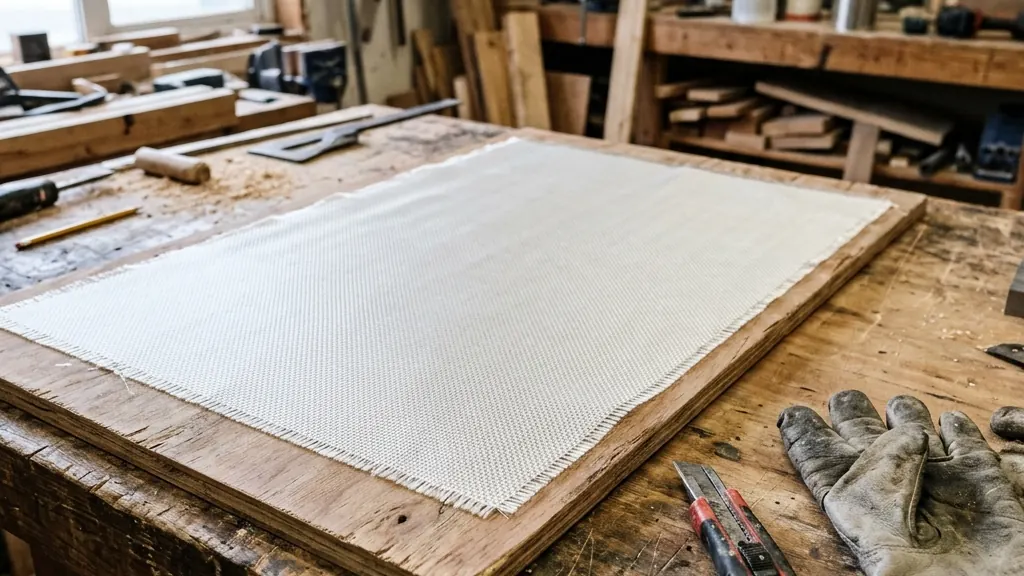
What you need
Gather your materials before you open any resin. The WEST SYSTEM guide “Applying Fiberglass Cloth & Tape” describes the dry method. A short list keeps the work tidy.
- Fiberglass cloth
- Epoxy resin and hardener
- Mini pumps for dispensing
- A plastic spreader
- A squeegee
- A foam roller or brush for vertical surfaces
- A sharp utility knife
Prepare the surface as you would for epoxy bonding. If bubbles worry you, our post on applying epoxy without bubbles covers the common causes and fixes.
Table of Contents
Mixing resin and hardener
Epoxy is a resin mixed with a hardener, and the two parts must go together in the right amount. Epoxyworks, in “The Basics of WEST SYSTEM Epoxy”, states the rule plainly. “It is critical that you dispense epoxy resin and hardener at the correct ratio.” The correct mix ratios appear on the hardener label and on the technical data sheets, so read the label on your own kit before you start. Mini pumps make this easy, because one full stroke of resin and one full stroke of hardener gives the correct ratio. The WEST SYSTEM guide “Applying Fiberglass Cloth & Tape” uses three or four pumps each of resin and hardener for a small batch.
“It is critical that you dispense epoxy resin and hardener at the correct ratio.”
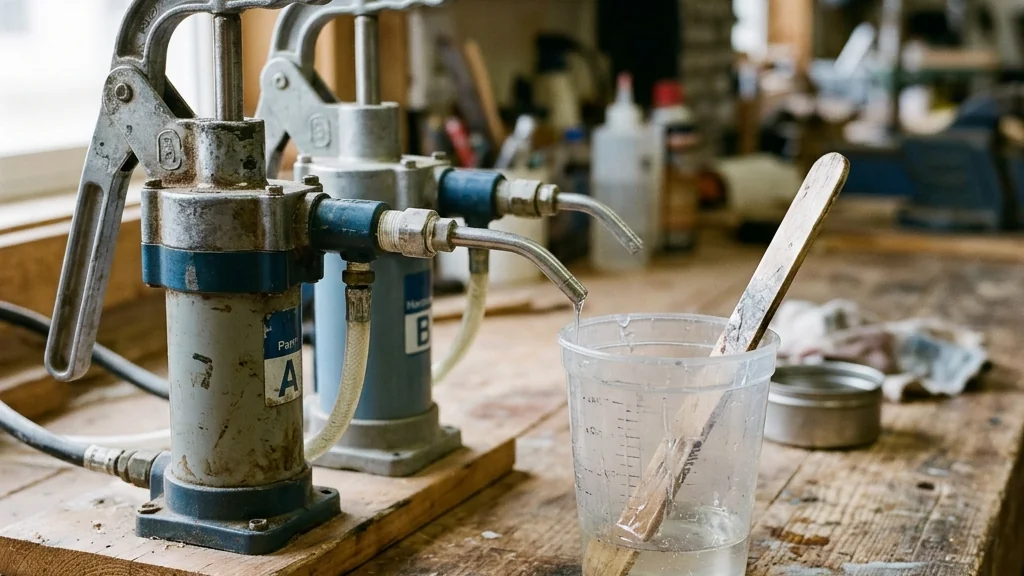
Stir for at least two minutes, scraping the sides and bottom of the cup, and stir longer in cool conditions. Changing the amount of hardener does not control cure speed. A wrong mix can never fully cure and will have greatly reduced physical properties. The reaction gives off heat, so epoxy left in a large mass has a shorter working time. Keep batches small and work steadily.
Applying the cloth step by step
The WEST SYSTEM guide “Applying Fiberglass Cloth & Tape” sets out the dry method in a clear order. Follow the steps below.
- Prepare the surface as you would for epoxy bonding.
- Position the cloth and cut it several inches larger on all sides. Overlap multiple pieces by about two inches. Hold sloped or vertical cloth with tape or staples.
- Mix a small batch of epoxy, using three or four pumps each of resin and hardener.
- Pour a small pool of epoxy near the center of the cloth.
- Spread the epoxy outward with a plastic spreader. Use a foam roller or brush on vertical surfaces.
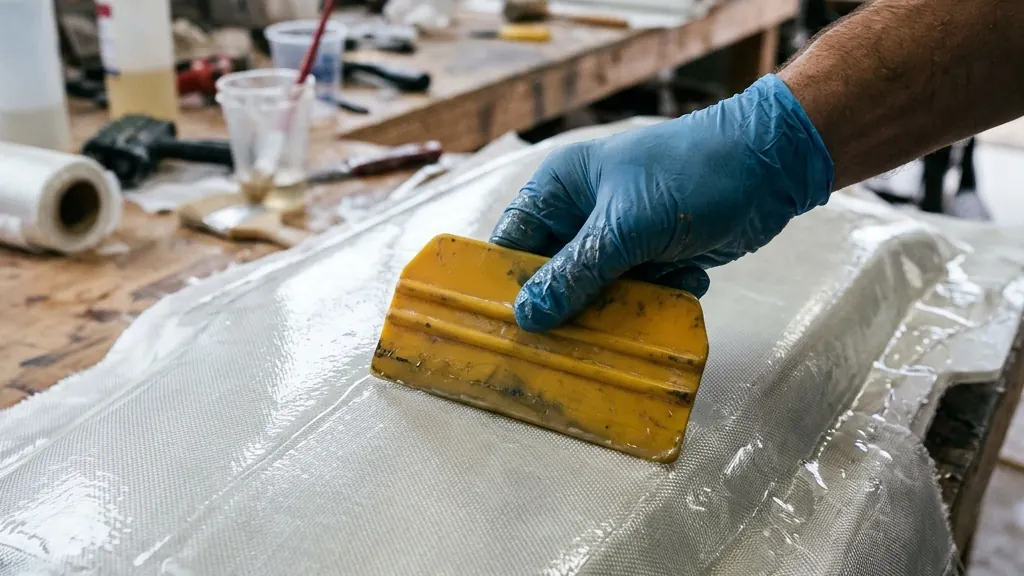
- Squeegee off excess epoxy before the first batch begins to gel. Drag the squeegee at a low, almost flat angle with even-pressured, overlapping strokes.
- Check the wet-out. Properly wet-out fabric is transparent, and white areas mean dry fabric.
Excess epoxy shows as a shiny area, and white areas mean dry fabric. The squeegee step matters most, because you must remove the surplus before the batch gels. A low, almost flat angle with even, overlapping strokes pushes the resin into the weave and pulls the rest away.
Trimming and filling the weave
Trim excess and overlapped cloth after the epoxy reaches initial cure, when the cloth cuts easily with a sharp utility knife. It will take two or three coats of epoxy to fill the weave and allow a final sanding that will not affect the cloth. Coat before the wet-out reaches final cure. Check the surface between coats. A shiny area means excess epoxy, and a white area means dry fabric.
Our guide on using epoxy resin with fiberglass mat covers that topic. If your project is a flat panel, our post on epoxy on a table top covers that setting.
Bottom line
Mix the resin and hardener at the ratio on the label, stir for at least two minutes, and work in small batches. Wet out the cloth until it turns transparent, squeegee off the excess before the batch gels, and build two or three coats to fill the weave. Trim the cloth at initial cure with a sharp knife. The WEST SYSTEM guide “Applying Fiberglass Cloth & Tape” and the Epoxyworks article “The Basics of WEST SYSTEM Epoxy” cover every step in more detail.
FAQ
How many coats do I need?
It will take two or three coats of epoxy to fill the weave and allow a final sanding that will not affect the cloth. Coat before the wet-out reaches final cure.
How do I know the cloth is wet out?
Properly wet-out fabric is transparent. White areas mean dry fabric, and excess epoxy shows as a shiny area.
What happens if I get the ratio wrong?
A wrong mix can never fully cure and will have greatly reduced physical properties. Changing the amount of hardener does not control cure speed, so follow the ratio on the hardener label.

Martin Flood
Martin Flood has been working in the construction industry for over 20 years as a general contractor with expertise in remodeling projects that are large or small. He has furthered his career by specializing in epoxy resin flooring, providing excellent service to both commercial and residential clients. Martin’s experience enables him to offer professional advice on how to choose the right type of project based on your needs and budget.
View all posts by Martin Flood →