
Epoxy resin is a relatively new material that has gained popularity in recent years. It is an ideal choice for outdoor furniture and tables, as it is waterproof, UV-resistant, and resistant to stains.
Epoxy resin is also easy to work with because it does not require curing time; once you’ve mixed the two parts together, you can start working within minutes!
However, if you’re new to working with epoxy resin (and even if you’re not), there are some things that need to be considered before pouring your first tabletop.
There are some potential issues when using epoxy resins – including the fact that most epoxies are heat sensitive so they cannot be used close to fireplaces or other sources of heat; also if there’s too much humidity in the air then bubbles may appear on your finish surface which may mean having to sand off those bubbles before applying another coat of finish product onto your tabletop project.
How do you pour epoxy on a table?
Let’s get started!
- Prepare the table. Clean and degrease the table and any surface that will be in contact with the epoxy. Sand down any rough parts of your table, then add an epoxy barrier to prevent staining or other damage from occurring to your finished piece.
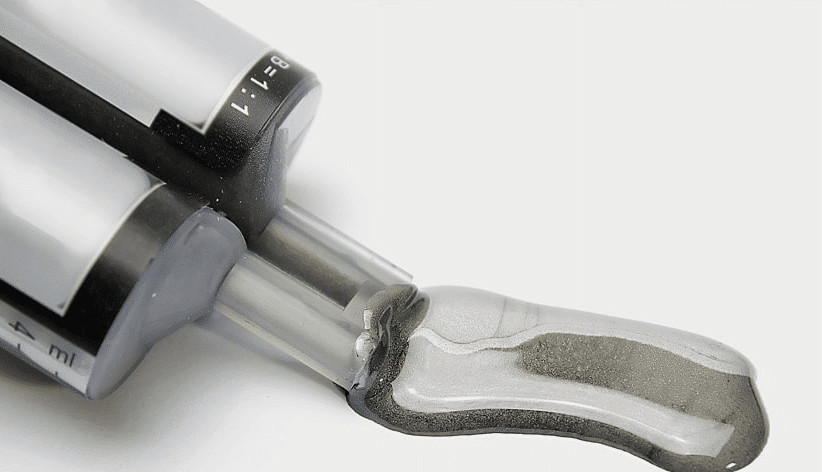
- Mix up your resin. Follow the instructions on your kit or pour it according to these general guidelines:
- Get a large plastic tub (or use a bucket) that’s at least twice as deep as your resin pot/cups, so you have plenty of room for mixing and cleaning up later on—and don’t forget about ventilation!
- Pour equal amounts of hardener into each cup/container; stir well until completely dissolved before proceeding to step 3 below – DO NOT ADD HARDENER TO EPOXY RESIN IF YOU ARE USING A TWO-PART KIT – ONLY ADD EITHER PART B OR PART A TO THE OTHER
Table of Contents
How do I prepare my table for epoxy resin?
To prepare your table for epoxy resin, you must first remove the existing finish. This can be done with a sander, chemical stripper or even sandpaper.
Next, sand the entire surface of your table to ensure that it is smooth and level. You should use medium-grit sandpaper and swirl marks will be removed by hand-sanding with the higher-grit paper if necessary.
How thick does an epoxy table need to be?
The thickness of your table will depend on what look you’re going for. A 1/8″ minimum is recommended, but if you want a thicker finish, a 1/4″ or greater thickness will be more durable and attractive.
How do you deep pour an epoxy table?
If you’ve decided to create your own epoxy table, you’ll need to understand the process and materials required. The first step is to assemble all of the tools and materials that will be used in this process.
The second step is pouring each layer of epoxy resin into the mold and allowing it to cure before adding another layer.
The next step is to mix together two or three parts of a two-part epoxy resin kit per bottle provided under specific temperature requirements (usually no more than 80 degrees F).
Make sure you follow safe working procedures as outlined by manufacturers when using these chemicals because they can cause serious health concerns if handled improperly or ingested accidentally.
How do you use epoxy resin on wood for beginners?
Using epoxy resin on wood for beginners can be a little intimidating. But don’t worry, it’s not as difficult as it seems. The following steps will help you create the perfect foundation for your piece of furniture!
- Clean and sand the surface. This includes removing any dirt, dust and grime from the surface of your wood or other material you’re using to build with. If there are any cracks or chips in your piece, use a chisel or hammer to fix them before proceeding further into this process.* Pour epoxy resin onto your cleaned and sanded piece of material/wood/etc., then spread it evenly across with a brush.* Wait for it to dry before removing all excess surfaces carefully so that they do not stick onto anything else after being removed from where they were placed originally onto when trying
How much epoxy do I need for a table top?
You will need at least 16 oz of epoxy resin to complete a tabletop. To calculate the amount of resin you need, measure the surface area (in square inches) and multiply by 0.22.
Round up to the nearest whole number if necessary and purchase that amount in liquid form (not powder).
Do you need to sand before epoxy?
To get your project ready for epoxy, you’ll need to sand the surface of the wood. The best way to do this is with an orbital sander. Start with 80 grit sandpaper and work your way up to 220.
After you’ve finished sanding all of the surfaces, wipe off any dust with a tack cloth. This will help create a smooth surface for the epoxy resin to adhere to.
Do you need to sand before epoxy? Yes! The wood needs a nice smooth finish so that it will be able to accept the resin evenly and easily without causing bubbling or cracking on top of uneven surfaces where it doesn’t stick as well due to micro-grooves formed by poor finishing techniques (like hand planing).
Conclusion
Epoxy resin is a great choice for making tables. It can be used to create durable, decorative furniture pieces that are both beautiful and functional.
When using epoxy resin to make a table, it’s important to remember that the process requires patience and attention to detail.
For example, you’ll need at least two people working together to mix the resin, pour it into molds, and cure it in an oven or drying chamber. A few simple steps can ensure that your epoxy table turns out looking great:
- Always wear a mask and gloves when handling the resin; this will protect your skin from irritation caused by inhaling vapors released during curing.* Use gloves on both hands—one pair of gloves will get messy very quickly if you’re working with any amount of resin.* Make sure every surface is covered with newspaper or plastic sheeting before starting work; this will prevent drops from staining surfaces like hardwood floors or carpeting.* Pour each layer slowly so there are no air bubbles trapped underneath—you should see only one smooth surface after curing.* Have extra molds handy just in case something goes wrong (e.g., bubbles accidentally get trapped in one part).
Martin Flood
Martin Flood has been working in the construction industry for over 20 years as a general contractor with expertise in remodeling projects that are large or small. He has furthered his career by specializing in epoxy resin flooring, providing excellent service to both commercial and residential clients. Martin’s experience enables him to offer professional advice on how to choose the right type of project based on your needs and budget.
View all posts by Martin Flood →