
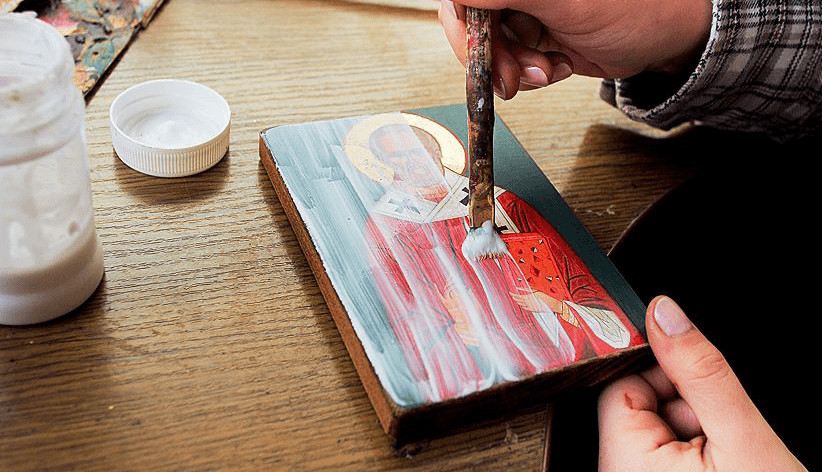
Live edge tables are a uniquely beautiful way to bring the outdoors in. They can be made from almost any type of wood, and they look gorgeous when paired with natural stones or reclaimed lumber (my personal favorite combo).
This tutorial will teach you how to make your own live edge table using epoxy resin, which is an easy-to-use glue that dries clear and makes for a durable finish on your piece—it also allows for some flexibility in design because it doesn’t require assembly as other adhesives do.
If you want to learn more about why I think this project is so fun, check out this post! Or if you just need some inspiration for your next DIY project, keep reading below!
How do you make an epoxy Live Edge table?
When you’re ready to start your table, you’ll need to prepare the wood and fill in any cracks or gaps. You can use epoxy filler (like this one) to fill up any holes in the surface of your table. Once that’s done, sand down the surface until it’s smooth.
Next, apply a coat of epoxy resin over the entire surface of your board—this will create a strong bond when you laminate your top onto it later on. Let this dry overnight before moving on to laminating the top onto your base using clamps and weights so that they are aligned perfectly straight across from each other at 90-degree angles.
Let those pieces cure for 48 hours before applying another coat of epoxy resin over them both; again let this dry overnight before removing from clamps/weights and sanding down once more until smoothness is achieved!
Table of Contents
- How do you make an epoxy Live Edge table?
- What kind of epoxy is used for live edge tables?
- How long does it take to make a live edge epoxy table?
- How do you make an epoxy resin table at home?
- How do you seal the live edge before epoxy?
- How do you seal live edge wood for epoxy?
- Can you leave the bark on a live edge table?
- Do epoxy cutting boards scratch?
What kind of epoxy is used for live edge tables?
If you’re interested in making your own live edge table, there are a couple of things to consider. First and foremost, it’s important to use the best epoxy resin for live edge tables. You’ll want to choose an epoxy resin that contains a thick pour two-part system so that it won’t seep through cracks or seams in the wood.
Epoxies are available from several manufacturers and can be purchased at most hardware stores or online retailers like Amazon (here are some recommendations).
One of the most popular brands among DIYers is Fusion Mineral Epoxy Resin because it comes in easy-to-use syringes rather than cans or bottles—you can dispense just what you need! For my table project, I used 5mL syringes filled with a 1:1 ratio mix (5 parts resin+5 parts hardener) which worked great since my top was only 2″ thick material with minimal surface area exposed between each ring segment
How long does it take to make a live edge epoxy table?
There are a few things you can do to speed up the process. If your table is in a cool room and on top of that you’re using non-UV epoxy, it will take longer to cure.
So be sure to keep your table close to a heat source (like a heater) and use UV-cured epoxy so that you don’t have to wait too long for it to cure!
How do you make an epoxy resin table at home?
- You need enough epoxy to cover the entire surface of your table.
- Mix equal parts of resin and hardener in a plastic container or bucket, stirring until they are completely blended together (this can take up to five minutes).
- Apply a layer of epoxy over the entire surface of your live edge table, then use a heat gun or torch to remove any bubbles from the top coat before it cures (this will speed up curing time).
- Apply another coat, letting it dry for at least 20 minutes between layers so that you get an even finish for each coat—you should end up applying at least three coats total if you want a nice finish with epoxy!
- When all coats have dried for 24 hours and cured completely (you can check by doing the thumbtack test), wipe off any excess with mineral spirits on a rag until clean and smooth again!
How do you seal the live edge before epoxy?
The first step is to clean the wood. You can use either acetone or rubbing alcohol to remove dirt, dust, and grease from the surface of your tabletop.
Then apply a coat of sealer to the edge of your live edge tabletop. Let it dry completely before applying another layer. Repeat this process until you have built up about three coats on each side of your tabletop.
How do you seal live edge wood for epoxy?
- Sanding sponge
- Palm sander
- Belt sander
- Power sander (or random orbital)
- Router with a 34mm Mastercut router bit and a guide bearing set (for cutting the live edge)
- Table saw or planer to put a flat face on the table if desired (can also be done with a jointer, but will take more time)
Can you leave the bark on a live edge table?
You can leave the bark on a live edge table. It’s up to you, but we recommend it. The epoxy will seal the wood and help protect it from moisture, which is where most of the rot starts in a piece of furniture.
Make sure your piece of bark is dry before you apply the epoxy! And if possible, try to find a tree that hasn’t been sprayed with pesticides or other chemicals (because those chemicals will eventually leach into your epoxy).
Do epoxy cutting boards scratch?
Epoxy resin is a scratch resistant material, but it can be scratched. Scratches are possible if you use sharp objects on the surface of your epoxy table or cutting board.
Sandpaper and steel wool (or other abrasives) can also scratch an epoxy tabletop. In addition, knives and other sharp objects can scratch the surface of your table or cutting board if they are allowed to drag across it during use.
When using your new live edge wood epoxy resin table or live edge wood epoxy resin cutting board, keep all of these things in mind so that you get many years of enjoyment out of it!
Conclusion
Now that you have the basics of how to make a live edge epoxy resin table, you’re ready to get started. You’ll need basic tools, like a drill, but there are plenty of tutorials online for those as well.
Epoxy is fairly inexpensive and can be found in most hardware stores or online (I recommend using 5-minute epoxy for this project). If your wood isn’t naturally smooth and straight, use sandpaper to buff it before applying the epoxy.
Once you’ve finished your table, don’t forget to seal the live edge so that water doesn’t seep into it and warp the wood.
Martin Flood
Martin Flood has been working in the construction industry for over 20 years as a general contractor with expertise in remodeling projects that are large or small. He has furthered his career by specializing in epoxy resin flooring, providing excellent service to both commercial and residential clients. Martin’s experience enables him to offer professional advice on how to choose the right type of project based on your needs and budget.
View all posts by Martin Flood →