
Making an epoxy resin table can be a fun and rewarding DIY project.
This article will show you how to make your own epoxy resin table in three easy steps:
- Prepare the wood
- Mix up your epoxy resin mixture
- Apply your epoxy resin mixture
How do you make an epoxy resin table at home?
To begin, you will need to gather your supplies. In addition to your table top, you will need some sandpaper and a few other things.
- Sandpaper (for sanding)
- Resin (color of choice)
- Paintbrush (to apply resin)
After gathering your supplies, you should clean the surface that you want to turn into an epoxy table top. Then paint on the resin using a brush or roller depending on how much coverage you want.
Once this has dried completely, mix up another batch of epoxy and pour it onto your table top until it covers all areas of the wood or metal surface
Table of Contents
- How do you make an epoxy resin table at home?
- What do I need to make an epoxy resin table?
- How much does it cost to epoxy a table?
- What kind of wood is used for epoxy table?
- How long does it take to make an epoxy table?
- What is epoxy resin made of?
- How do you make an epoxy mold for a table?
- How do you make resin out of wood?
What do I need to make an epoxy resin table?
- Epoxy resin
- Mixing stick
- Disposable gloves (I recommend buying the largest size available)
- Masking tape and cups to mix the epoxy in. You will also need a heat gun, torch, and protective clothing (including a respirator). If you are making this table for your home office then these tools can be used to create a stunning piece of furniture that lasts for years or even decades.
How much does it cost to epoxy a table?
The price of resin and hardener will vary depending on the size of your project, but you can expect to pay around $40 per gallon.
Lower-grade resins may cost less, but they won’t be as durable or easy to work with. Higher-quality epoxies are also more expensive—but they’re worth the extra cost if you want your project to last for years instead of months.
What kind of wood is used for epoxy table?
- Plywood is the best choice for making epoxy tables. It’s strong, it’s light and it can be cut into any shape you want.
- Pine is another good option if you’re looking for a budget-friendly option.
- Maple has a nice grain pattern and a creamy color that would look great on an epoxy table.
- Walnut is another popular choice because of its distinctive look and durability. If you decide to use walnut for your project, make sure that the wood is dry so that it will not crack when you start applying the resin mixture to it later on in this tutorial!
How long does it take to make an epoxy table?
Epoxy resin has a curing time of between 12-24 hours, depending on the size of your project and how thick the resin is applied.
The curing process can also be affected by room temperature. If you pour epoxy onto a cold table, it will take longer to cure than if you pour it on a warm table or heat up your table with an electric heater beforehand.
What is epoxy resin made of?
Epoxy resin is a material that gets used to make furniture, but it’s also used in other ways. Epoxy resin is a mixture of two parts: the resin, which is the main ingredient, and the hardener.
These parts are mixed together before they’re put into molds or poured over surfaces. Afterward, they’re left to cure for several hours or overnight depending on how thick you want them to be and how long it takes for your project to finish curing.
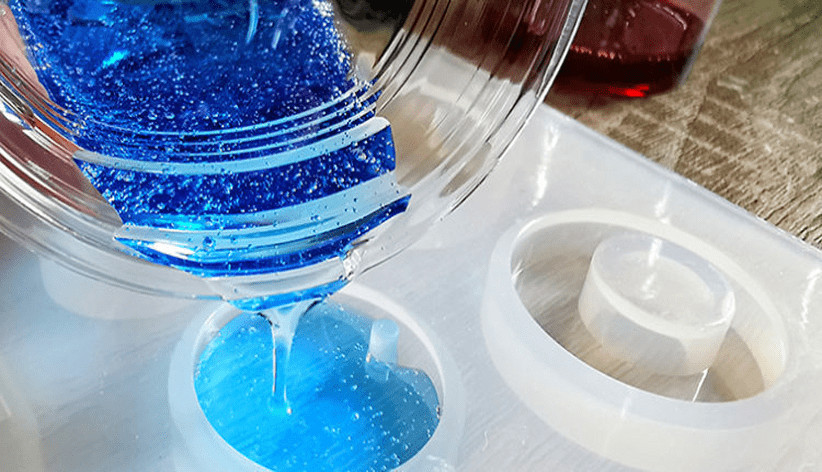
How do you make an epoxy mold for a table?
- Preparing the mold: Epoxy resins are a mixture of two parts, a resin, and a hardener. The resin is the base material that will be molded into your table shape. The hardener is used to speed up the curing process once mixed with the resin, so you can use it immediately without waiting overnight for it to cure.
- Mixing epoxy: Pour both parts into a container of water (a plastic bowl with measurements marked on it works best) and mix thoroughly until they are completely combined together like you would when making cake batter or bread dough with yeast (see images).
How do you make resin out of wood?
- Place your wood on a flat surface, and make sure it’s clean and dry before you begin.
- Apply the resin solution to the wood using a paintbrush or sponge, let it sit for at least 24 hours (or overnight), then wipe off any excess with a clean cloth or paper towel until there’s no more resin visible on your project piece.
- Sand away any rough edges with sandpaper—this step isn’t necessary if you’re happy with how smooth your piece already feels!
Conclusion
You should now have a better idea of how to make your own epoxy resin table. The process isn’t as difficult as it might seem, and once you get the hang of it, you’ll be able to make your own unique tables for yourself or as gifts.
We hope that you found this guide helpful and that when people see your finished product they will say “Wow! You made that?”
Martin Flood
Martin Flood has been working in the construction industry for over 20 years as a general contractor with expertise in remodeling projects that are large or small. He has furthered his career by specializing in epoxy resin flooring, providing excellent service to both commercial and residential clients. Martin’s experience enables him to offer professional advice on how to choose the right type of project based on your needs and budget.
View all posts by Martin Flood →