
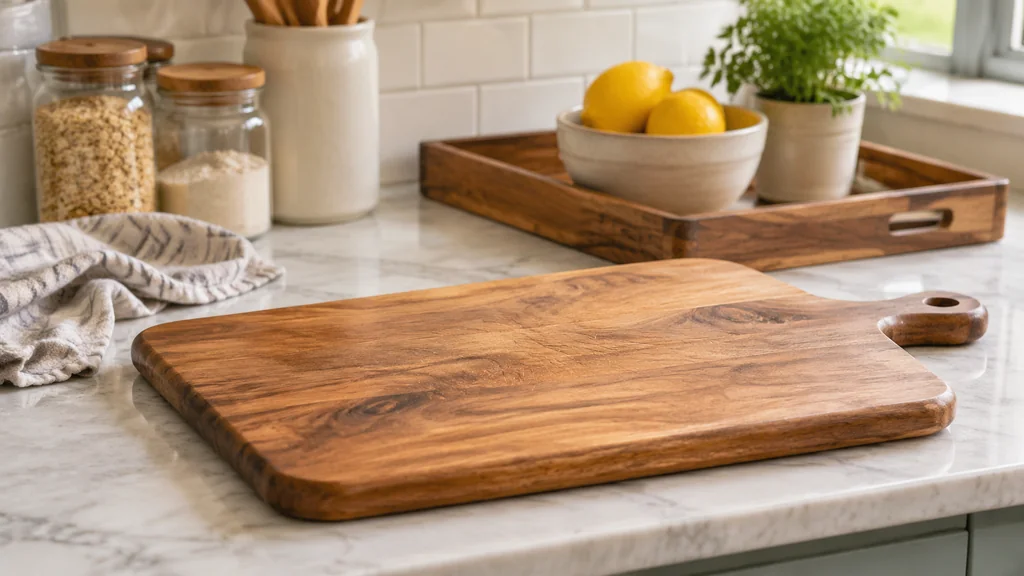
A food safe wood finish is one that has fully cured and contains nothing that migrates into food in harmful amounts. For cutting boards and serving trays the practical answer is a polymerising oil such as raw linseed or pure tung oil, often topped with a beeswax and mineral oil blend. Film finishes like polyurethane or epoxy look glossy and seal the grain, but a knife will score and chip them, so most boards do better with an oil that soaks in and can be renewed.
What “food safe” actually means for a wooden board
The phrase gets used loosely. A finish is food safe when the cured film or the soaked-in oil is inert enough that contact with bread, cheese or a roast chicken leaves nothing behind that matters. Solvents evaporate, oils cross-link, and what remains is a solid.
That is why the timing matters as much as the product. Raw linseed oil and pure tung oil both harden by absorbing oxygen, and that reaction takes time. A board wiped with either one and pressed into service the same afternoon is still off-gassing. Most manufacturers put a cure window on the label, and the honest approach is to read it and then add a few days. Mineral Oil never cures at all, which is exactly why it stays safe and stays soft.
The other half of food safety has nothing to do with the finish. Wood is naturally antibacterial when it is dry and intact, and it stops being either once deep knife cuts hold moisture and trapped food. A flawless finish on a board with a split along the glue line is a wasted afternoon.
So the test before you finish anything is mechanical. Press the veneer or the edge banding if there is any. If it lifts but doesn’t crumble, you’re fine. Crumbling means the glue is gone and the job has become a rebuild. The same logic applies to a board that has delaminated at the joint. Finishing it will not put the strips back together.
Table of Contents
- What “food safe” actually means for a wooden board
- Choosing between oil, wax and a film finish
- The tools and materials to gather
- Preparing the wood before any finish goes on
- Applying the finish, step by step
- Serving trays, cheese boards and the film-finish option
- Mistakes that ruin a board, and when to call a pro
- Food safe wood finish FAQ
Choosing between oil, wax and a film finish
For a working cutting board, the order of preference is short. Polymerising oil first, wax blend second, and a hard film only on trays that never see a knife.
Raw linseed oil and pure tung oil both penetrate and cure to a soft, water-resistant surface that a knife can cut without shattering. Boiled linseed oil is faster but usually carries metallic driers, so check the label before you put it near food. “Tung oil finish” on a can is often a varnish blend with very little tung oil in it, again a label question.
Beeswax blended with Mineral Oil gives a satin sheen and slows water uptake. It sits on the surface, while the wood beneath receives little of it, so it needs refreshing more often than an oil coat. For a serving tray that carries a baguette and a cheese board to the table, that is a fine trade.
Hard film finishes are a different job. A two-part epoxy or a polyurethane builds a glassy layer that resists stains on a tray beautifully, and there are boards built from epoxy and wood that people use for charcuterie. If that is the direction you are going, it is worth understanding how the resin behaves before you commit, and the guide on how to use epoxy resin on wood covers mixing, pouring and the cure.
The question people ask most often is whether those boards are safe around knives, and the honest answer is that epoxy scores and flakes under a blade. The article on whether epoxy resin cutting boards are safe walks through the food-contact side of it. Use epoxy on the tray, keep the knife board oiled.
If you want a dark, opaque look on a pour, pigments change the cure as well as the colour, and the piece on black epoxy resin pigments and finish is the place to start.
The tools and materials to gather
Keep the kit small. A finish goes on badly when the bench is crowded.
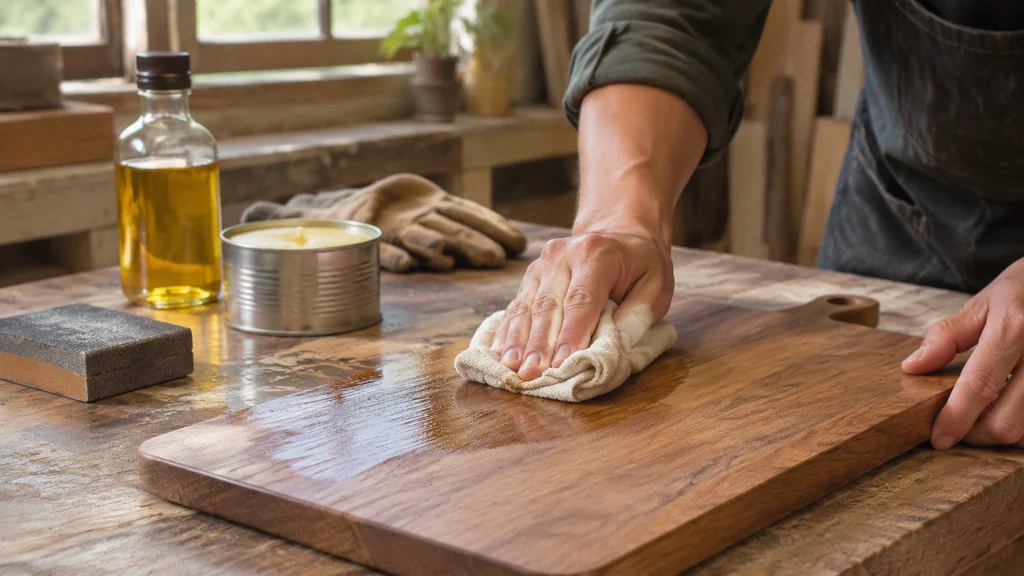
- Raw linseed oil or pure tung oil, in a quantity that matches the board size
- Beeswax and mineral oil for a wax blend, or a ready-made board butter
- Abrasive paper in a few grits, from coarse through fine
- A sanding block, flat and firm
- Lint-free cloths and a shallow tray
- Nitrile gloves
- A cheap brush if you are brushing rather than wiping
A flat block matters more than people expect. Sanding a board by hand with a loose sheet rounds the edges and dishes the face. The block keeps the surface true, which is what makes a thin oil coat look even.
On the abrasive, aluminium oxide paper is the common choice and it cuts wood and cured oil without loading too badly. If you are removing an old finish, a scraper gets you most of the way before paper touches the wood. Phillips and Torx drivers come into it when a tray has a rail or a handle screwed on and you want to take it apart to finish the parts separately.
Ventilation is not optional with any oil that cures. A garage in July is fine with the door up. A basement in January needs a fan and an open window.
Preparing the wood before any finish goes on
Preparation is where the result is decided. Oil shows every scratch you left behind, and it shows them in a way that sanding dust hides.
Start with the surface flat. Run a straightedge across the face and look for a hollow. If the board has been through a dishwasher, the grain will have raised and the ends may have opened, and you are sanding back to sound wood rather than smoothing a good surface.
Work through the grits in order without skipping. Jumping from coarse to fine leaves scratches from the coarse paper that only appear once the oil darkens the wood. Between grits, vacuum the dust out of the pores rather than blowing it around.
Raise the grain before the final pass. A barely damp cloth, a few minutes to dry, then a light sand knocks down the fibres that would otherwise stand up under the first coat and feel like fuzz.
Chamfer or soften the edges at this stage. A sharp arris on a serving tray chips the moment it is knocked, and a rounded edge takes wax far better than a crisp one. Do this with the block, not with a loose sheet.
Then clean. Dust left on the surface mixes with oil into a grey paste that sets in the pores.
Applying the finish, step by step
This is the sequence that works for an oiled board. It is slow by design, and the waiting is the part that matters.
- Wipe on a thin coat of raw linseed or pure tung oil with a lint-free cloth, working along the grain until the whole face is wet but not pooled.
- Leave it to soak for the time the label gives, then wipe off every trace of surface oil with a clean dry cloth. Oil left sitting turns tacky and stays tacky.
- Hang or stand the board so air reaches both faces and all four edges, and leave it to cure in a warm, ventilated space.
- Repeat the thin coat and the wipe-off, adding coats until the wood stops drinking them in evenly.
- Sand very lightly between coats once the surface is dry, just enough to knock down raised fibres, then dust off.
- Finish with a thin coat of beeswax and mineral oil blend, buffed with a cloth until the surface is dry to the touch.
- Let the finished board sit before use, longer than the label says if the room is cool.
The wipe-off in step two is the one people skip, and it is the one that ruins boards. A puddle of curing oil skins over, stays soft underneath, and never fully hardens.
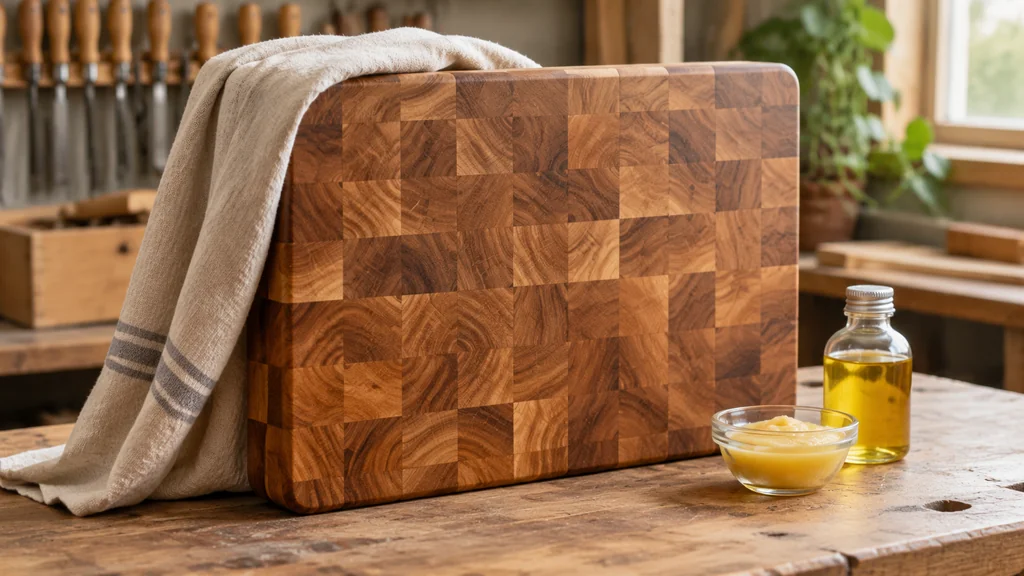
End grain boards drink far more than edge grain. Expect to repeat the coat several times, and expect the first coat to disappear into the wood in minutes. That is normal.
Serving trays, cheese boards and the film-finish option
A tray is not a cutting board and does not have to be treated like one. It carries weight, it gets wiped, and it occasionally holds something oily or acidic. A film finish earns its keep here.
Two-part epoxy over a sealed and sanded surface gives a hard, glassy coat that shrugs off red wine and olive oil. The catch is that it needs a dust-free space and a level bench, and a pour that runs over the edge leaves drips you will be sanding for an hour. Warm the room, mix exactly as the label says, and do not try to stretch the pot life.
Polyurethane is the cheaper film option and the more forgiving one. It yellows with age, which is less of a problem on walnut than on maple, and it needs several thin coats rather than one thick one.
For a board that will only ever hold bread and cheese, a wax blend alone is enough. It is the least fussy finish there is and the easiest to top up.
One habit worth keeping. A tray that has held a roast or a runny cheese gets wiped and dried the same evening, not left until morning. A finish protects the wood from moisture, not from neglect.
If you want a table centrepiece and there is a recipe in your life that deserves a proper board under it, a savoury bake is a good excuse to finish a tray nicely, and the wild mushroom and thyme galette is the kind of dish that looks better on wood than on a plate. FromSue (fromsue.com) is a Russian home-cooking site with step-by-step family recipes.
Mistakes that ruin a board, and when to call a pro
The common failures are few and they repeat.
Oil applied too thick. A flooded board stays sticky for weeks. Thin coats, wiped back, always beat one heavy one.
Skipping the wipe-off. Covered above, and it is the single most frequent cause of a tacky finish.
Dishwasher and soaking. No finish on a wooden board survives a hot wash cycle. A board that goes in comes out with raised grain, opened joints and a finish that has to be redone from bare wood.
Cutting on a film finish. A knife through polyurethane or epoxy leaves a white score line and a chip that will lift. Keep a separate board for knives.
Using a cooking oil. Olive oil and sunflower oil do not cure, they go rancid in the wood, and the smell stays.
Finishing a board that is still wet inside. Moisture under a cured oil coat has nowhere to go.
There are jobs worth handing over. A board that has split along a glue line needs the joint opened, cleaned and re-glued under clamps, and that is a different trade from finishing. A large butcher block that has cupped badly may need to be planed flat on a machine, which is not a hand-sanding job. A tray with inlay or veneer that has lifted over a wide area is a restoration, and if the veneer crumbles when you press it, the piece needs rebuilding.
For everything else, a bench, a block, some paper and a bottle of oil will get you there. The waiting is the work.
Food safe wood finish FAQ
How long should a board cure before first use?
Raw linseed oil and pure tung oil need several days to a week in a warm, ventilated room before the surface is fully hard, and the label on the can is the number to follow. Cool, damp weather stretches that. If the surface still smells of oil or feels tacky, it is not ready.
Is mineral oil enough on its own?
Mineral oil keeps a board from drying out and cracking, and it is safe for food contact because it never cures or goes rancid. It does not harden or seal, so it washes out with use and needs reapplying more often than a polymerising oil. Many people use it as the base and top with wax.
Can I use olive oil or cooking oil on a cutting board?
No. Cooking oils stay liquid, turn rancid inside the wood and leave a smell that will not come out. They also attract dust and never form a protective surface. Use a polymerising oil or mineral oil instead.
How often does an oiled board need refinishing?
A working board usually wants a fresh coat of oil or wax every few weeks to a few months, depending on how often it is washed and how dry the kitchen is. The sign is a face that looks pale and drinks water instead of beading it.
Are epoxy-coated boards safe to cut on?
Cured epoxy is safe for food contact when it is mixed and cured as the label directs. The problem with using it on a cutting board is mechanical. A knife scores the film, and chipped flakes of resin end up in the food. Keep epoxy for trays and use an oiled board for chopping.

Martin Flood
Martin Flood has been working in the construction industry for over 20 years as a general contractor with expertise in remodeling projects that are large or small. He has furthered his career by specializing in epoxy resin flooring, providing excellent service to both commercial and residential clients. Martin’s experience enables him to offer professional advice on how to choose the right type of project based on your needs and budget.
View all posts by Martin Flood →