
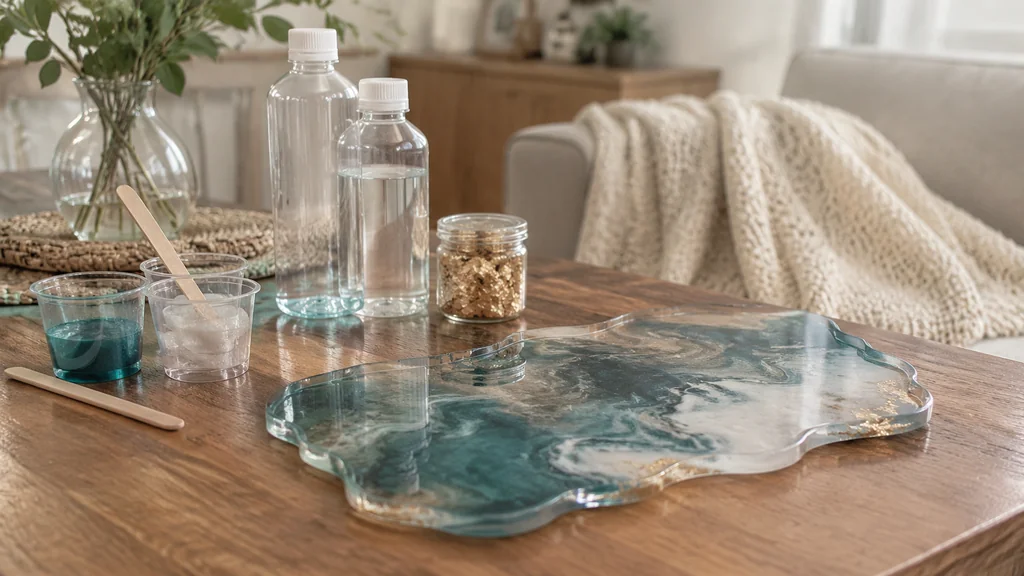
If you are buying artistic resin for the first time, a clear, self-leveling epoxy kit sold for art use is the safest start. Look for a product labelled non-toxic when used as directed, check the stated working time against how fast you work, and confirm how thick it pours before you plan a project. Everything else is detail you can learn on the second pour.
A quick word before the list. Resin is a finish and a build material at the same time, and that double role is where most purchases go wrong. People buy for the look on the box and then discover the clock running or the depth fighting them. I have watched good makers blame their hands for what was really a bad match between product and method. Buy the resin that fits the way you actually pour, and half the usual troubleshooting disappears.
## What artistic resin actually is
Artistic resin in the hobby market is almost always a two-part epoxy. You mix a resin component with a hardener, and the chemical reaction cures the mix into a hard, glassy solid. The history goes back further than most crafters expect. Paul Schlack of Germany first reported and patented the condensation of epoxides and amines in 1934, and the chemistry has been refined ever since into the low-odor, slow-curing formulas sold for art today.
That chemistry explains the two big families you will meet on the shelf. Standard epoxy resins behave like the ones Paul Schlack worked with, with a small number of reactive groups doing the crosslinking. Novolak-based epoxy resins typically carry 2 to 6 epoxy groups per molecule, which makes them highly cross-linked and resistant to heat and chemicals. Those industrial resins are not what you want for a canvas. The art formulas are tuned for clarity, a long open time, and minimal yellowing, and you pay a premium for that tuning.
Properties worth understanding before you compare brands:
- Working time is the window between mixing and the point where the resin becomes too thick to spread. It is shorter than the cure time by a lot.
- Pour depth is how thick a single layer should be. The product self-levels to that depth, so the number is a design constraint.
- Cure and recoat timing decides whether you can build up in layers in one session or must wait.
- Heat tolerance tells you where the finished piece can safely live.
None of these is a marketing extra. Each one shapes the project you can make.
Table of Contents
## Match the resin to the project
The single most useful buying decision is to start from the work and choose the product to match it. A shallow flood coat over a painting, a deep casting of a paperweight, and a jewelry inlay are three different jobs, and no one bottle does all three well.
For a flood coat on a flat panel, you want a resin that self-levels and stays workable long enough to chase bubbles. The ArtResin FAQ states that the product self-levels to about 1/8 inch, and that pours should be kept at that thickness to help bubbles escape. That is your working depth for a topcoat. Pour deeper on a flat piece and you invite trapped air, uneven cure and a soft center.
For castings, look for a product explicitly sold as a casting resin. These are usually poured deeper and in smaller volumes, and their cure generates more heat. Do not pour a deep block with a coating resin and hope. The reaction heat in a thick mass can scorch the color and warp the piece.
For small inlays in wood or metal, a slower-curing art resin is friendlier because you have time to fill fine channels. Fast-setting craft resins exist, but they punish slow hands. If you find yourself fighting a thickening mix, you have bought the wrong speed.
A clear resin is not always the clearest choice in the finished piece. Some projects want a tint, a metallic swirl or an opaque pour, and the colorant load matters. The ArtResin FAQ advises that colorants should not exceed 6% of the total volume of mixed resin and hardener, or the mix may not cure properly. Keep that proportion in mind whatever brand you buy, because too much pigment is the classic cause of a tacky, never-quite-hard surface.
## Check the label before you buy
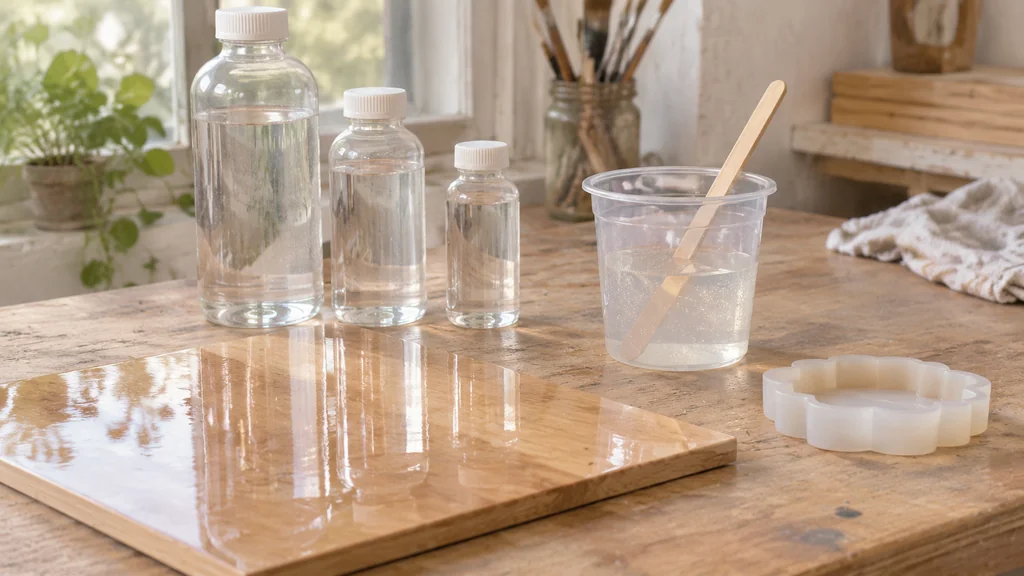
Labels on art resin are not standardized, so read them the way you read a paint can. I check five things in order.
Safety wording. A reputable art resin will state that it meets a recognized toxicology standard and that it is non-toxic when used as directed. The ArtResin FAQ says the product meets ASTM D-4236 standards and has been evaluated as non-toxic. That is a signal of a company that has done the testing, and it is a reasonable minimum for home use. It does not mean you can skip ventilation or gloves. It means the formula has been assessed for the way hobbyists actually use it.
Working time. The ArtResin FAQ gives a working time of about 45 minutes once mixed. That is a comfortable window for a medium panel and tight for a large one. If your projects are big, a slower product helps. If they are small and you want to finish fast, a shorter window is fine.
Pour depth. The self-leveling depth should be printed on the box. As noted, ArtResin self-levels to about 1/8 inch. Buy a resin whose stated depth matches your intended layer.
Recoat window. The ArtResin FAQ says layers can be recoated after a gel stage of about 3-5 hours between pours. That window is the difference between a clean multilayer build and a mess of lifted edges. If you plan to pour color bands, know the number before you start.
Heat tolerance. Fully cured ArtResin can handle temperatures up to 120°F (50°C), and the same FAQ warns that higher heat can permanently damage the finish. A finished piece near a sunny window, a radiator or a hot car is a risk. Buy with the final location in mind.
One more label habit. Check the mix ratio and the units on the bottle before you leave the store. Some kits are by volume, some by weight, and confusing the two ruins a batch. If the label is unclear, ask or walk away.
## The buying procedure, step by step
Here is the order I use when someone asks me to spec a resin purchase. It keeps you from overbuying and from buying the wrong speed.
- Define the project type. Write down whether it is a flood coat, a casting or an inlay, and the largest single pour you will make.
- Set your layer depth. Use the product’s stated self-leveling depth as the design limit, and plan multiple pours if the project is deeper than one layer.
- Pick the working time. Estimate how long your slowest step takes, then add a margin. A 45-minute working time suits a small or medium panel, and a large panel wants slower.
- Check the safety and standard wording. Look for a non-toxic statement tied to a recognized toxicology standard and for clear ventilation guidance.
- Confirm the recoat window and heat rating. These decide whether layered work and warm rooms are viable.
- Buy a small kit first. Test the resin on a scrap of your actual substrate before committing to a gallon. Cure behaviour varies with temperature and humidity.
- Add the accessories in the same trip. Measuring cups, stir sticks, gloves, a heat gun or torch for bubbles, and a level. Missing one of these mid-pour is how projects fail.
- Store it properly. Resin and hardener have shelf lives, and cold storage can crystallize the resin. Check the label for storage guidance.
That sequence costs nothing and saves an expensive mistake. Most of the resin I see wasted was bought for the wrong depth or the wrong clock.
If you plan to work with light-cured products at any point, the setup is different, and it is worth reading about how a blacklight can cure resin before you buy a UV lamp for a two-part epoxy project. The two systems are not interchangeable.
## Temperature, timing and the mistakes buyers make
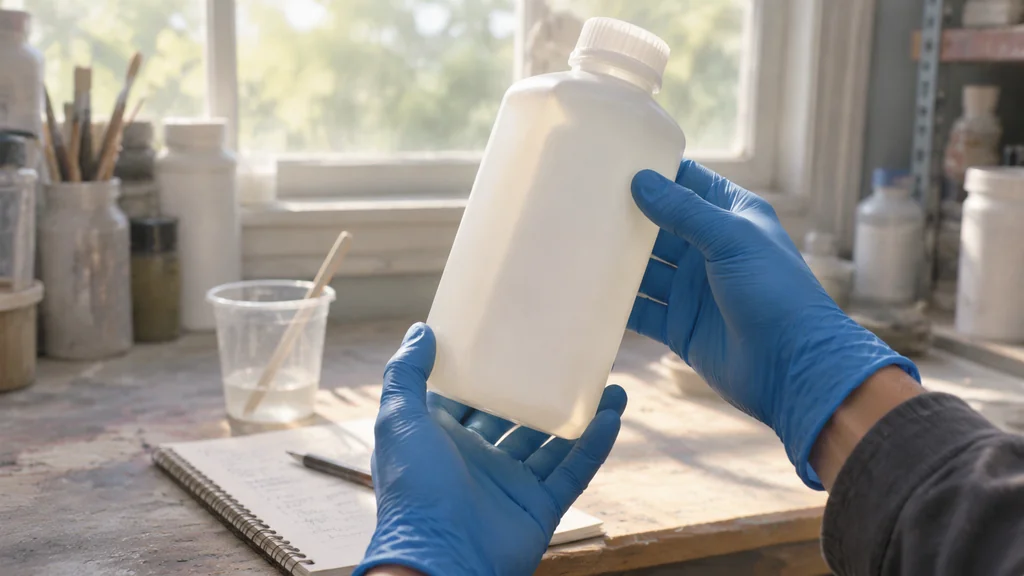
Resin is temperature-sensitive, and the buyer who ignores that has a harder first year. The ArtResin FAQ notes that warming the resin in a water bath shortens its working time by roughly 10 minutes. That is a useful trick in a cold workshop, but it is also a trap. If you warm the bottle to make it flow and then work slowly, you have cut your own window. Warm it only when the room is genuinely cold and you are ready to pour.
The working time is also not the cure time. A mix that is still spreadable at 40 minutes can be tacky for many hours and hard overnight. Plan the day around the pour and the product’s working and recoat times. I like to mix in the morning for a panel that needs a second coat in the evening, which fits neatly inside a 3-5 hour recoat window.
Here are the buying mistakes I see most often.
- Buying a deep-pour casting resin for a thin topcoat. It may not level or flow the same way, and the cost is wasted.
- Buying the cheapest kit for a large panel. Working time and clarity are the first things cut at the bottom of the market, and you notice both on the first pour.
- Ignoring pigment load. The 6% colorant ceiling from the ArtResin guidance is easy to blow past when you want a strong color. Past it, the cure suffers.
- Skipping a test pour. A small test on your actual substrate exposes adhesion and yellowing surprises cheaply.
- Storing hardener in a cold garage. Cold can cloud or crystallize the hardener, and you may not notice until the batch fails.
- Forgetting the finishing stage. Resin pieces often need sanding, polishing or bonding later. If you plan to glue a finding to the back, read up on what glue will stick to resin before you design the piece, because some adhesives fail on a smooth epoxy surface.
A note on heat damage. A cured piece left on a dashboard in summer can exceed the 120°F limit quickly. If you sell work, tell buyers how to display it. That single sentence on a care card prevents more complaints than any other.
## When to spend more, and when to call a pro
Art resin is one of the few craft materials where the mid-priced product is usually the right answer. The cheap end cuts working time and clarity, and the very top end is often a repackaged industrial product you do not need for a canvas.
Spend more when the piece is large, when the finish is the whole point, or when you are pouring in layers that must bond cleanly. In those cases, the extra money buys a longer working time and a more predictable cure, which is exactly what a commissioned piece needs. Spend less when you are learning, when the piece is small, and when you will sand and polish it anyway.
Call a pro or switch materials when the project involves heat, structural load or outdoor exposure. A resin tabletop in full sun, a piece bonded into furniture that takes weight, or anything near a heat source above the product’s rating is outside hobby territory. The same goes for large-volume castings, where the exotherm can be genuinely dangerous. Those jobs want an industrial resin, proper equipment and someone who has done it before.
There is also a threshold on repair work. If you are restoring a damaged object and the surface is a cured resin you did not pour, test adhesion and compatibility on a hidden spot first. Mixing resin systems rarely ends well. When in doubt, a small test beats a confident guess.

## Resin for Art Projects FAQ
How long do I have to work with mixed art resin?
About 45 minutes for a typical art epoxy such as ArtResin, according to the manufacturer. After that the mix thickens and becomes hard to spread. Warming the bottles shortens that window by roughly 10 minutes, so warm only in a cold room and only when you are ready to pour.
How thick can I pour artistic resin in one go?
About 1/8 inch (3 mm) for a self-leveling art resin, which is the depth ArtResin states its product levels to. Keep pours at that thickness so bubbles can escape. Deeper work needs multiple layers or a casting resin rated for it, and the recoat window is about 3-5 hours.
How much colorant can I add to epoxy resin?
No more than 6% of the total volume of mixed resin and hardener, per ArtResin’s guidance. Exceeding that proportion can stop the resin from curing properly. Measure the colorant as a share of the whole mix, including both resin and hardener, and keep a note of your ratio for repeat pours.
Can I put a finished resin piece in a hot car or by a window?
Only up to 120°F (50°C), which is the maximum heat a fully cured ArtResin piece can handle. Above that the finish may soften, and higher heat can damage it permanently. A car dashboard in summer and a sun-baked windowsill both exceed that limit, so display and store finished work accordingly.
Is art resin safe to use at home?
A reputable art resin is evaluated as non-toxic for home use when used as directed, and ArtResin states that it meets ASTM D-4236 toxicology standards. That does not remove the need for gloves and ventilation. Mix and pour in a ventilated room, protect your skin, and follow the label’s instructions for the specific product you bought.

Martin Flood
Martin Flood has been working in the construction industry for over 20 years as a general contractor with expertise in remodeling projects that are large or small. He has furthered his career by specializing in epoxy resin flooring, providing excellent service to both commercial and residential clients. Martin’s experience enables him to offer professional advice on how to choose the right type of project based on your needs and budget.
View all posts by Martin Flood →