
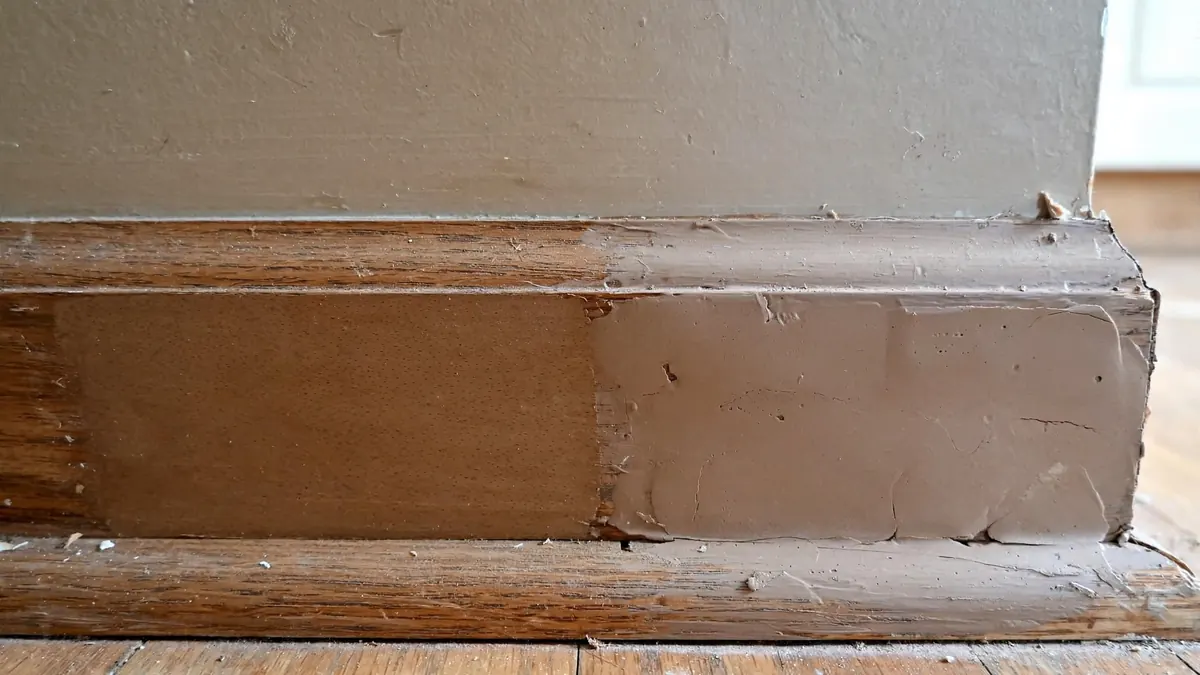
Two-part epoxy wood filler is a resin and hardener you mix at the moment of use, and it cures into a hard, structural patch that takes paint and holds screws. One-part putty comes ready from the tub, dries by solvent or water evaporation, and shrinks as it goes off. Use epoxy where the repair carries load or faces weather, and putty for shallow cosmetic dings indoors. Two-part epoxy resins are used in joinery repair today. Material data sheets set out mix ratios, pot life and cure times at stated temperatures.
What each product actually is
A two-part epoxy wood filler ships as two components. One is a resin, the other a hardener, and nothing happens until you blend them. The chemical cure is what gives epoxy its grip and its hardness. Once it kicks, it does not shrink back and it does not soften when the humidity climbs in July. The two-part system is a thermosetting resin, and once the hardener has reacted the patch cannot be melted back.
One-part putty is a filler paste in a solvent or water carrier. It hardens as the carrier leaves, pulling in slightly. That shrinkage is easy to sand out on shallow indoor dents, but it shows on weather-facing sills. Linseed Oil putty hardens by oxidation and can turn brittle after years of sun and frost. Acrylic Caulk dries by water evaporation and stays flexible, making it suitable for interior trim joints.
Table of Contents
Where one-part putty earns its place
Putty suits shallow cosmetic damage on sound wood indoors.
- Filling old nail holes before painting a door casing
- Levelling a small gouge in a flat panel that will be sanded and coated
- Patching dents in interior trim where no load passes through
- Quick touch-ups on furniture that will never see rain
Putty needs no mixing or pot-life management, but it fails on soft wood or where a patch must hold a hinge screw.
Where two-part epoxy wood filler is the only sensible choice
Epoxy suits exterior trim, sills, thresholds, porch columns, and other soundable wood damaged by rot. Once cured, it can be sanded, drilled and tapped. It bonds to sound wood and seals the repair edges against moisture.
If the rot has gone soft and spongy, or hollowed out behind a firm skin, a straight filler is the wrong first step. Consolidate the fibres before you fill, and follow the method in this guide to penetrating epoxy for soft and rotted wood before any epoxy goes in.
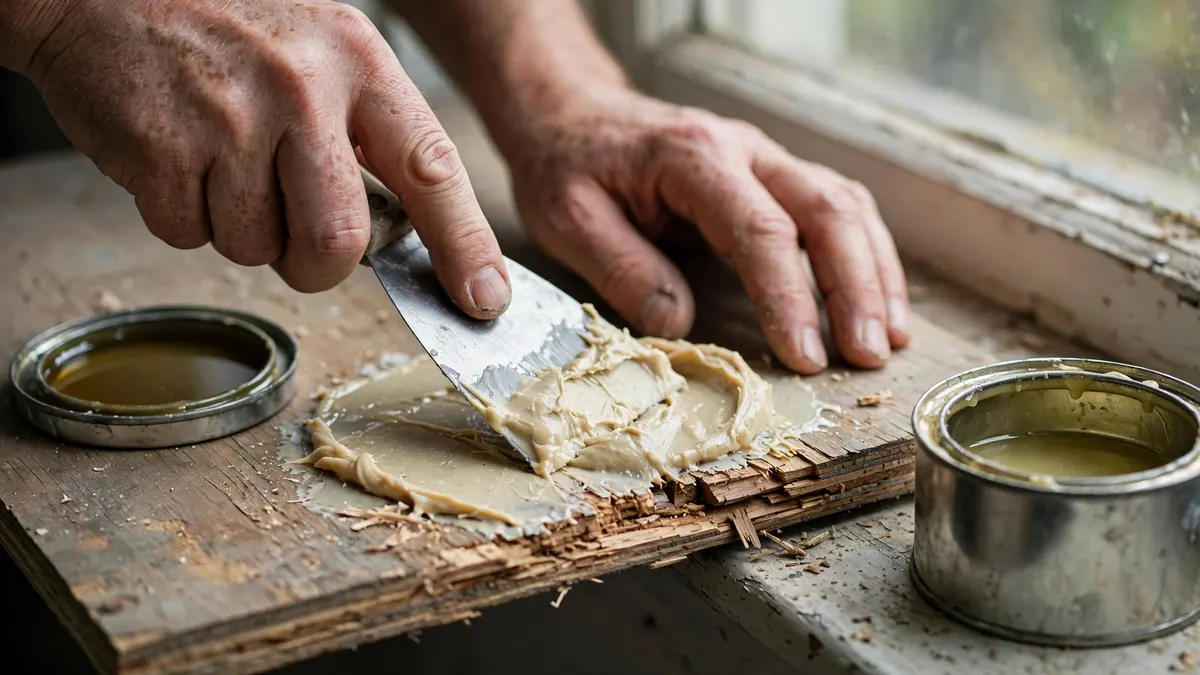
How to apply two-part epoxy wood filler
- Dig out all the soft, crumbly wood with an awl or a small chisel until you reach firm fibre. Epoxy bonds to sound wood, not to mush.
- Brush out the dust and let the cavity dry. Damp wood traps moisture under the patch.
- Consolidate any spongy grain with a thin penetrating resin and let it cure.
- Mix the two parts to the ratio on the label, folding until the colour is even.
- Press the epoxy into the cavity with a putty knife, overfilling slightly so you can sand back flush.
- Let it cure fully before sanding. Cool weather slows the cure, so give it longer than the label suggests.
- Sand flush, then prime and paint. Epoxy takes paint well once the surface is scuffed.
Mix small batches because epoxy pot life shortens as the workshop warms. Keep the mixing scrap flat, since a thick lump of curing epoxy generates heat. On exterior work, the coating helps keep water out; see this comparison of waterproof epoxy sealers.
Mixing, ratios and cure times
Measure the resin and hardener by volume or weight, following the label exactly. Too little hardener can leave the patch tacky; too much can make it brittle and chalky.
Pot life and cure time shorten as temperature rises and lengthen in cold conditions. Check the product spec sheet because times vary by formulation and temperature.
Wait until epoxy is fully hard before sanding; early sanding clogs Silicon Carbide paper. A cabinet scraper removes bulk from flat trim. Then use an 80-grit sheet, followed by 120-grit and 180-grit paper, before priming.
Moisture, movement and the mistakes that cost you
Three common errors cause failed epoxy repairs.
Filling over rot. Soft wood behind the patch leaves a spongy core that can crack at the edges. Dig back to sound fibre.
Skipping consolidation. Apply thin penetrating resin to rotted grain and let it stiffen before filling.
Coating too soon or not at all. Protect exterior epoxy with a topcoat. A waterproof epoxy wood sealer closes the cured surface; on painted trim, prime the patch before applying two coats of exterior paint. Let the epoxy cure fully before fitting a hinge or driving a screw, or the fresh patch may loosen around the fastener.
Cost and when to call a pro
One-part putty and acrylic caulk cost less for small interior repairs. A two-part kit costs more but can handle many repairs. For exterior joinery, epoxy may cost less than replacing a sill.
Get professional help when rot reaches structural members or a load-bearing joint. A restorer’s guide to epoxy wood sealer explains coating schedules.
Two-Part Epoxy Wood Filler FAQ
Can I use one-part putty outside?
You can, but expect it to shrink and crack as it dries and to fail faster under wetting and drying. For exterior trim, sills and thresholds, a two-part epoxy wood filler is the better choice. Keep the putty tub for interior work.
Does two-part epoxy wood filler shrink?
No, a properly mixed epoxy cures without shrinking. Solvent-based putty pulls in as the carrier evaporates. Mix to the label ratio and the patch stays where you put it.
Can I paint over epoxy filler?
Yes, once it is fully cured and sanded. Scuff the surface so the primer has a key, then prime and topcoat as normal. On exterior work, use a waterproof coating over the patch to keep moisture out.
How long before I can sand it?
Wait until the epoxy is hard throughout, which depends on temperature and the product. Cool conditions slow the cure considerably. Check the spec sheet, and test a corner with a fingernail before you sand.

Martin Flood
Martin Flood has been working in the construction industry for over 20 years as a general contractor with expertise in remodeling projects that are large or small. He has furthered his career by specializing in epoxy resin flooring, providing excellent service to both commercial and residential clients. Martin’s experience enables him to offer professional advice on how to choose the right type of project based on your needs and budget.
View all posts by Martin Flood →