

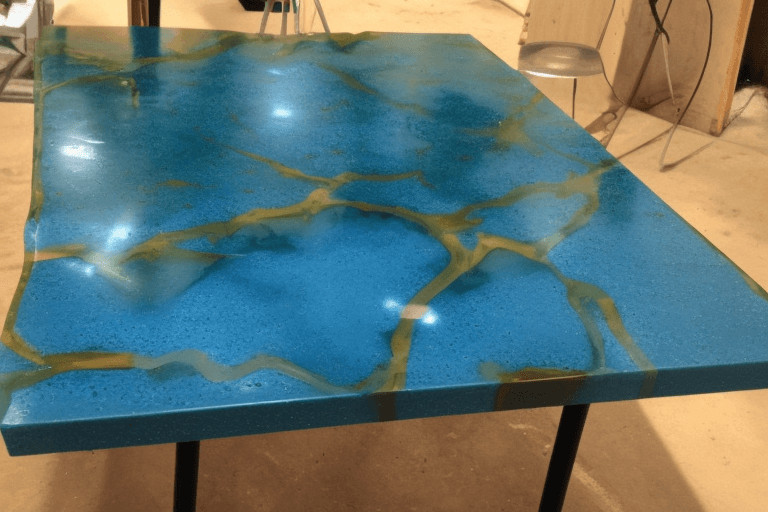
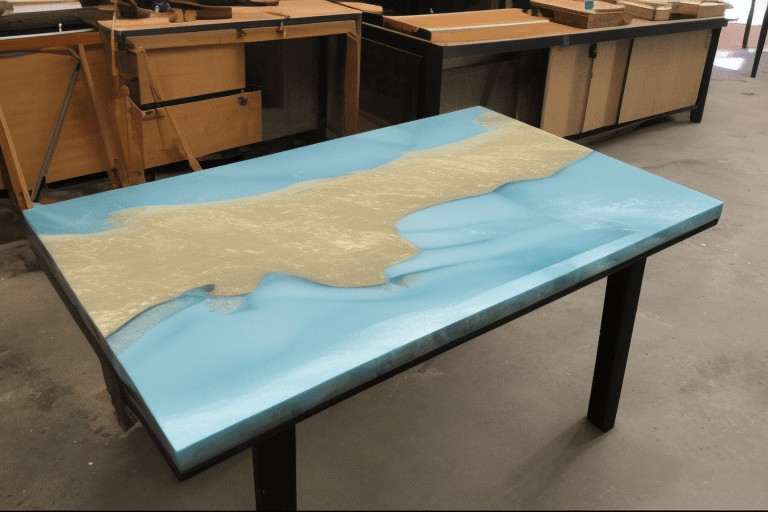
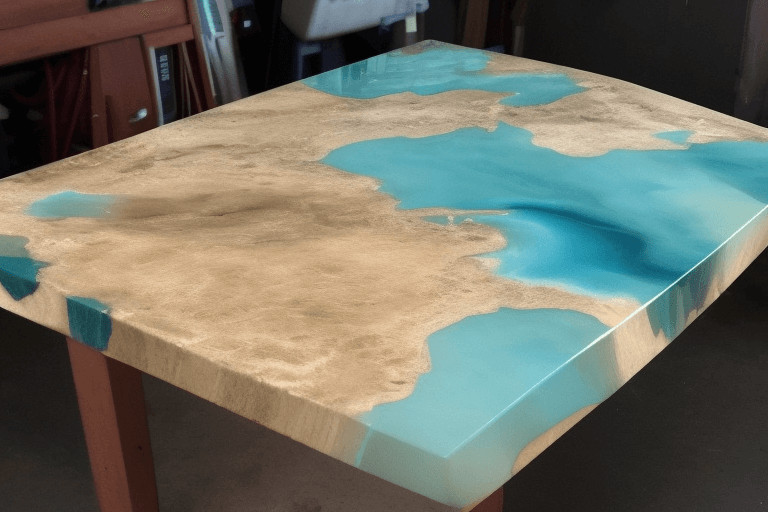
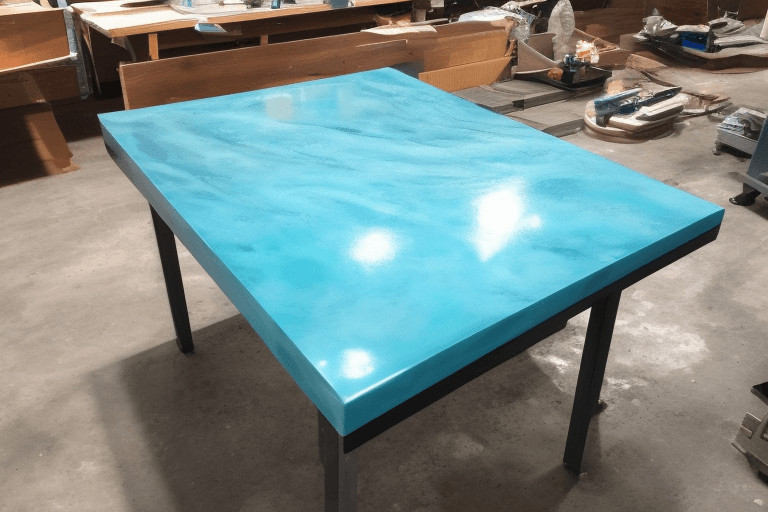
Many people ask themselves “How do I attach legs to an epoxy resin table?” If you’re one of them, then this blog post is for you. We will go over the steps that need to be taken in order to ensure your table has sturdy and attractive legs.
How Do You Attach Log Legs To A Tabletop
Attaching legs to an epoxy resin table is not that difficult. It just requires a little bit of planning and consideration for the process before you begin.
The first thing you need to do is make sure your top has beveled edges so the mold fits perfectly on it without any overhang or gaps in between them.
You can coat your wood with sanding sealer coatings which will help prevent any scratching while adding further protection against moisture damage too!
If this doesn’t appeal, then there are plenty of other options out there like waxes, Linseed oil, etc…
Once your legs have been cut down into smaller pieces at 45 degrees using a miter saw (you may want to drill pilot holes beforehand), pop them up onto the tabletop and mark them around the edges with a pencil.
Once you’ve done this, then take them back off again before using an epoxy resin to glue on your legs! Make sure there’s enough of it though because if not, once they’re attached you won’t be able to move them about anymore easily.
Splurge some more onto any gaps between the wood too so everything is sealed tightly together in one piece.
You can use screws or nails for added security depending on what suits best but make sure they don’t poke through either side of your leg pieces as these will need sanding down slightly afterward until both sides are flush against each other without being protruding out from behind or underneath where anyone could get hurt by them later on.
Table of Contents
- How Do You Attach Log Legs To A Tabletop
- How Do You Stabilize Table Legs
- How Do You Attach Legs To A Live Edge Table
- How Do You Attach Plywood To A Tabletop
- How Far In Should Desk Legs Be
- How Do I Stop My Table Legs From Wobbling
- Why Are My Table Legs Wobbly
- How Do You Stabilize A Shaky Table
- How Do You Attach Hairpin Legs To A Table
- How Do You Connect Legs To A Table
- How Do You Attach Legs To A Table With Aprons
- How To Attach Legs To A Table Diy
How Do You Stabilize Table Legs
If you have a table or desk, then the legs can be very unstable if they are not attached to each other.
There is actually an easy solution that uses epoxy glue and it will work for both wooden tables and metal ones too.
Below we’ll go over how this super simple method works so you can stabilize your own furniture! The best part about this tip?
You really don’t need much more than what comes in an average tube of epoxy resin at most hardware stores around town.
This includes woodworkers who create their own custom pieces as well; all you might need in addition to your typical supplies are some small screws (if needed) instead of nails/glue which should help with any harder woods like maple, oak, or cherry.
How Do You Attach Legs To A Live Edge Table
It all starts with a live edge, which is where the table’s legs are attached. You can use metal or wood for your legs it depends on how much weight you need to support.
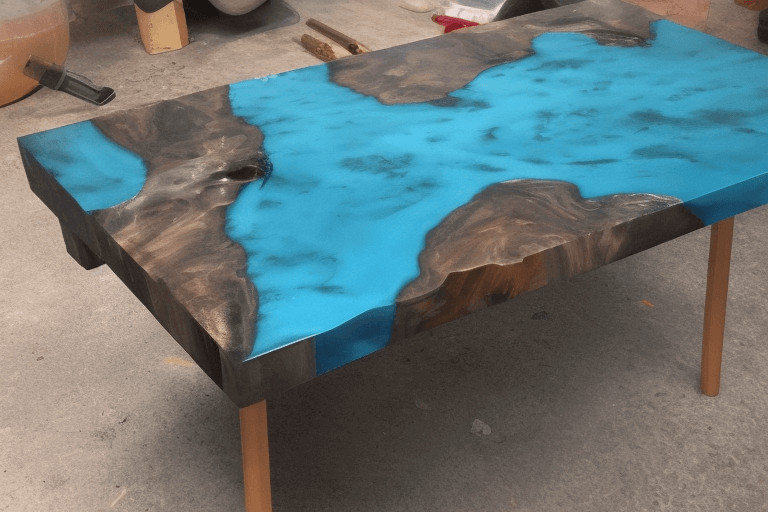
The more important factor when choosing leg materials is aesthetics – think about what kind of style you want in your home!
If you prefer something that blends into its surroundings then choose wood, but if sleek is more your speed then stainless steel will do the trick.
Here at Midwest Live Edge, we have both options available so contact us today and get started building your custom tabletop!
How Do You Attach Plywood To A Tabletop
I use epoxy resin to create a tabletop. If you buy it online, the seller usually includes instructions on how to attach legs or other components.
Another option is attaching legs with screws that are sunk into the wood so they don’t show up above the surface of your table.
These work well if you already have drilled holes in your plywood for this purpose and plan ahead by not filling them with epoxy first!
You can also drill new holes where needed after applying some sort of finish (like polyurethane), but be sure not to fill those either before finishing because no matter what kind of screw head I use, my project always looks messy afterward due to tiny bits leftover from drilling through an extra layer of material.
If you want a stand-alone table, it’s best to attach the legs before applying resin in case they get in your way or prevent you from pouring properly into the corners of your project.
Make sure that all surfaces are clean and dry before starting this process! It will not work if there is any residue left behind on top of the plywood because epoxy does not adhere well to other materials like paint, varnish, etc.
You can use painter’s tape when attaching components with glue but make sure when complete that it peels off easily without taking wood fibers with it (use water as a lubricant).
How Far In Should Desk Legs Be
The distance between the floor and the bottom of your tabletop should be about two to three inches depending on what you are doing with your feet.
I recommend this height for anyone who is using their desk as a standing one because it will make it easier for you to transition from sitting to standing if that’s something you do throughout the day.
If, however, you want your legs closer to where they would be when seated (ie: around 25-30 cm or so), then opt-out of attaching them at all but instead use an L bracket under each corner of the tabletop along with some adhesive caulk.
This way there won’t be any screws showing through! How many leg attachments per epoxy resin table? One in each corner will do the job just fine.
Just make sure you attach them in a way that doesn’t interfere with your pour and it would be best to either pre-drill holes or use brackets so you don’t break through any of the sides when trying to insert screws afterward.
How Do I Stop My Table Legs From Wobbling
First, check that your table is level and stable. If it isn’t balanced or sturdy enough on its own, you may need to add some support underneath where the leg will go before attaching it with epoxy resin.
Second, attach screws through each of the four holes in opposite corners into studs behind your wall’s drywall.
Third, use Super Glue® Clear Adhesive between all four screw heads and one side of a small wood block (or even just another piece of scrap wood).
Then glue this block inside one corner hole so that when you press down on an unglued area of the same row as any glued areas above it, the legs should stay down.
If you’d like, use a rubber band around one leg’s bottom and another below it to hold them in place while they dry for about an hour or two (check the instructions on your glue).
Why Are My Table Legs Wobbly
This is a common question, and it can be frustrating. A wobbly table might make everyone at the party spill their drinks!
To fix your wobbly legs, you’ll need some wood screws or bolts to attach them to the frame of your new epoxy resin table. You also have two options for attaching the legs: from the inside or outside of the epoxy resin table.
If you choose to attach your legs from the inside, measure out where you’ll be drilling holes in your epoxy resin tabletop for each leg.
Use a pencil and ruler to create small marks on the underside of your new side table that will indicate where each screw or bolt should go.
How Do You Stabilize A Shaky Table
Attaching the legs to an epoxy resin will make it sturdy and durable. It’s easy, too! Here are some steps on how to attach your own wooden table legs using epoxy resin:
- Use sand paper or sander for the table’s surface.
- Mix the epoxy resin and hardener according to package instructions.
- Add wood flour (for more strength) if desired.
- Use a brush for applying on your legs or attach with toothpicks using glue or tape as you go around the leg edge, then place into position onto the bottom.
How Do You Attach Hairpin Legs To A Table

The process of attaching hairpin legs to a table is easy and can be done in less than an hour if you have all the materials ready.
You will need epoxy resin, a drill with different sized bits, clamps, or weights (at least two), pieces of cloth for spilling any excess resin on before it starts drying up, wood glue for wood-to-wood surfaces, a small block of wood, and a circular saw.
How Do You Connect Legs To A Table
There are many ways to attach legs to a table. The most common way is with metal screws. Wood glue, epoxy resin, and brackets that connect through the underside of the top can also be used for this purpose.
You may even opt to leave your legs off entirely if you’re looking for an interesting design effect!
How Do You Attach Legs To A Table With Aprons
Start by measuring the distance between the aprons. Use a carpenter’s square to mark out where you need to drill holes in your base for screws or dowels, depending on how you’re attaching them.
Place one leg securely up against each side of an apron and then draw lines that connect them along the top edge using your chalk line.
How To Attach Legs To A Table Diy
The best way to attach legs to a table is by drilling them in and then putting wood screws through the holes. This requires a drill bit that can fit your screwdriver head onto it.
Martin Flood
Martin Flood has been working in the construction industry for over 20 years as a general contractor with expertise in remodeling projects that are large or small. He has furthered his career by specializing in epoxy resin flooring, providing excellent service to both commercial and residential clients. Martin’s experience enables him to offer professional advice on how to choose the right type of project based on your needs and budget.
View all posts by Martin Flood →