
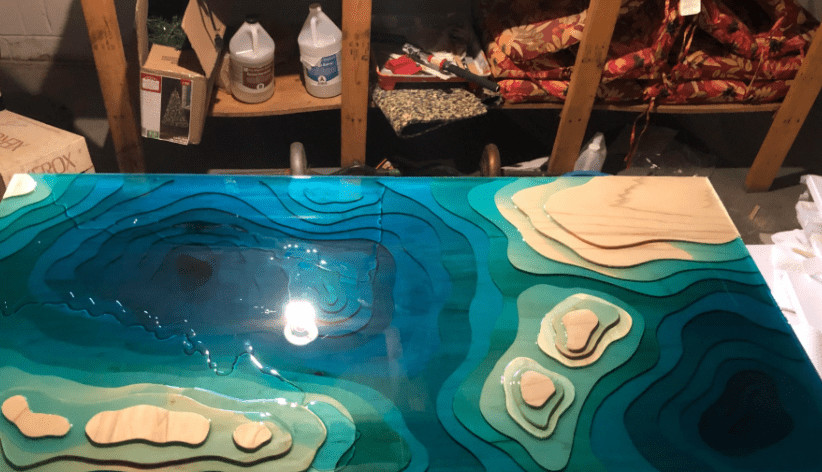
Epoxy grout is a popular material for tile and stone applications, but it can also be used to fill in cracks on wood surfaces.
This can be helpful if you want to cover up an unsightly scratch or repair loose floorboards. Epoxy grout works best when applied directly over wood and dries with a textured surface that resembles natural wood grain.
However, epoxy does not adhere well to porous surfaces so it’s important to prep the area ahead of time with several steps—including priming before painting—to ensure proper adhesion and long-lasting results.
Step 1. Clean the wood
The first step in preparing the wood for epoxy grout is to clean it. Use a mild detergent and water to remove any loose dirt, dust, and debris from the surface of your wood. Rinse with clean water, then dry with a clean cloth.
Table of Contents
Step 2. Apply the epoxy grout primer
Take a small amount of the primer and apply it to the wood with a sponge. If you have more than one piece, be sure to apply equal amounts of primer to all of them so that they all cure at the same rate and provide an even coating.
Apply it in a thin layer so that you don’t waste any epoxy grout later on. Let this dry for several hours before proceeding with Step 3: applying the epoxy grout itself!
Step 3. Measure and mix the epoxy grout
- Weigh the epoxy grout in a clean, dry container
- Mix the epoxy grout with a clean trowel for 5 minutes
- Mix the epoxy grout for 15 minutes
- Mix the epoxy grout for 30 minutes
Step 4. Apply the epoxy grout
- Apply the epoxy grout to the surface. Use a trowel to spread the grout over the surface, then use a grout float to smooth out any bubbles or ridges on the surface of your floor. Allow it to set for at least two hours before wiping away any excess with a damp sponge or rag (you’ll want lukewarm water).
Step 5. Protect the grout
Step 5. Protect the grout
Once you have applied your epoxy grout and it has started to set, get a drop cloth and cover everything that you don’t want covering in epoxy grout. Use plastic wrap or something similar to protect the floors underneath where you are working. Be sure that there is no dust or debris on these surfaces before putting down your drop cloths.
This will help prevent any issues with lumps and bumps forming in the coating of polyurethane that will come later on in this process.
Now it’s time for another shower! Yay! Take this opportunity to wash off all those tools you used during Step 4 before starting again at Step 1 (Preparing The Surface).
Step 6. Cure the epoxy grout
After the epoxy grout has cured, you can touch it to see how hard it has become. You should be able to press down on the surface and have a slight indentation remain before the epoxy returns to its original form.
Epoxy takes longer than glue or silicone to fully cure, so don’t rush this step.
If you do not wish to wait several days for your epoxy grout to dry completely, then sprinkle a little water on top of part of the surface with an old paintbrush.
If no bubbles appear within 5 minutes after applying water and applying pressure with your finger, then your grout is dry enough for use.
Follow these steps to successfully apply epoxy grout to wood surfaces
To successfully apply epoxy grout to wood surfaces:
- Clean the wood surface. You may have to sand it down or remove any loose paint or varnish.
- Apply an epoxy grout primer. This will seal the surface of the wood and help prevent it from absorbing too much of your epoxy grout, which could cause problems later on.
- Measure and mix an appropriate amount of epoxy grout according to package instructions. You’ll need enough for all sides, but if you’re not sure how much that is, go ahead and mix more than you think you’ll need just in case! Try not to worry about being too precise at this point because mistakes can be corrected later with filler paste (more on that later). If there are any gaps between boards where moisture has been able to seep through over time then now’s also when we would add some caulk/sealant around those areas before applying our new layer over the top so they won’t be exposed anymore once everything dries completely up again
Conclusion
After following these steps, your wood floor will be ready for use and you can remove any excess epoxy grout from the area with a scraper and clean water.
Martin Flood
Martin Flood has been working in the construction industry for over 20 years as a general contractor with expertise in remodeling projects that are large or small. He has furthered his career by specializing in epoxy resin flooring, providing excellent service to both commercial and residential clients. Martin’s experience enables him to offer professional advice on how to choose the right type of project based on your needs and budget.
View all posts by Martin Flood →