
You have a resin table, and it has developed a crack in the middle. You have tried to repair it yourself with some epoxy glue, but that didn’t work out so well. Now you are left with two options: throw away your table or call up someone who knows how to fix this kind of thing for help.
If you are like most people, then throwing away your table is not an option. This means that you might need help from someone who knows how to fix this kind of problem (and hopefully do it fast).
How do you fix an epoxy resin table?
Epoxy resin tables can be fixed in a number of ways. The first thing to do is determine the extent of the damage, then choose your method accordingly.
For example, if you have a large crack across an epoxy table top, using a propane torch may be too risky and could cause additional damage to the surrounding area. In this case, it’s better to use heat lamps or hair dryers instead.
Table of Contents
Can resin be repaired?
A resin table can be repaired, but it will require more work than repairing some other materials. Resin is a very strong material and able to withstand many different types of damage. However, if the table has been damaged by water or heat it may be more difficult to repair than other types of furniture.
Resin can be patched with epoxy resin in order to restore the surface of your table top or base. A patching kit will come with epoxy resin and acetone or lacquer thinner for cleanup purposes after applying the product.
The strength of a patch depends on how much time you give yourself between applying it and attaching it back onto your furniture piece as well as how much pressure gets put against this area during use after installation.
How do you fix a hole in a resin table?
To repair a hole in your resin table, first clean the surface of dust and dirt. Next, fill the hole with resin. Let it dry thoroughly and then sand it down with sandpaper (make sure you’re wearing a mask). Repeat as necessary until you are happy with the smoothness. Finally, polish your table top
How do you resurface a resin table top?
You’ll want to start by cleaning the surface of your resin table top. Clean it thoroughly with water and a soft cloth, removing any dirt, dust, or stains. Also, remove any tape residue leftover from when you secured your resin table top in place before shipping.
Next, sand the surface of the table with fine-grit sandpaper to smooth out any rough patches or deep scratches in the wood grain. You can also use steel wool if you don’t want to buy specialized sandpaper for this step—just make sure it’s not too coarse so as not to damage your new tabletop!
After you’ve finished sanding, wipe down all visible surfaces using a damp cloth so that no dust remains on them (you may have to repeat this step once more).
This will help ensure that no excess epoxy gets stuck underneath these surfaces which could cause bubbles later on when curing takes place after application is complete; however, keep in mind that some bubbles will naturally occur due to how epoxies work by trapping air underneath themselves when cured properly depending on thicknesses used etcetera–they’re very easy enough fix once they appear too though!
Can you pour epoxy over epoxy?
Yes, you can pour epoxy over epoxy. The best way to do this is to clean and rougher the surface of the table before you pour your new layer of epoxy.
You should also use a thin layer of resin so that it doesn’t build up too much. If you don’t have enough coverage, any unevenness in your surface will show through when you apply the new coat.
Can you spot fix resin?
You can repair resin furniture using a knife and sandpaper. First, you will need to remove any sharp edges on the table that are causing the damage.
Next, apply resin to the damaged area and wait for it to dry before sanding down with sandpaper. Apply another coat of resin if necessary and then finish off by polishing your table with wax or varnish spray.
What glue fixes resin?
When repairing resin, the best glue to use is epoxy. You can get this from any hardware store or online, and it comes in a variety of colors so you’ll be able to match your furniture if needed. You should test out any new glue on a small area first before committing to a big project like this one.
When you’ve removed all the old resin with a razor blade, apply just enough epoxy to cover the area where you’re going to apply it (don’t try anything complicated like gluing an entire table).
Press down firmly on top of it until everything has been pressed together well enough that there’s no gap between pieces leftover (if there are still gaps they could cause further damage later).
Then clean off any excess glue immediately with some acetone (nail polish remover) so it doesn’t stick around for long enough to go hard on top but leave plenty under where you don’t want additional weight added by trying not let go yet
What glue works on resin?
- Super Glue
- Two-Part Epoxy Resin
- Two-Part Polyurethane Glue
Conclusion
Epoxy resin is a versatile material that can be used to repair many different types of objects, including resin tables. In this guide, we’ve walked you through the process of repairing a resin table with epoxy resin and how to prevent future damage from occurring.
If you’re looking for more information about repairing your own furniture or other household items, check out our blog for more DIY projects!
Martin Flood
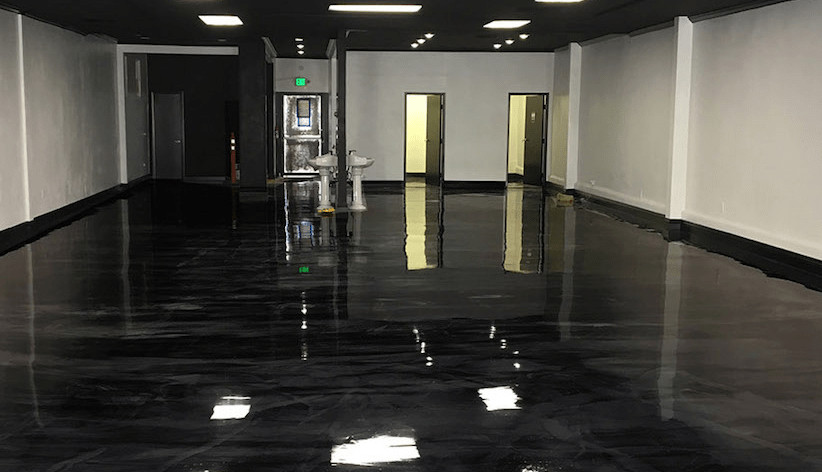
Martin Flood has been working in the construction industry for over 20 years as a general contractor with expertise in remodeling projects that are large or small. He has furthered his career by specializing in epoxy resin flooring, providing excellent service to both commercial and residential clients. Martin’s experience enables him to offer professional advice on how to choose the right type of project based on your needs and budget.
View all posts by Martin Flood →