
Hey there! You’re probably here because your resin table top is broken. Well, don’t worry, because this simple step-by-step guide will help you fix it in no time.
If you’ve ever worked with epoxy before, then you know exactly what this means: that horrible acrid smell that makes your eyes water for hours on end! Yuck. Luckily, epoxy resin doesn’t have to be so harsh on your nostrils or lungs: these days most manufacturers also include an activator additive that helps soften up the fumes so they don’t bother anyone too much while they’re working with their tables.
How do you resurface a resin table top?
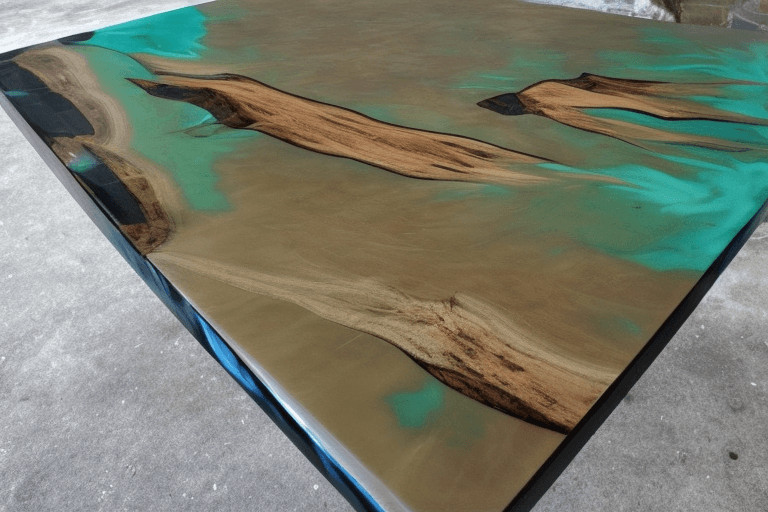
Resin is a type of plastic that’s used in many products, including outdoor furniture. The resin table tops are made to resist extreme weather conditions such as heat, cold, and rain.
If you have an older resin table top that has been severely damaged or has developed deep scratches after years of use, you may want to consider resurfacing it instead of buying a new one. There are some simple steps that can help you repair your resin table top:
- Remove all dirt and debris from the surface using soap and water or a mild detergent solution (do not use bleach). Dry thoroughly with a towel.
- Sand the surface using medium-grit sandpaper until smooth if there are any deep scratches left behind after washing off dirt and debris with soap and water or a mild detergent solution (do not use bleach).
Table of Contents
Can resin be repaired?
Any composite material can be broken down and rebuilt. Resin is no exception, but it will require the use of a resin repair kit. These kits are available online and have everything you need to fix your table top – including epoxy, molding tools, sandpaper, and sanding tips. You may also need additional tools like a heat gun or even an electric drill for some repairs (check with the manufacturer of your repair kit).
Now that you know how resin works as well as how it can be repaired; let’s take a look at this video which shows someone repairing their own table:
Can you patch epoxy resin?
The first thing you need to do is take a small piece of resin and mix it with the hardener. Mix them together until they are completely mixed together, then apply the resin to the damaged area.
Use a putty knife or similar tool to apply enough pressure on top of the patch so that it spreads evenly over both sides of your table top. You can use some sort of plastic scraper if necessary, but be careful not to damage any parts of your table top by using too much pressure when smoothing it out with these tools!
Once you have applied enough epoxy resin onto your table top, use a heat gun (or hair dryer) on a low heat setting to remove any air bubbles in between layers as well as help cure faster by raising its temperature slightly which will help prevent cracking due
How do you fix a cracked epoxy resin table top?
If your table top has a crack in it, remove the cracked pieces. Use a utility knife to clean the edges of the crack.
Fill in the gap with putty or epoxy and let it dry until it’s hard enough to sand down. Sand the area well until it’s smooth before applying more layers of resin over top of it.
Wait for all layers to cure before using your table again!
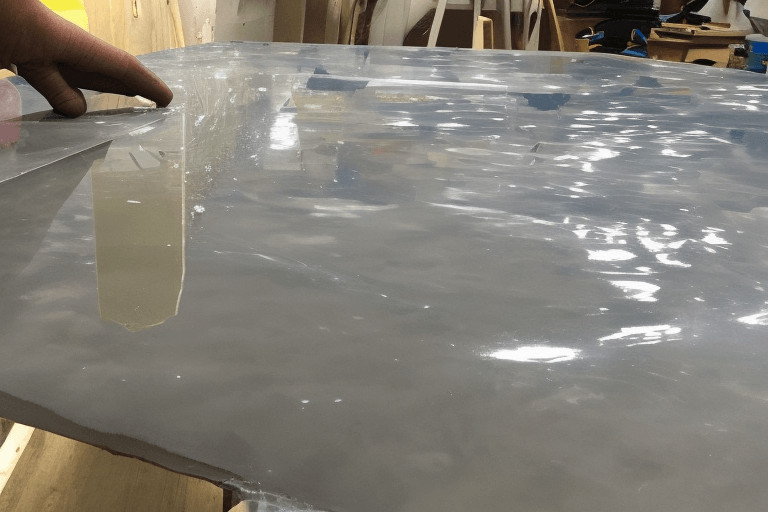
How do you recoat an epoxy table?
To recoat your epoxy table, first, you’ll need to clean the surface using denatured alcohol. You can use a rag or use a cotton swab dipped in the alcohol to remove any dust or dirt from the surface.
It’s important that this is done before applying a fresh coat of resin because if there is any residue left on the surface, it could lead to bubbles in your new coating and make it look uneven. Once you’ve cleaned off all dirt and debris from your epoxy table, you’ll want to sand down any rough spots or uneven areas with sandpaper until they’re smooth and even again.
Next comes the fun part: applying your new coat of resin! Use an old paintbrush (or another applicator tool) to apply an even layer of epoxy over every inch of your tabletop—and don’t forget some extra along edges where two pieces meet up! Let this dry for at least 24 hours before removing tape or plastic wrap around edges so that nothing gets stuck while curing. Afterward, wipe down entire area again with denatured alcohol just like before
How do you recoat an epoxy countertop?
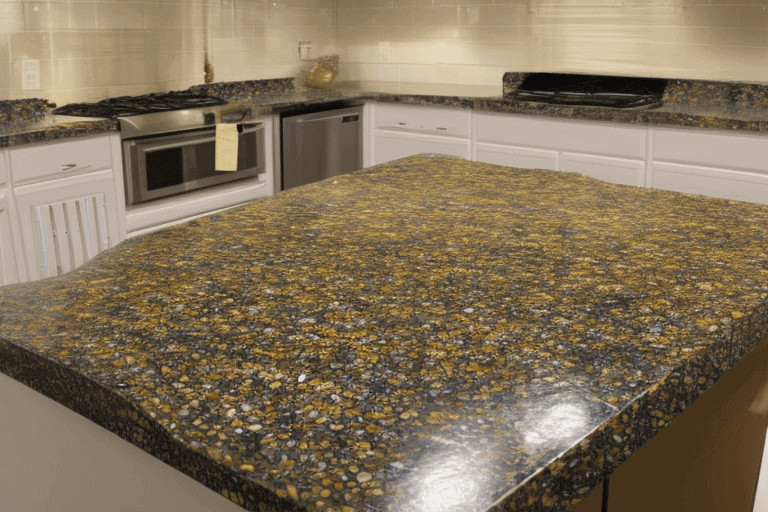
A heat gun is the best method for recoating an epoxy countertop. Using a heat gun, you can warm the existing resin so that it becomes more flexible and easier to remove from your countertop. Then, use a spatula to scrape off any previous layers of resin.
After removing any old epoxy and sanding down the surface of your countertop until it’s smooth, clean it with solvent and allow it to dry completely before applying new coats of resin to the surface. Once your countertop has been primed, apply a sealant to prevent moisture damage in future years.
How do I repair resin?
Repairing resin is the best way to make sure that your piece of furniture or table top is back in tip-top shape. Epoxy resin can be used for this purpose, and it’s fairly easy to apply. You’ll want to apply two coats of epoxy resin on top of your broken table top; let each coat dry before applying another one. Once done, sand and polish the surface until smooth and shiny!
We recommend using Epifanes 5200 Clear One Part Epoxy Resin if you’re looking for a professional-grade solution.
Conclusion
In conclusion, a resin table top can be repaired by following these steps:
- Clean the area where the break is with soap and warm water. Let it dry completely before moving on to step 2.
- Apply wood filler over the crack in an even layer with a putty knife or similar tool (avoid spreading too much). After this dries overnight, sand down the wood filler until smooth and level with the rest of your table top surface (make sure you use low grit sandpaper). Repeat until no more flaws remain visible on your table top’s surface!
Martin Flood
Martin Flood has been working in the construction industry for over 20 years as a general contractor with expertise in remodeling projects that are large or small. He has furthered his career by specializing in epoxy resin flooring, providing excellent service to both commercial and residential clients. Martin’s experience enables him to offer professional advice on how to choose the right type of project based on your needs and budget.
View all posts by Martin Flood →