
So, you’ve decided to fill a hole in your wood with Ronseal wood filler. You’re not alone — many people also choose this product for its affordability and ease of use.
However, there’s one question that comes up often: can I stain over my Ronseal wood filler? The answer is yes!
After applying the filler and letting it dry completely, you can apply any type of stain or paint on top so long as they are compatible with each other.
Can you stain over wood filler?
Congratulations on taking the plunge and repairing your wood! Now that you’ve patched up the holes, it’s time to apply a finish.
The best thing about Ronseal Wood Filler is that you can stain over it, so there’s no need to worry about how much time has passed since your last coat. Follow these simple steps:
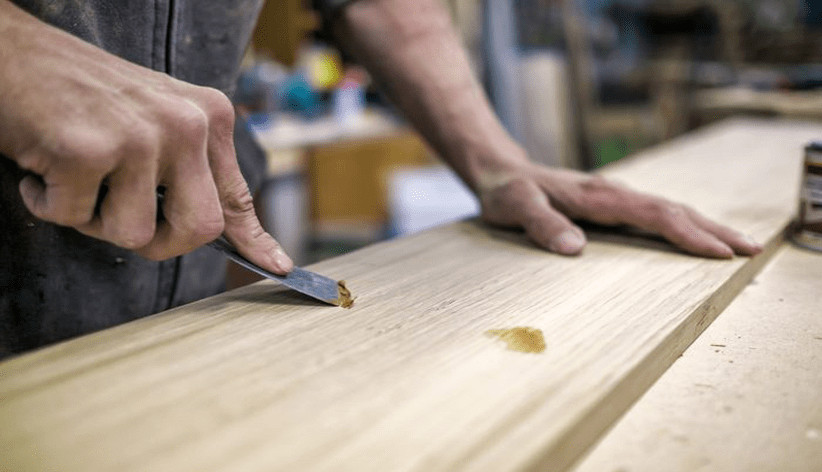
- Apply filler and allow it to dry (according to the manufacturer’s instructions).
- Apply stain evenly with a brush or roller. Start in an inconspicuous area such as an inside corner or behind a piece of furniture; if you don’t like the result, simply wipe off the excess and try again until you get a look that works for you. If desired, use a damp cloth between coats—this will help prevent streaking and provide even coverage without any visible brush marks on top of each application layer.
- Allow stain to dry according to manufacturer instructions before applying second coat (again allowing plenty of drying time before adding another layer). Repeat process until satisfied with color intensity/depth achieved; remember not every coat needs its own basecoat since wood filler has some pigment built right into its formula already (this also helps speed up drying times).
Table of Contents
Does Ronseal wood filler take stain?
Yes, it is possible to stain over wood filler. However, you need to be careful when applying the stain as the wood filler may soak up some of the stains and cause a lighter color overall.
- Spread a thin layer of Ronseal Wood Filler over your surface using either a putty knife or a trowel
- After 15 minutes, sand down any rough patches with fine grain sandpaper (150-200 grit), making sure not to go too far into the wood itself
Can you dye wood filler?
We do not recommend dyeing wood filler. There’s a good chance that it will actually make the product less durable, rather than more so.
For example, one common type of dyes is called aniline dyes and those are known to be less water resistant than standard pigmented or toned fillers.
The same goes for pigmented or toned fillers: they’re less flexible than aniline-dyed fillers and may be weaker as well.
Can you darken wood filler?
- Use a dark stain
If you want to darken the filler, then you should consider using a darker color. This can be done by using a stain that has been manufactured with darker colors (such as mahogany).
Alternatively, you could choose to use a stain that is lighter than your existing wood but has been designed for use on top of other materials (for example).
You could also look at stains that have higher hide ratings than your current one so that there is less contrast between the two materials when they are applied together.
Finally, it might be worth considering using a more opaque or dense finish if this will make your finished product look better in its final form
What kind of wood filler can you stain?
You can use water-based stains, lacquers, varnishes, and polyurethanes on wood filler. In this case, you’re not filling in the cracks or holes like you would with caulk or spackle—you’re filling in the grain of the wood and making it even with the surrounding surface.
How long after wood filler can you stain?
The short answer is that it depends on the type of wood filler you’re using. The longer answer is that it depends on the type of wood filler you use.
If you’re using a good quality water-based or oil-based filler, then your project should be ready to stain in a couple of days by itself.
If you can’t wait that long, there are some products available called “stain-on-demand” options that will allow you to stain immediately after application and they’ll dry just like a regular wood filler would in a few hours or overnight depending on conditions like temperature and humidity levels.
Why is wood filler not taking stains?
If your wood filler was not dry when you applied the stain, you may have removed the stain. The stain does not have time to soak into the wood filler before it dries.
Try waiting for at least 24 hours for your wood filler to dry before applying another coat of stain.
If the texture is too thick, this can be solved by adding more water until desired consistency is achieved.
If there are any imperfections in your surface that need addressing and fixing, try sanding them down so they don’t show through once you begin staining again or complete with a sealer after applying an additional coat of stain as well as priming before applying a top coat of finish if needed
Can I varnish over wood filler?
Yes. You can apply a water-based varnish over wood filler.
You may want to wait at least a week after sanding before applying the first coat of varnish so that it dries completely and cures properly.
The second coat of varnish should be applied after 24 hours and then you’re good to go!
Conclusion
We hope this article has answered all your questions on wood filler and how it can be stained. When using wood filler you should always check the product information before starting to see if there are any limitations.
If your wood filler does take stain then you have many options for what type of finish you want on tops such as varnish or paint!
Martin Flood
Martin Flood has been working in the construction industry for over 20 years as a general contractor with expertise in remodeling projects that are large or small. He has furthered his career by specializing in epoxy resin flooring, providing excellent service to both commercial and residential clients. Martin’s experience enables him to offer professional advice on how to choose the right type of project based on your needs and budget.
View all posts by Martin Flood →