
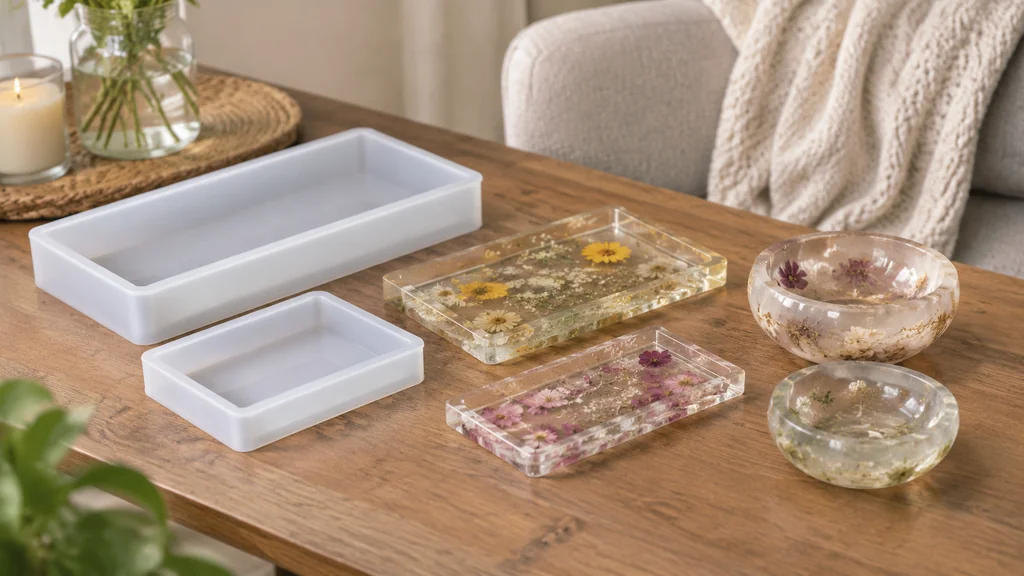
A rectangle mold made from Silicone gives you straight walls and a flat base, which is what most tray, coaster and block pours need. A large bowl mold for Epoxy Resin asks more of the material because the walls curve and the resin sits deeper, so the mold has to hold its shape while the pour cures. Buy for the shape you actually want, check the wall thickness before you pay, and treat the two mold types as different tools rather than one.
Start with the shape you are actually casting
The rectangle is the workhorse. A rectangular silicone mold covers trinket trays, coaster sets, pen blanks, small cutting-board style serving pieces and block casts that you later cut or sand square. The straight sides make demolding predictable, and if the base is flat the piece sits level on the bench without rocking.
The bowl is a different animal. A large resin bowl mold has curved walls, so the resin is supported by the mold along its whole height. That is good for a deep pour, but it also means any softness in the silicone shows up as a wavy rim or a slumped side. If the mold feels floppy when you hold it by one edge, it will not hold a bowl shape on its own.
Working with art resin rewards a simple habit. Decide the finished object first, then buy the mold. Buying a mold because it was cheap and then hunting for a project is how benches fill up with unused silicone.
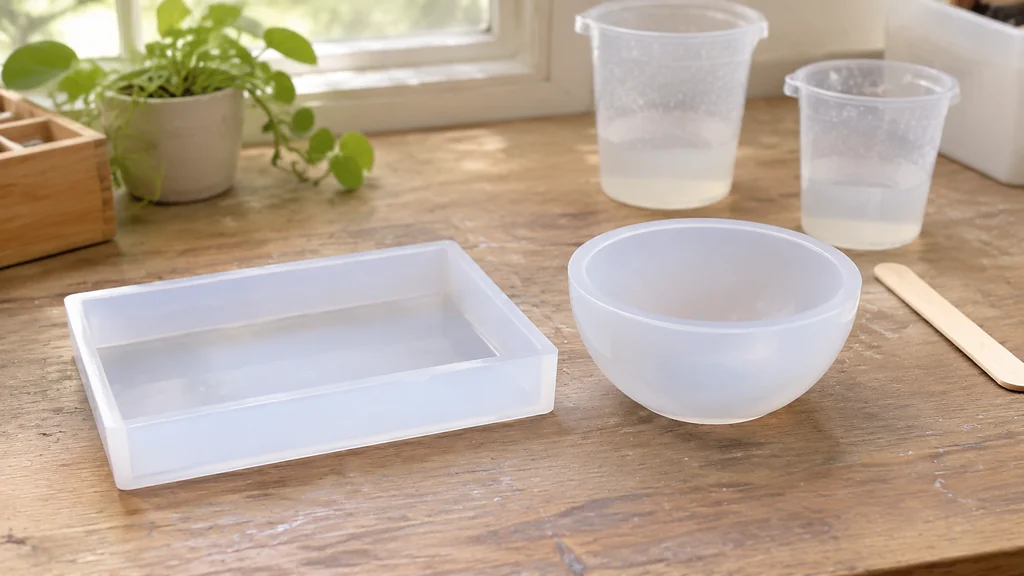
Table of Contents
- Start with the shape you are actually casting
- What separates a good silicone rectangle mold from a bad one
- Picking a large resin bowl mold that keeps its shape
- The pour, step by step
- Tools and materials that earn their bench space
- Mistakes that ruin a pour, and the fix for each
- When to replace a mold, and when to call in a pro
- Silicone Rectangle and Bowl Mold FAQ
What separates a good silicone rectangle mold from a bad one
Wall thickness is the first thing to feel for. A thin mold bulges when you fill it, so the sides of your tray come out bowed. A mold with a firm, even wall holds a straight line. You cannot always measure this in a shop, so press the wall between finger and thumb. If it collapses easily, it is a coaster mold at best.
The base matters just as much. A rectangle mold with a thick, flat bottom stays flat on the bench and gives you a level top surface. A mold with a thin base can lift at the corners when you move it full, and resin finds that gap.
Look at the inside corners. Sharp internal corners are hard to demold without tearing the resin edge, and they trap bubbles. A small radius at each corner releases cleanly and looks deliberate on the finished tray.
Silicone quality shows up over time. Good silicone stays flexible and does not go tacky after a few pours. Cheap silicone can leach into the surface of the casting, leaving a dull, greasy film that no amount of polishing fixes. Check the label for what the manufacturer says about release and heat.
Picking a large resin bowl mold that keeps its shape
A bowl mold is judged by how it behaves when full. The wall has to be thick enough to resist the weight of the resin, and the rim has to stay round. Hold the empty mold upside down. If the rim sags under its own weight, the finished bowl will sag too.
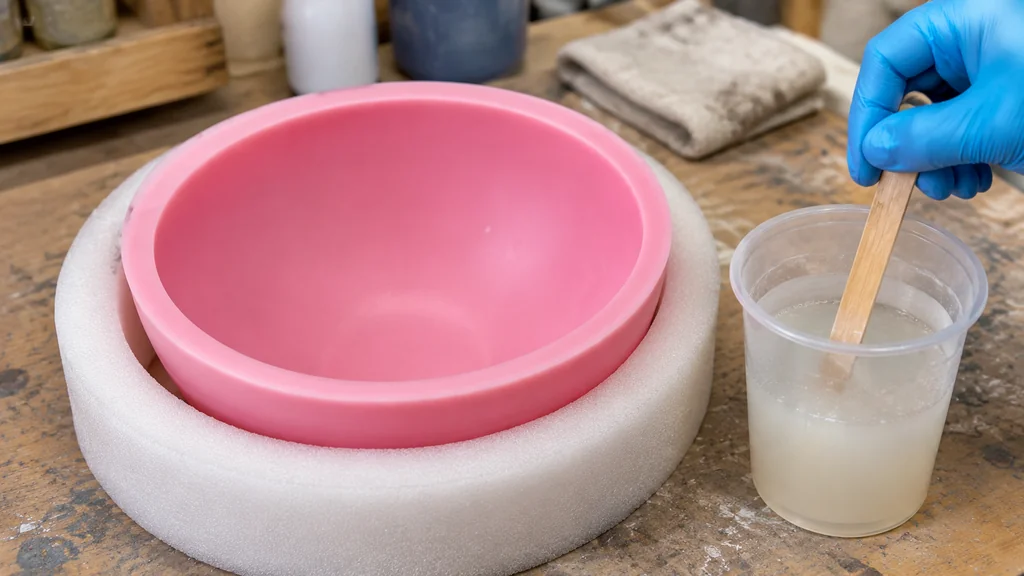
Support is the second consideration. Many bowl molds need a cradle, a ring or a nest of padding to sit in while the resin cures, so the mold does not flatten where it touches the bench. If your mold did not come with support, a rolled towel or a foam ring does the job.
Depth changes the resin you need. A deep bowl pour builds heat in the centre, and that heat can distort a thin mold or leave bubbles trapped against the wall. The practical answer is to pour in stages and let each stage set before the next, which is covered in more detail in the guide to clear casting resin for deep molds. If you are moving up from small trays to a bowl, the notes on large silicone molds for big resin pours cover the handling side.
The pour, step by step
The sequence matters more than the speed. Work in this order and you avoid most of the problems people blame on the mold.
- Check the mold for dust and stray cured resin, then wipe the inside with a clean cloth. Do not use a release agent unless the mold maker says to.
- Set the mold on a level surface, or in its support ring if it is a bowl, and check it does not rock.
- Mix your resin to the ratio on the label and stir slowly to keep bubbles out of the mix.
- Pour in a thin stream into one corner of a rectangle mold, or down the wall of a bowl, so the resin runs rather than drops.
- Tap the outside of the mold and run a stick along the wall to lift bubbles to the surface.
- Leave it undisturbed for the full cure time on the label, not just until it looks hard.
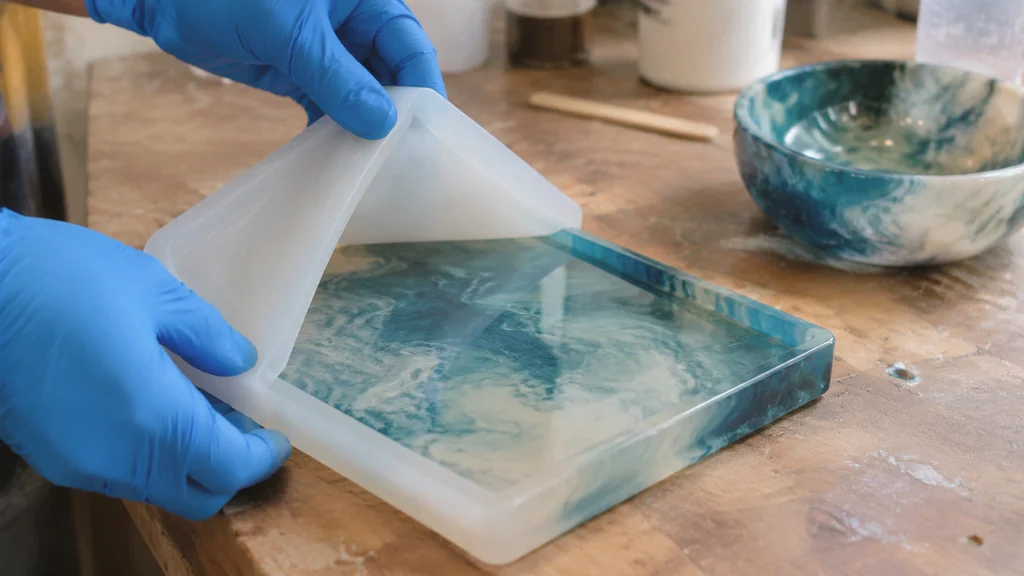
- Demold by easing the wall away from the resin all the way round before you lift the piece out.
For a bowl, add a stage. Pour part of the resin, let it set to a firm gel, then pour the next part. This keeps the heat down and stops the mold from being pushed out of shape by a single heavy pour. Which resin suits that staged approach is a separate decision, and the comparison of casting versus coating epoxy explains the difference in working time and thickness.
Tools and materials that earn their bench space
You do not need much, but the few things you do need should be good.
- Mixing cups with clear graduations, one per pour.
- Stir sticks, flat ones rather than round, so you scrape the sides of the cup.
- A Digital Scale if your resin is measured by weight. Check the label, because some are volume only.
- Nitrile gloves. Silicone and Epoxy Resin both pick up skin oils.
- A level, small enough to sit on the bench where the mold rests.
- A heat gun or a small torch for surface bubbles, used in short passes.
- A foam ring or rolled towel as a cradle for bowl molds.
A flat scraper helps with rectangle molds. You can run it across the top of the mold to level the resin at the rim, which gives a clean edge on a tray. On a bowl you cannot do this, so the rim is set by the mold itself and by how carefully you fill it.
Mistakes that ruin a pour, and the fix for each
Pouring too deep in one go. The resin heats up in the middle, and a thin mold wall can distort. Fix it by pouring in stages and reading the maximum depth on the label.
Demolding too early. Resin that looks hard can still be soft in the centre. If the piece tears or the edge crumbles, it needed more time. Wait the full cure stated by the maker.
Skipping the support for a bowl. A bowl mold left flat on the bench can flatten where it touches. Use a ring or a padded nest every time.
Using the wrong release agent. Silicone usually needs none, and some release sprays leave a film that dulls the surface. Check the label before you spray anything.
Storing the mold full of weight. A rectangle mold stacked under other tools develops a bowed base. Store molds empty, flat, and with nothing on top.
Ignoring the room. Resin cures faster when it is warm and slower when it is cold. A cold workshop can leave a pour soft for far longer than the label suggests, so bring the resin and the room up to a sensible temperature first.
When to replace a mold, and when to call in a pro
Silicone does not last forever. Telltale signs are a tacky surface, a white bloom that will not wipe off, tears at the rim, and castings that come out with a rough or dull face where they used to be glossy. Once a tear reaches the base of a rectangle mold, resin leaks under the piece and you get a lip on the bottom. Replace it then.
For a bowl mold, watch the rim. A rim that has gone wavy will never give you a round bowl again, and no amount of careful pouring fixes it.
Many home casters can handle routine pours themselves. The case for one is a large commissioned piece, a bowl that has to be a specific capacity, or a casting that keeps failing for reasons you cannot pin down. At that point a mold maker can build a support shell around a silicone liner, which is the same idea as a two-part mold in a workshop. If you are casting something structural, check your local rules on what the finished piece can be used for, because a decorative bowl and a load-bearing part are held to different expectations.
Silicone Rectangle and Bowl Mold FAQ
How thick should a silicone rectangle mold wall be?
A firm wall that resists a finger press is what you want, and the maker’s spec sheet is the place to confirm it. Thin walls bulge when filled, so the tray sides come out bowed. If you cannot find a thickness figure, judge by feel before you buy.
Can I use one mold for both a tray and a bowl?
No, the shapes need different molds because a bowl relies on curved walls for support and a tray relies on a flat base and straight sides. A rectangle mold will not hold a bowl shape, and a bowl mold will not give you a flat tray. Buy each shape for the piece you intend to cast.
Why does my resin bowl come out with a wavy rim?
A mold rim can sag while the resin is still soft, often if the mold is not sitting in a support ring or cradle. A bowl mold needs to be held round for the whole cure. Once the rim has set wavy, the mold will keep producing wavy bowls.
How do I stop bubbles forming against the mold wall?
Pour in a thin stream down the wall so the resin runs rather than drops, then tap the outside of the mold and run a stick along the inside face. Short passes with a Heat Gun bring surface bubbles up. Slow stirring when you mix is the biggest single fix.
When should I throw a silicone mold away?
When the surface goes tacky, the rim tears through, or castings come out dull where they used to be glossy. A tear at the base of a rectangle mold lets resin leak underneath and leaves a lip on the finished piece. Replacing the mold may be more economical than continuing to waste resin.

Martin Flood
Martin Flood has been working in the construction industry for over 20 years as a general contractor with expertise in remodeling projects that are large or small. He has furthered his career by specializing in epoxy resin flooring, providing excellent service to both commercial and residential clients. Martin’s experience enables him to offer professional advice on how to choose the right type of project based on your needs and budget.
View all posts by Martin Flood →