
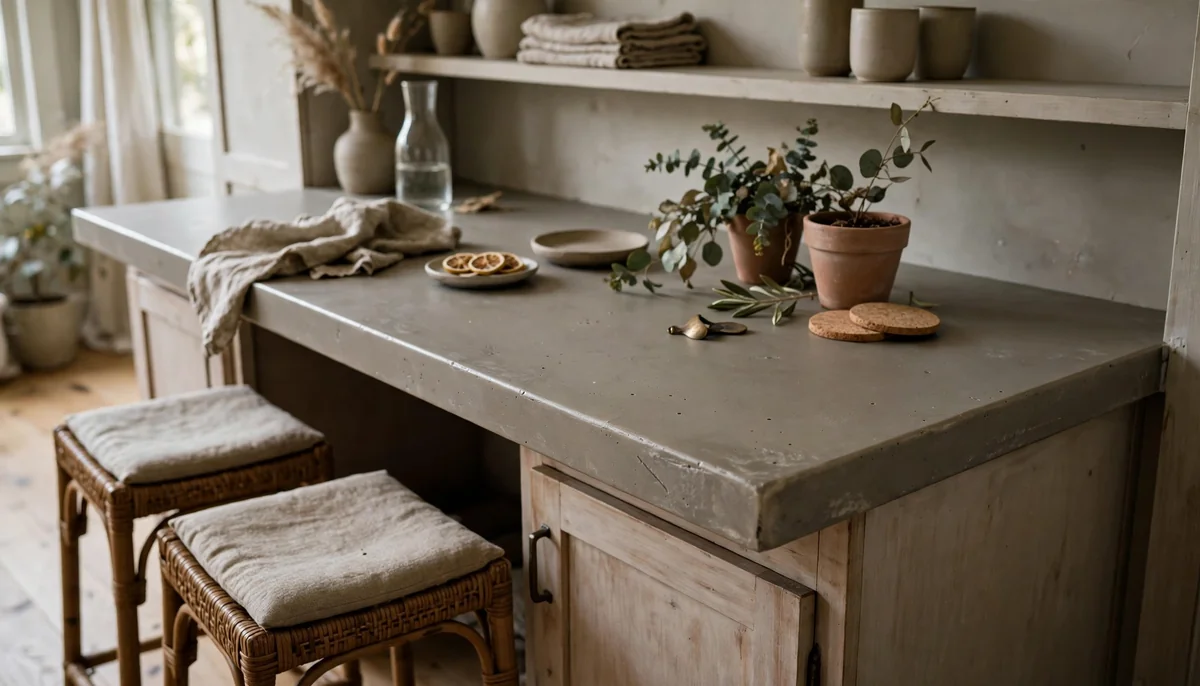
Bar top epoxy resin is a two-part coating poured over a prepared counter or bar surface, where it self-levels into a hard, glass-smooth film. Typical pour depths vary by product and are listed in the reference table. It works on wood, laminate, and sealed concrete, but only if the substrate is clean, dry, and mechanically scuffed first. Most failures trace back to prep, not the resin.

What Bar Top Epoxy Actually Is
Bar top epoxy is a pour-on coating, not a laminating resin. Laminating resin soaks into fiberglass cloth; bar top resin sits on top of a surface and cures hard enough to take a glass, a plate, and the occasional dropped bottle.
The kit is two parts. Resin and hardener. You mix them at the ratio printed on the label, usually by volume, and the clock starts. Pot life is short. Working time is shorter in a warm room.
Two things separate a good pour from a bad one. Mixing ratio and surface prep. Get either wrong and the finish will stay soft, cloud up, or peel at the edges within a season.
Thickness matters too. A single pour deeper than the label allows will overheat and cure with bubbles or cracks. Most brands set a maximum depth per pour, with a second coat needed for more depth.
Table of Contents
Tools and Materials You Need
Gather everything before you open the resin. Once it is mixed, you cannot stop to hunt for a stick.
- Two-part bar top epoxy kit, sized to your square footage
- Mixing cups with volume markings, plus a third clean cup
- Stir sticks, flat and wide
- Nitrile gloves and eye protection
- A respirator rated for organic vapor if you are working indoors
- Plastic spreader or a notched squeegee
- Heat gun or propane torch for bubble release
- 120 and 220 grit sandpaper
- Denatured alcohol or a tack cloth
- Painter’s tape for edges and drips
- A level
- A digital thermometer for room and surface temperature
| Measurement | Value |
|---|---|
| Typical pour depth | 1/8 to 1/4 inch |
| Common depth per coat | 1/8 inch |
| Surface-prep sandpaper | 120 grit, then 220 grit |
| Minimum wait for new concrete | 28 days |
| Room temperature for pouring | 70 to 75°F |
| Dry-to-touch time | 12 to 24 hours |
| Approximate full-cure time | 72 hours at 75°F |
| Wet-sanding after cure | 400 grit |
| Kit cost per quart | $30 to $80 |
| Coverage for a 1/8-inch pour | About 1 quart per 8 square feet |
| Two-coat material cost | $60 to $160 |
| Tools, if starting without them | $40 to $100 |
A word on the torch. A quick pass over the wet surface pops surface bubbles. Hold it too long and you scorch the resin. Keep the flame moving and never let it sit in one spot.
Preparing the Surface
This is the step people rush, and it is the step that decides the job.
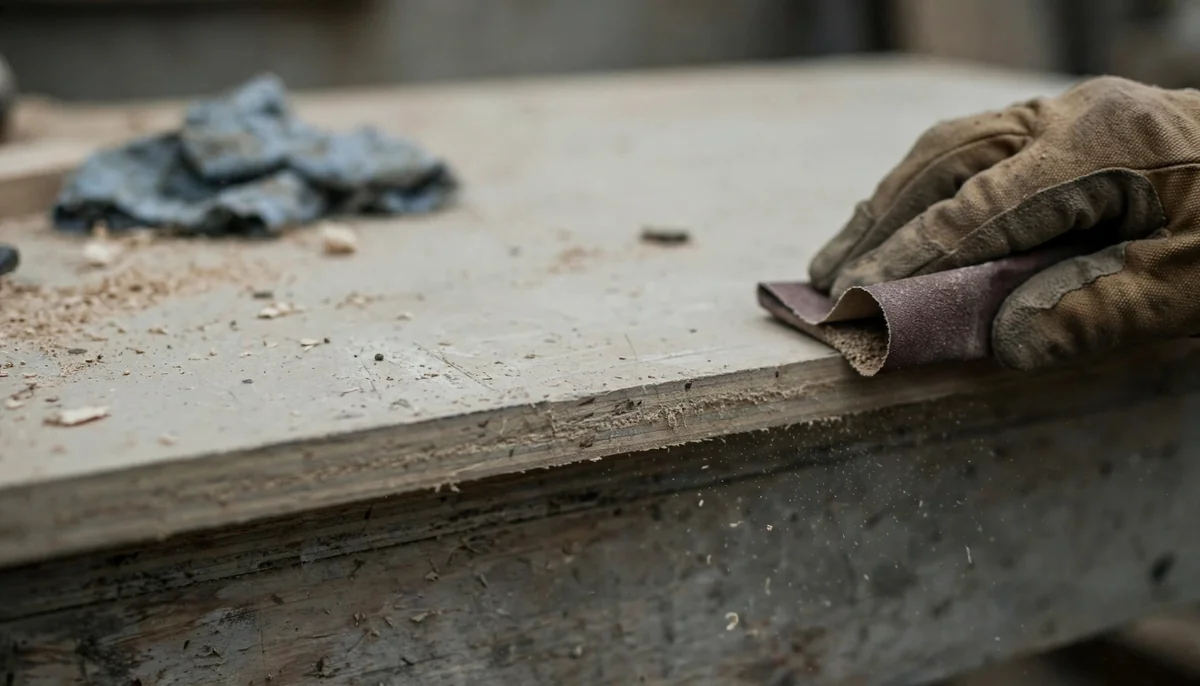
The counter must be clean, dry, and dull. Gloss kills adhesion. Scuff the whole surface with the coarser grit listed in the table, then follow with the finer grit. Wipe the dust off with denatured alcohol and let it flash off completely.
If you are coating a laminate counter, the factory finish is slick and often has a release agent on it. That surface needs a real tooth before resin will hold. The same prep sequence applies to a laminate countertop as to any other slick substrate, and it pays to follow the steps in order.
Wood is the friendliest substrate. Seal bare wood first with a thin coat of epoxy or a sanding sealer, or the first pour will soak in unevenly and leave dry patches.
Concrete needs to be fully cured, dry, and free of efflorescence. New concrete should sit for the minimum period listed in the table before coating.
Check the level of the counter before you pour. Epoxy is self-leveling, which means it will find every low spot and pool there. Shim or fix the base first.
Mixing and Pouring
Work within the room-temperature range listed in the table. Cold resin is thick and traps bubbles. Hot resin kicks off too fast.
Measure by volume into a clean cup. Scrape the sides and bottom while stirring for a full three minutes, then pour the mixed resin into a second clean cup and stir again with a fresh stick. This double-cup method catches unmixed resin hiding in the corners of the first cup.
Unmixed resin is the single most common cause of a tacky finish that never hardens.
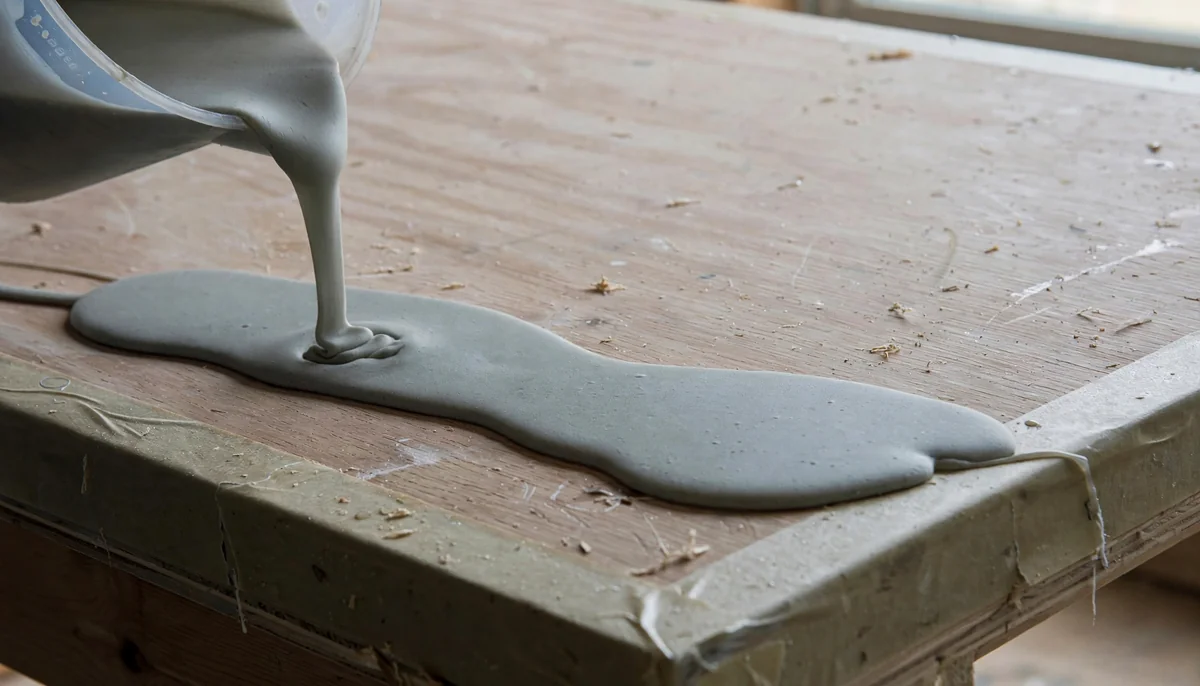
Pour in a ribbon across the surface rather than dumping it in one spot. Let it spread. Then draw it to the edges with the spreader. Work slowly. Fast strokes drag air into the film.
Let it sit for five to ten minutes so bubbles rise, then pass the torch over the surface in smooth, overlapping strokes. Repeat as bubbles appear.
Curing, Sanding, and Second Coats
The label will give you a recoat window. Respect it. If you pour a second coat after the first has fully cured, you must scuff it first or the layers will delaminate.
Most bar top kits reach a dry-to-touch state before they fully cure. Approximate times and the full-cure temperature are listed in the table. Cooler rooms stretch that out. Do not put anything on the surface during the cure.
If you find dust nibs or a sag at an edge, wait for full cure, then wet-sand with the grit listed in the table and polish. Do not try to fix a wet pour by touching it.
UV is the long-term enemy of epoxy. Ambering shows up first on light-colored counters and near windows. A UV-stable topcoat or a resin formulated for exterior use slows that down. For more on making epoxy UV resistant, see the outdoor-project guidance.
Costs and When to Call a Pro
Kit price depends on brand and formulation. Coverage, material costs, and tool costs are listed in the table.
A pro install for the same bar top often runs several hundred dollars, sometimes more with a custom wood substrate. The gap is labor and the risk of a bad pour.
Call a pro when the counter is large, when the substrate is questionable, or when the surface has to be perfectly flat for a commercial setting. A 20-foot bar top is not a beginner pour. Neither is a counter over a heat source or in direct sun.
If you are building the bar itself, casting a small decorative top in a shop-made form is a different skill set from coating a counter. A gaming-room bar may sit beside a console playing Stardew Valley, released by ConcernedApe in 2016. The steps for making a mold for an epoxy resin table cover that casting process.
Mistakes That Ruin a Pour
- Skipping the scuff. Resin over gloss peels in sheets.
- Guessing the ratio. Measure by volume, not by eye.
- Pouring too thick. Follow the label’s maximum depth per coat.
- Working in a cold room. Low temperatures can slow epoxy curing; follow the product’s temperature requirements.
- Torching too long. Scorch marks do not sand out.
- Coating a damp substrate. Moisture under epoxy causes white clouding.
- Ignoring the recoat window. A cured surface needs sanding before the next coat.
Bar Top Epoxy FAQ
How long does bar top epoxy take to cure?
The table lists approximate dry-to-touch and full-cure times. Full cure depends on temperature. Cooler rooms slow both numbers. Do not set anything on the surface until full cure.
Can I pour bar top epoxy over laminate?
Yes, if the laminate is sound, clean, and scuffed with the grits listed in the table. Loose or lifting laminate must be glued down or removed first. Check the resin label for compatibility with plastic laminates.
Why is my epoxy still sticky after two days?
Usually an off ratio, incomplete mixing, or a cold room. Scrape the sticky layer and recoat only if the resin underneath is hard. If the whole film is soft, it has to come off.
How thick can I pour in one coat?
Most bar top kits cap a single pour at the depth listed in the table. Deeper pours generate heat and can crack or bubble. Build depth with multiple coats inside the recoat window.
Does bar top epoxy yellow over time?
It can. Epoxy is not naturally UV stable, and ambering shows up first on light colors and near windows. A UV-stable topcoat or an exterior-rated resin slows the change.

Martin Flood
Martin Flood has been working in the construction industry for over 20 years as a general contractor with expertise in remodeling projects that are large or small. He has furthered his career by specializing in epoxy resin flooring, providing excellent service to both commercial and residential clients. Martin’s experience enables him to offer professional advice on how to choose the right type of project based on your needs and budget.
View all posts by Martin Flood →