
Polyester resin is a liquid plastic that hardens to create a solid surface. It can be used in a variety of applications, including making jewelry, models, and molds.
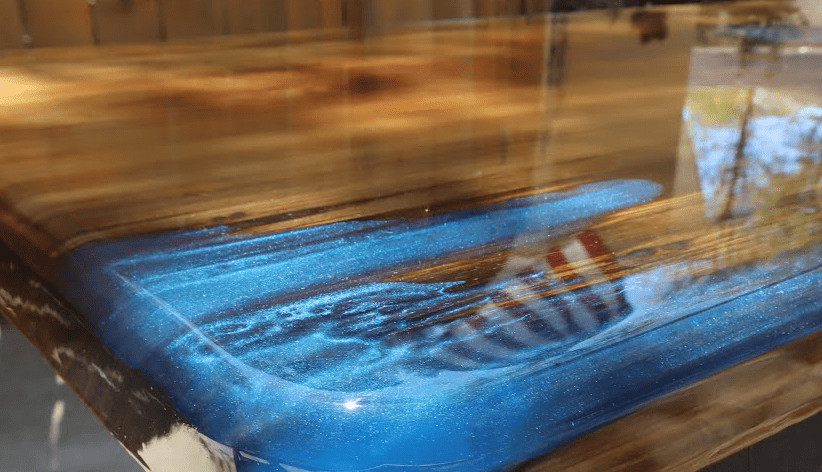
Polyester resin takes around 24 hours to harden within its mold, but the wait time is well worth it. After all that work, you want the finished product to have a slick shine and smooth texture.
A few coats of polyurethane polish will give your resin piece an appealing finish.
What do you put on resin to make it shiny?
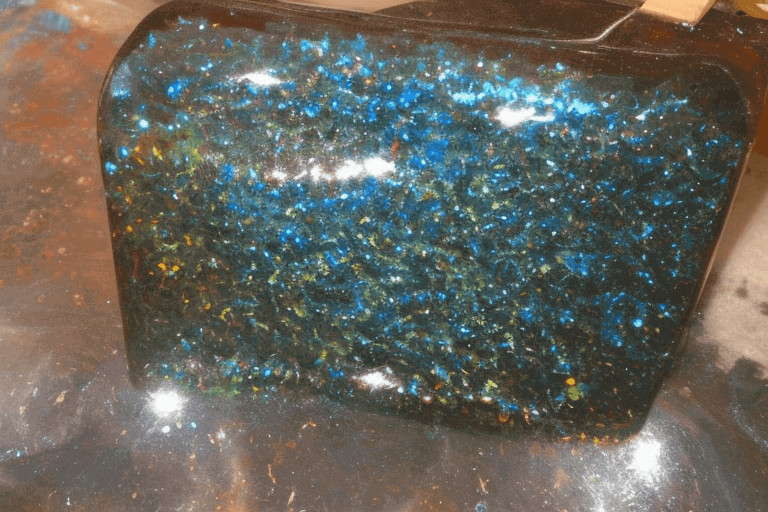
- Polishing. When you start with a sanded surface, the resin becomes more clear and more shiny, but it is not perfectly smooth. Some people add in glitter for extra sparkle or include other particles for texture. For this reason, the final step is to polish the piece until it’s just how you want it.
- Sealing. After polishing you can seal your piece with a gloss finish to make sure your hard work lasts for years to come.
- Heat gun warming.
- Letting it sit for a few days (or longer). Resin needs time to cure before you finish off your project. When resin dries naturally (without any help from UV light) this process can take up to seven days—but there are ways you can speed up the process!
- A UV lamp or sunlight
Table of Contents
How do I make my resin shiny?
One way to make your resin shiny is to use a polish or polishing agent after it has dried. Polishing agents can be found at craft stores or online.
Some people find that using toothpaste as a polishing agent works well, although this is not recommended for colored resins.
After applying the polish or polishing agent, buff the resin with a soft cloth and wipe off any excess residue with a paper towel. The buffing process can be repeated until the desired level of shine and gloss is achieved.
How do I get a high gloss finish on resin?
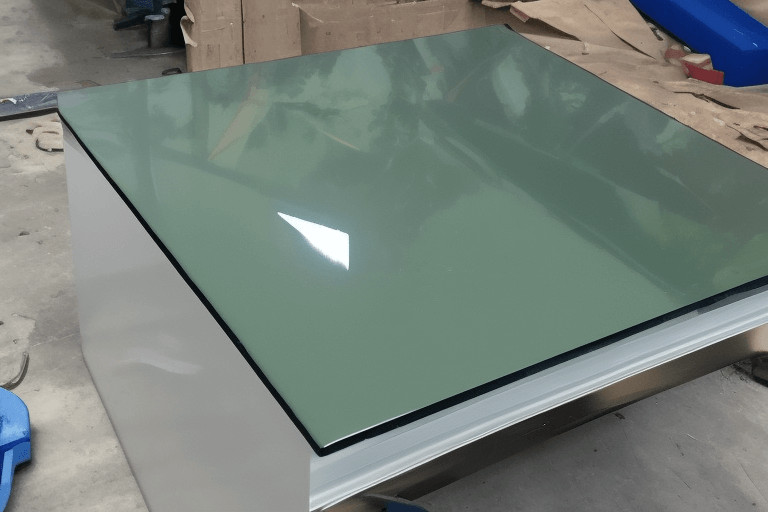
A high gloss finish on your resin can be achieved by polishing the resin. To polish your surface, follow these steps:
- Clean the surface thoroughly with a clean piece of cloth and a good cleaner to remove any surface dust or dirt.
- Apply polishing compound using a clean, soft cotton cloth in a circular motion until you achieve the desired shine. (You may need to repeat this process if you feel that the shine is not adequate.) If you are unsure which compound to use, feel free to contact me for my personal recommendations.
- Wait for the compound to dry completely before buffing it off with another clean cloth. This step is very important as leaving excess residue will make your resin cloudy or dull looking instead of shiny and clear like we all want it to be!
How do you make clear resin shiny?
If you want to know how you make clear resin shiny, check out these tips.
- Let it dry. One thing you can do is wait for your resin to cure. Resin, when it cures, will become naturally shiny and glossier. The glossier the finish on your resin, the more light that will be reflected off of the surface. The shininess of the object depends on how thickly the resin has been poured out, as well as what kind of finish you have applied before pouring it into molds or over surfaces.
- Polish with a cloth after applying your mold release agent or releasing agent to prevent sticking while curing has completed its process
- Use a torch to melt the surface (use extreme caution when doing this)
- Use a plastic polish to buff away scratches from using a torch or other harsh methods on your item’s surface; here are some more tips from people who use them regularly! You may want to wear gloves too so that you don’t burn yourself!
- Use a buffing machine with a polishing compound (be careful not to overheat because this could cause damage). A buffing machine is good for removing any imperfections from where the glue was used in making jewelry pieces like earrings or bracelets which may stick together during curing time but once removed give an uneven look at best because no matter how hard we try there will always be some residue left behind somewhere when we clean up afterward.” I suggest trying different types until one works best for each specific project – just keep experimenting until happy results appear!
How do you make resin look frosted?
To get a frosted look with your resin, you can sandpaper the surface! One of the easiest ways to do so is to take a piece of fine-grit sandpaper (200 or higher) and rub it along the resin’s surface. For large areas, you can tape the paper down and use a blunt object to press against it.
This will give you an even application without worrying about scratching up any designs or details. You can also use a rotary tool like a Dremel or one of its many competitors!
What can I use to polish resin?
Polishing resin is a surprisingly easy process. The first thing you’ll need to do is get some polishing compound. If you want to be able to polish the surface of your resin in no time at all.
This compound can be used on almost any material and it will bring out the shine in just about anything!
If you’re looking for something a little more high-tech, then maybe you should look into getting yourself a Dremel or buffing wheel.
How do you make resin shiny without polish?
In the quest to make resin shiny, many may attempt to use polish. The thing is, you don’t need polish to achieve a shiny finish. You can get a beautiful shine with the following steps:
- Use a soft cloth. We recommend microfiber or felt for this step. Just make sure it’s lint-free!
- Apply acetone to the microfiber cloth in small amounts and rub the surface of your resin piece in circular motions until you have achieved the desired sheen.
- If your piece has scratches, you can use a sanding tool to buff them out before applying acetone again.
How do you make acrylic pour shiny?

Acrylic pouring is a pretty simple process — all you have to do is pour paint on top of one another in cups, then tilt the canvas and watch as the colors blend together.
But still, it takes practice to get your pours to look like works of art and not just a blob of paint. There are many ways that an acrylic pour can go wrong, including creating a matte finish.
Luckily there are some tricks you can use to avoid creating a matte finish when doing an acrylic pour!
In this article we’ll show you how to make your acrylic pour shiny by using the right materials and avoiding these common mistakes:
- Don’t use latex paints. Make sure that any paints you use in your acrylic pours are specially formulated for this technique; otherwise, they may dry with a cloudy or dull appearance rather than glossy! You can find special painting mediums which will help ensure that even inexpensive craft store paints will work well for pouring methods such as flip cup or dirty pour techniques (see below). We recommend Golden High Flow Acrylics if you want high-quality results every time – it will take the guesswork out of what type of paint should be used so that even beginners can achieve beautiful art pieces without having years’ worth of experience under their belt!
Conclusion
To recap, you can use the following strategies to make resin shiny or matte:
- For epoxy resin, you can use a spray sealer or a UV light to make it shiny. You can also sand and buff your project with a polishing compound (like Brasso) to bring out the shine.
- For polyester casting resin, you can only sand it and buff it with a polishing compound to get a shiny surface.
If you have any tips for making your castings shine or any suggestions for matte coatings, please leave them in the comments below!
Martin Flood
Martin Flood has been working in the construction industry for over 20 years as a general contractor with expertise in remodeling projects that are large or small. He has furthered his career by specializing in epoxy resin flooring, providing excellent service to both commercial and residential clients. Martin’s experience enables him to offer professional advice on how to choose the right type of project based on your needs and budget.
View all posts by Martin Flood →