
Epoxy is one of the best materials for a DIYer to have in their toolkit. It’s incredibly useful and versatile, but it does have a few quirks that you need to know about.
Epoxy is made up of two parts: resin and hardener. When mixed together, these two components create an extremely strong bond that can be used for just about anything from filling cracks in your garage floor to creating countertops out of old concrete pavers.
However, there are times when epoxy can go wrong—and sometimes what seems like an easy fix ends up becoming much more complicated than anticipated! If this has happened to you (or if you’re simply curious), then read on below:
How do you pour epoxy over epoxy?
If you’re going to be putting the epoxy on yourself, here are a few ways to do it.
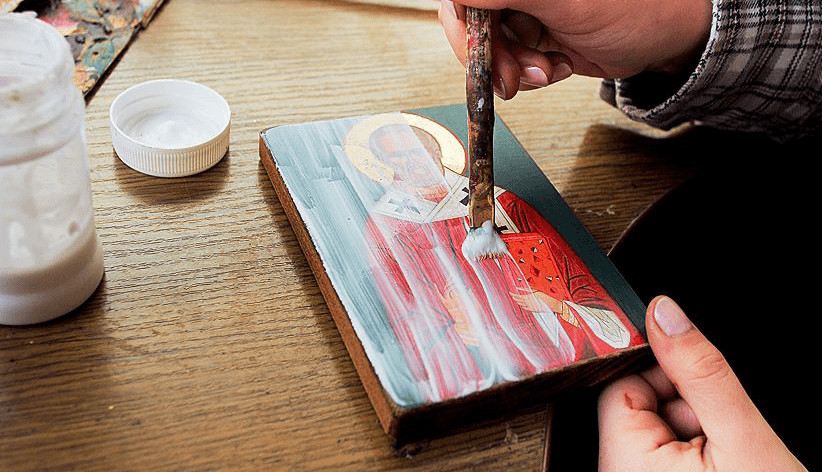
- Rollers and brushes. If you have a roller or brush with good extension, then use that! It will make things much easier for you and help ensure even application.
- Paint rollers: These are meant for exterior painting, but they can also be used for interior floors. They come in different textures depending on how thick or thin your coating of epoxy is going to be—the finer the texture of your roller, the more flexible and smooth your finish will be (and thus less likely to chip). Just keep in mind that if there are any sharp corners in your room where paint might get stuck on corners before drying completely (like around baseboards), using a coarse-textured roller could cause those areas not only to look bad but also potentially damage them over time as well as make removal difficult since they’ll tend not to stick well enough when trying again later down the road! So make sure everything is ready before starting this process so nothing gets ruined during application; otherwise, try something else altogether like spraying instead–which would require special equipment anyway–as opposed
Table of Contents
Can you put a second coat of epoxy?
You can put a second coat of epoxy over your first coat, but you will have to sand it. You can use a large putty knife or floor scraper to remove the first coat.
If you don’t want to sand it yourself, hire a professional floor company like us here at Flooring America to do the job for you.
Can you epoxy over an existing epoxy floor?
The answer is yes and no. You can do it if you want to, but there are a few things you need to consider first.
First of all, epoxy is a permanent coating that will stick around for years and years. It’s not something you want to put on top of another layer of epoxy unless you’re sure the old layer isn’t going anywhere or has been fully cured for at least three days (that means no walking on it).
If your flooring was applied in layers, let each layer cure before applying another coat of epoxy over it—it takes time! Also, keep in mind that the new epoxy will be slightly thinner than whatever was applied originally.
That means any imperfections may become more visible with time as they stand out through thinner layers of coating.
Can you layer epoxy without sanding?
When applying multiple coats of epoxy, it’s important to have a smooth surface. Otherwise, you could end up with bubbles and pits in your final layer.
If you don’t want to sand between layers (which is totally fine), then it’s best to choose a different color epoxy for each coat so that any imperfections are less noticeable.
If you want an extra smooth finish, start with a thin first coat and let it cure overnight. This will give you enough time for any air bubbles to rise up as well as allow the wood fibers enough time to absorb some of that initial layer before adding another one on top of it.
After mixing your next batch, use a squeegee or roller overtop your previous layer until no excess remains on top—this will flatten out any bumps or ridges caused by uneven curing times in previous steps!
To avoid dust getting trapped between layers while working with large surfaces like tables and desk slides into place within small corners or edges while applying final drips onto thicker areas such as tabletops (which are harder than slabs).
How do you pour multiple layers of epoxy?
Now that you know how to mix epoxy, it’s time to learn how to apply it.
- Start by choosing the type of epoxy you want to use. There are two main types: resin-based and hardener-based (also known as 2-part). Resin-based epoxies are mixed at about a 2:1 ratio (4 ounces of resin per 1 ounce of hardener). Hardener-based epoxies have a much lower ratio—about 1:1 or less (4 ounces of hardener per 1 ounce of resin). It is important to use the correct mixture for your project because mixing the wrong ratios may yield weak results and will void any warranties from the manufacturer. If you aren’t sure which type might be best for your project, ask an expert at your hardware store or read through reviews online before making a decision!
- Once you’ve decided which type works best for your needs, pour each component into its own container so that they’re ready when needed later on during application steps 3 – 5 below.”
How do you apply 2 part epoxy?
There are several ways to apply epoxy, but the most common is using a roller. Rollers work best when applying large areas of epoxy, as they give an even coat without leaving ridges or bumps.
Rollers can be found at any hardware store and are available in different sizes and shapes to suit your needs.
If you have several small flat spots on the surface of your wood that will require additional attention (e.g., nicks), use a paint pad instead of a roller because it provides more control over where the epoxy goes and doesn’t waste much product in doing so.
Will epoxy stick to cured epoxy?
It depends on the type of epoxy. Epoxy is generally a hard, brittle substance that’s resistant to water and UV light. Some types are more flexible than others and can withstand more impact.
In general, if you’re covering an existing coat with another layer of epoxy (or any other material), it’s best to choose one that has similar properties to the surface you’re applying it to stiffer or softer, harder or softer, more or less flexible in various directions (including bending/twisting), etc.
How do I fix messed up epoxy?
If you find that your epoxy has gotten messed up, there are a few steps that you can take to fix it. The first thing to do is remove the top layer of epoxy and clean the surface thoroughly, as this will ensure that any remaining residue on the surface will be removed.
Next, apply a new coat of epoxy over your repairs and let dry for about 2 hours (4-6 for maximum strength). Once dry sand down any rough spots using 120 grit sandpaper, then give the surface another pass with 220 grit sandpaper before polishing with 400-grit wet/dry paper until smooth.
Finally, seal off any exposed wood by applying several coats of varnish or polyurethane (be sure not to cover up any screws!).
Conclusion
If you have any other questions or concerns please feel free to contact us and we will be happy to help you out. Thanks for reading and happy epoxy pouring!
Martin Flood
Martin Flood has been working in the construction industry for over 20 years as a general contractor with expertise in remodeling projects that are large or small. He has furthered his career by specializing in epoxy resin flooring, providing excellent service to both commercial and residential clients. Martin’s experience enables him to offer professional advice on how to choose the right type of project based on your needs and budget.
View all posts by Martin Flood →