
Do you want to make waves in epoxy resin? You are not alone. Epoxy resin is a popular product that many people use for various purposes, but it can be difficult to get the desired effect.
Adding some tips and tricks will help change that!
How Do You Make Resin Look Like Waves
Waves are created using a simple technique of applying pressure to the resin.
A drop is placed in one spot on your project, then you push it down with another object until it creates circular waves.
Once this happens, simply move onto other spots on your project and repeat the process!
Be sure not to press too hard or else…you will have bubbles that can ruin any attempts at creating realistic-looking waves.
Table of Contents
- How Do You Make Resin Look Like Waves
- How Do You Make A Beach Scene With Epoxy Resin
- How Do You Find The Perfect Lacing Effect In Resin
- What Is The Best Heat Gun For Resin
- Can You Add Sand To Resin
- Can You Mix Acrylic Paint With Resin
- Is Epoxy Resin Dangerous For Health
- Can You Put Sand In Epoxy Resin
- How To Make Ocean Resin Art
How Do You Make A Beach Scene With Epoxy Resin
To create waves in epoxy resin, you will need:
- A container to mix the resin in
- Epoxy resin (duh)
- Hardener for the resin
- Paint stirrers or a popsicle stick
- Mixing cups or small bowls
- Xacto knife or a razor blade
- Tape measure or ruler
- Paintbrushes in various sizes
- Fine grit sandpaper
- (Optional) Decorative items like shells, coral, and glass beads.
Step One: Mix the Resin and Hardener Together

Measure out equal parts of epoxy resin and hardener according to the instructions on your particular product.
Pour them into your mixing cup or bowl and stir with your paint stirrer or popsicle stick until the two ingredients are completely combined.
Step Two: Create the Waves
Now it’s time to create the waves. This is the fun part! Dip your stirring implement into the resin and then wave it back and forth quickly in a zigzag pattern over the surface of your container.
You should start to see some ripples form. Keep going until you have covered the entire surface with waves.
Step Three: Let It Cure
Place your project somewhere out of direct sunlight where it can cure for 24-48 hours.
Once it has fully cured, you can sand off any rough edges with fine grit sandpaper and then finish with a coat of glossy sealant if desired.
Finally, add any decorative items you may have chosen and enjoy your new beach scene!
How Do You Find The Perfect Lacing Effect In Resin

There is no one-size-fits-all answer to this question, as the effect you create will depend on the specific resin and materials you are using.
However, here are a few tips to help you get started:
- Experiment with different techniques and tools. Some people use toothpicks or skewers to create waves, while others prefer to use their hands.
- Try different pouring speeds and directions. Pouring quickly from one side of the container can create more pronounced waves, while pouring slowly from the centre can produce a more subtle effect.
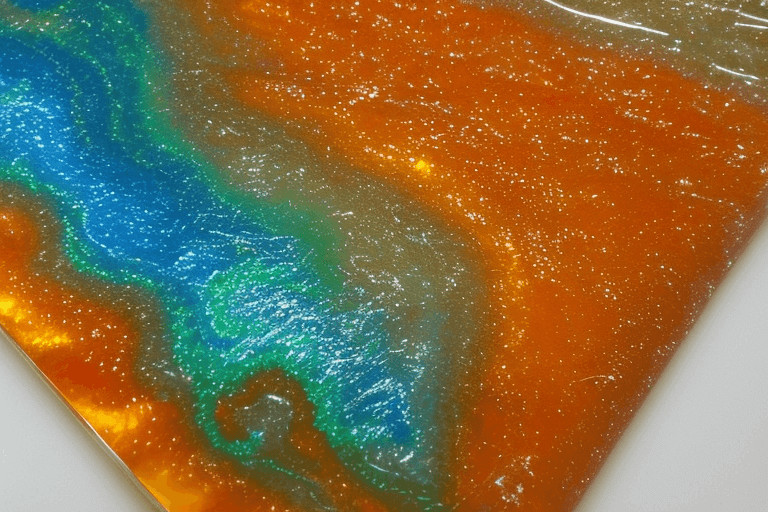
- Use contrasting colors for extra impact. A wave of blue resin against a backdrop of white sand looks stunning!
Once you’ve mastered the basics, why not experiment with other materials? For example, you could try adding some shells or pebbles to the resin for extra texture. The possibilities are endless!
What Is The Best Heat Gun For Resin
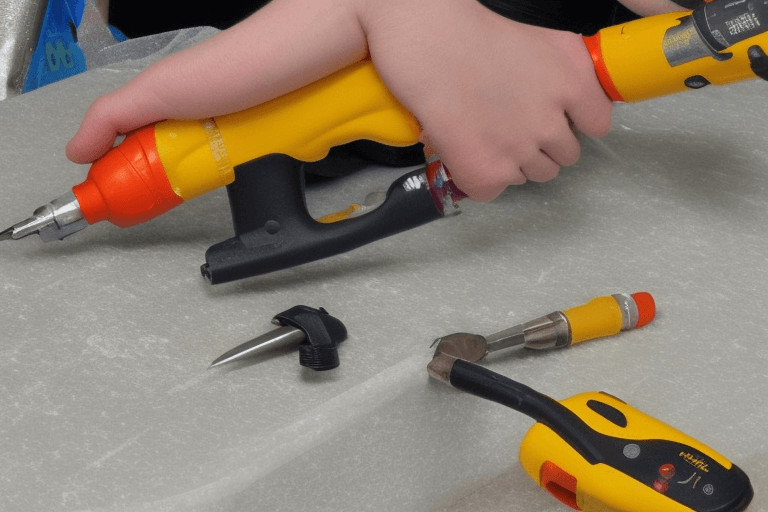
There are many different heat guns on the market to choose from. You’ll want one that can handle higher temperatures and has adjustable settings for some of them.
Some popular models available include:
Wagner HT1000
This is a great solution if you need something portable or otherwise lightweight, with excellent value-for-money given its price point.
The fan speed isn’t particularly impressive (although it does have variable speeds), but what this gun lacks in power it makes up for by being able to adjust between low and high heat output—perfect for any resin project!
It’s also very durable and reliable, making it an ideal choice when working with either small pieces or big projects alike.
Keep in mind that the cord is not particularly long, so you’ll need to be close to an outlet if your work area is large.
Wagner HT20
If portability isn’t a concern and you’re looking for something with better power/heat output (yet still easy-to-use), this option from Wagner could be ideal.
It’s even more lightweight than the HT1000 at just one pound in weight but its fan speed can go as high as 20 miles per hour—perfect for larger projects that require faster curing times! Like some of their other heat guns, it also has variable temperature control settings which are very useful when working with different materials or resin types.
However, it only comes with a two year warranty instead of three years like most of Wagner’s other models, so keep that in mind if you’re looking to buy this one.
Dremel VersaTip
This model is a little pricier than the others but it also offers some top-of-the-line features.
The coolest thing about this heat gun is its ability to switch tips and functions depending on the project at hand (you can even use it as a soldering iron!). It has an impressive temperature range of up to 2500 degrees Fahrenheit, making it perfect for all sorts of resin applications.
Additionally, the fan speed is adjustable which gives you more control over your work.
One downside is that it does require quite a bit of power (120 volts) make sure your outlet can handle it before purchasing.
Can You Add Sand To Resin

Yes! Adding sand to epoxy resin is a great way to create some texture. It’s not as messy or tedious as creating waves in paint, which makes it perfect for kids of all ages. All you need is a container (a plastic cup or bowl will do), some epoxy resin, and some sand.
Can You Mix Acrylic Paint With Resin

Yes, you can mix acrylic paint with resin. The two substances will combine to create a new color and texture.
Be sure to stir the mixture well before applying it to your project. You may also want to experiment with different ratios of paint to resin until you find the perfect combination for your needs.
Is Epoxy Resin Dangerous For Health
Epoxy resin is not dangerous for your health, but it’s always a good idea to use protection when working with any kind of resin.
Wear gloves and eyewear to avoid getting the resin on your skin or in your eyes.
If you do get resin on your skin, wash it off with soap and water as soon as possible.
If you get resin in your eyes, flush them with plenty of water for at least 15 minutes. Seek medical help if the resin gets in your eyes and they continue to bother you after flushing.
Can You Put Sand In Epoxy Resin
You can put sand in epoxy resin, but you have to be careful. If you add too much sand, it will make the resin cloudy and affect the final product. Start with a small amount of sand and add more if needed.
You can also use other objects to create waves in the resin, such as shells or rocks. Experiment with different objects until you find the look that you want. Be creative and have fun!
How To Make Ocean Resin Art
To make ocean waves with epoxy you simply need to add something into your mixture! Epoxy itself does not have wave-like properties naturally so if you just use it by itself then all of your layers will remain flat rather than having any wavy appearance.
This means that adding ingredients into epoxy try could definitely give an indication of how well this experiment turns out for you!
In order to get some great results from creating waves in epoxy resin, you should add something to it that could resemble water.
Water naturally flows in waves so the best way to get a wave impression from your resin is to add something that will cause this watery effect.
Martin Flood
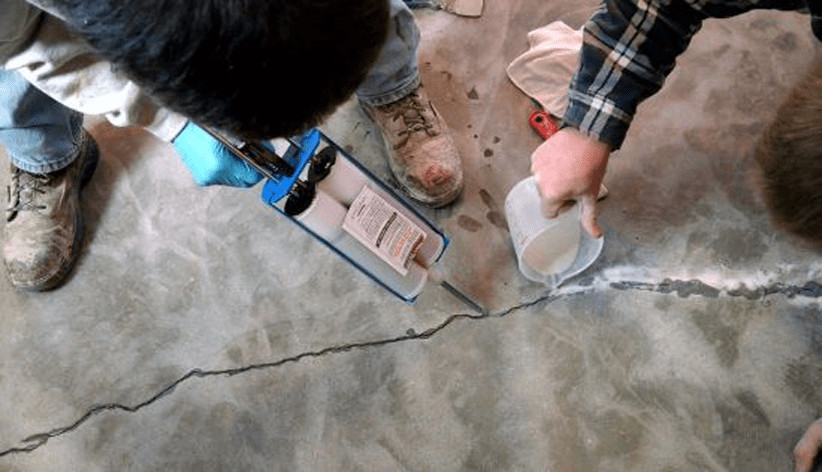
Martin Flood has been working in the construction industry for over 20 years as a general contractor with expertise in remodeling projects that are large or small. He has furthered his career by specializing in epoxy resin flooring, providing excellent service to both commercial and residential clients. Martin’s experience enables him to offer professional advice on how to choose the right type of project based on your needs and budget.
View all posts by Martin Flood →