
If you are looking for an easy way to create epoxy resin at home, this article is for you.
It will provide the basic knowledge of what epoxy resin is and how it can be made using common household items.
We will also list the materials needed and show detailed instructions on how to make your own epoxy resin!
How To Make Resin Art At Home

There are many different ways to make resin art at home. The most common way is to use a two-part epoxy resin kit. These kits can be found at most craft stores.
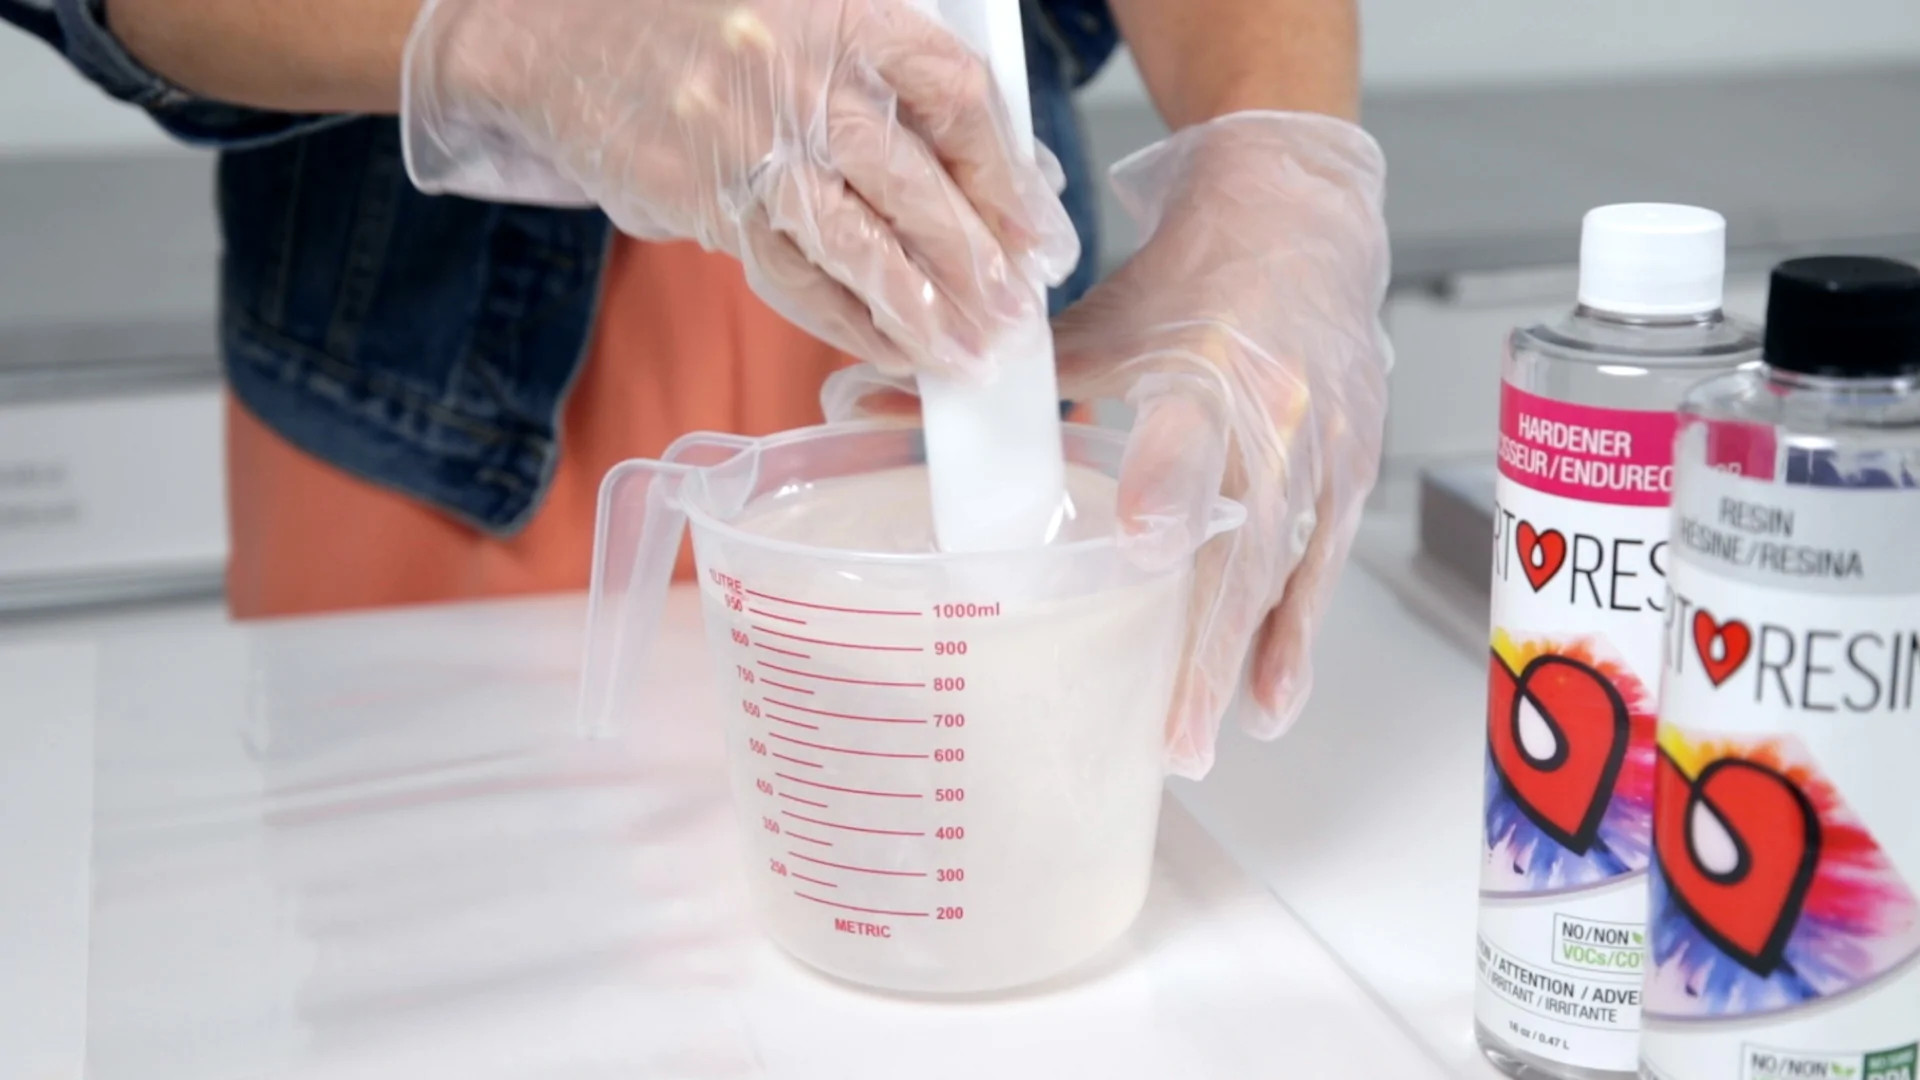
The first step is to mix the resin and hardener together according to the instructions. Be sure to mix them thoroughly, as any clumps will cause problems later on.
Once the resin is mixed, you can start pouring it into whatever shape you want. You can use molds, or even just pour it directly onto a surface.
If you’re using a mold, be sure to press down on the material so that it forms an even layer. This will help ensure that your final product doesn’t have any bubbles in it.
Once the resin is poured, you’ll need to wait for it to cure. This can take anywhere from a few hours to a few days, depending on the type of resin you’re using.
Once it’s cured, you can start decorating your project however you want. You can use paint, glitter, or any other materials you like. Just be sure to avoid anything that will create fumes (like spray paint).
Resin art is a great way to show off your creativity and have some fun at the same time.
With just a little bit of practice, you’ll be able to create beautiful pieces that everyone will admire. So get creative and give it a try!
Table of Contents
- How To Make Resin Art At Home
- What Are The Ingredients Of Epoxy Resin
- What Can I Use Instead Of Epoxy Resin
- Can I Use Clear Glue As Resin
- How Do You Make Resin Step By Step
- What Is 2 Part Epoxy Made Of
- How To Make Epoxy Resin Solution
- How To Make Resin For Beginners
- How To Make Clear Resin
- How To Make Resin Mixture
- How To Make Resin Water At Home
- How To Make Resin At Home From Grapes
What Are The Ingredients Of Epoxy Resin
Depending on the type of epoxy, you can mix different types of ingredients to create your own unique kind of epoxy for various purposes. However, the three main ingredients in epoxy resin are usually cyanoacrylate adhesive (CA glue), an activator, and a hardener.
What Can I Use Instead Of Epoxy Resin
There are various other types of resin that you can use instead of or in addition to epoxy. These include polyester resin, urethane resin, and vinyl ester resins.
Can I Use Clear Glue As Resin
No, you cannot use clear glue as resin. Although it is a form of epoxy and has similar properties, there are some differences that make the two incompatible for this purpose.
How Do You Make Resin Step By Step
To make epoxy resin at home, you will need the following items:
- One cup of resin
- One cup of hardener
- Two cups of mixed media (such as glass beads, wood chips, or crushed stone)
- In a well-ventilated area, mix together the resin and hardener according to the manufacturer’s instructions.
Add the mixed media until you have a thick mixture. Pour the mixture into a mold or container and let it cure for 24 hours.
What Is 2 Part Epoxy Made Of
Two-part epoxy is a resin that is mixed with a hardener to create a solid, durable adhesive.
The main ingredients in epoxy are the resin and hardener, but other additives may be included depending on the specific application.
How To Make Epoxy Resin Solution
There are a couple of ways to make epoxy resin solutions. You can either mix the resin and hardener together yourself, or you can buy a pre-mixed kit.
If you’re mixing them yourself, it’s important to follow the correct proportions. Generally, you’ll need one part resin to three parts hardener.
Be sure to measure accurately, as too much or too little hardener can ruin your project.
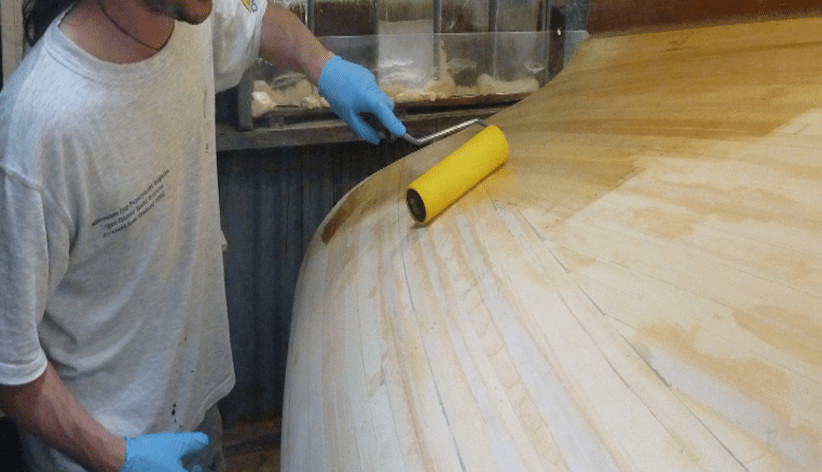
Once you’ve mixed the two ingredients together, it’s time to apply them! Use a brush or roller to coat your project in the epoxy resin solution. Let it dry completely before moving on to the next step.
In order for your finished project to be strong and durable, it’s important to let the epoxy resin sit for 24 hours before you handle it.
Once your project has dried, you can use a grinder or sander to smooth out any flaws in the surface.
You’re now ready to paint! If you want a glossy finish, simply apply two coats of high-gloss spray paint and wait until they dry completely. If not, feel free to decorate with stickers and embellishments as normal.
How To Make Resin For Beginners
What you will need:
Epoxy resin (we recommend using an epoxy with a ratio of 100 to 25)
- Hardener
- Mixing cups
- Stirring sticks
- Measuring spoons/cups
- Protective gear (gloves, goggles, and a respirator)
Steps:
To make the resin, you will need to mix equal parts of the resin and hardener. Be sure to read the instructions on your specific product for accurate measurements.
In general, you will want to use about two teaspoons of resin and one teaspoon of hardener per tablespoon of mixed material.
If you are working with a larger quantity, it is important to scale the measurements accordingly.
Using a measuring cup, pour your combined resin and hardener into some empty cups or containers for later use.
How To Make Clear Resin
There are many ways to make clear resin, but one of the most popular methods is to use a two-part epoxy.
This type of epoxy is available at most hardware stores, and it’s fairly easy to use. The first step is to mix the resin and hardener together according to the instructions on the package.
Then, you can pour it into a mold or container and let it cure.
How To Make Resin Mixture

There are a few ways to make the resin mixture, but we will go over the most common way. You will need:
- Two Parts Epoxy Resin
- One Part Hardener
Thoroughly mix the two parts of epoxy resin together before adding the hardener. Be sure to mix well so there are no lumps.
Then, add the hardener and continue mixing until it is fully combined. The mixture should be thick and have a syrupy consistency.
If it is too thin, you can add more resin; if it is too thick, you can add more hardener.
Now that your resin is mixed, it’s ready for use! Pour some into a disposable cup or container and start painting!
How To Make Resin Water At Home
The first thing you need to do is to gather your ingredients. You will need:
- A jar or container to mix your resin in (It needs a large opening so that the mixing stick can fit inside)
- Resin hardener
- Neoprene rubber gloves (you will be working with dangerous chemicals and it’s important that you keep them away from your skin as much as possible)
- Stirring sticks, such as popsicle sticks or wooden skewers
- Tape
- A scale or measuring cup to weigh the resin and hardener
- Plastic wrap
How To Make Resin At Home From Grapes

What you need:
- Grapes
- Water
- Vinegar
- Bowls or pots
- Stovetop or microwave oven
- Spoons or stirrers
- Measuring cups and spoons
- Gloves and goggles (optional)
Step One:
Start by washing the grapes in cold water. Remove any stems or leaves.
Step Two:
Pour about two cups of water into a pot or bowl and add the vinegar. Stir until it is completely dissolved.
Step Three:
Pour the grapes into the mixture and let them sit for about four hours or until they become soft.
Stir occasionally to help dissolve all of the sugar that has formed on top of your grape juice.
Step Four:
Once everything is dissolved, pour your liquid through a strainer (if needed) directly into jars with lids (mostly mason jars work well).
This will remove any sediment you do not want in your resin so it does not ruin it.
Leave enough room at the top to shake up thoroughly before using because this stuff will settle quickly!
You can also add more water now if need be but make sure you seal up each jar tightly as soon as possible.
Step Five :
Put on your gloves and goggles to protect yourself from any chemicals you might be working with.
You can also choose not to wear them if it makes you feel uncomfortable or they are just too much in the way.
Step Six:
Heat up your mixture on a stovetop (it will take longer) or microwave oven until bubbles start forming around the edges of the jar, but do not let it boil!
If needed add more water so that there is enough liquid for your resin later.
Step Seven :
After about an hour turns off heat source and allows jars to cool down inside before opening because hot glass can cause serious burns.
Step Eight:
Once everything has cooled down, open each jar one at a time and stir well making sure all sediment gets mixed in.
Step Nine:
Pour your epoxy resin into a container like an old yogurt pot or something similar to store in when not using (it will get hard over time).
Step Ten :
You can now decorate with it, use it for art projects, and more! Just make sure you do not leave any out in the open because animals may eat them which could be dangerous for their health.
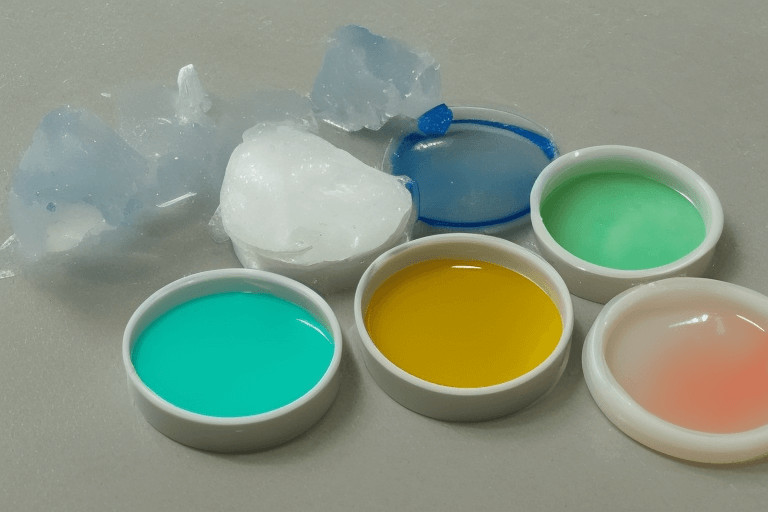
Note: If you want to be colored epoxy resin to add some gel dye at this point before pouring into another jar or container.
Stir until everything is mixed well then pour as normal again making sure there are no clumps of pigment left on the bottom of your jar.
Martin Flood
Martin Flood has been working in the construction industry for over 20 years as a general contractor with expertise in remodeling projects that are large or small. He has furthered his career by specializing in epoxy resin flooring, providing excellent service to both commercial and residential clients. Martin’s experience enables him to offer professional advice on how to choose the right type of project based on your needs and budget.
View all posts by Martin Flood →