
Whether a casting cracked while it cured, a piece broke after you demolded it, or you simply want to build one large piece out of several smaller pours, knowing how to join two pieces of resin cleanly saves the whole project. Cured epoxy is hard and glossy, which is exactly what makes bonding it tricky: a fresh resin pour does not naturally grip a smooth, fully cured surface.
This guide covers the best way to fuse pieces of resin together, when to use fresh resin versus a separate adhesive, how to prep the surfaces so the joint actually holds, and how to hide the seam so the repair disappears. The methods below work for jewelry, coasters, river tables, figurines, and any other cast or poured epoxy.
What is the best way to fuse pieces of resin together?
The best way to fuse pieces of resin together is to sand the mating surfaces with coarse sandpaper, clean them with isopropyl alcohol, and bond them with a thin layer of the same fresh epoxy resin you used for the original pour. Clamp or hold the pieces in alignment, let the resin fully cure, then sand and polish the seam smooth. Fresh resin chemically and mechanically grips the roughened surface and cures into a single solid mass, giving the strongest and most invisible joint.
If you need a fast bond and an invisible seam is not critical, a thick cyanoacrylate (super glue) or a two-part epoxy adhesive will join the pieces in minutes. But for a join that looks and behaves like one continuous piece, fresh resin is the method to beat.
Table of Contents
- What is the best way to fuse pieces of resin together?
- Why cured resin is hard to bond
- Method 1: Fuse with fresh resin (strongest, most invisible)
- Method 2: Bond with two-part epoxy adhesive
- Method 3: Super glue for small, fast repairs
- How to hide the seam after fusing
- Tips for a stronger, cleaner join
- Frequently asked questions
- The bottom line
Why cured resin is hard to bond
Once epoxy fully cures, its surface is smooth, non-porous, and chemically inert. There is very little for an adhesive to grab onto, so anything you apply tends to sit on top of the gloss rather than key into it. That is why bonded resin pieces pop apart at the seam when they are only glued to a shiny, untouched surface.
Two things fix this: mechanical tooth and a clean surface. Sanding creates micro-scratches that give the new resin or adhesive something to lock into, and cleaning removes the oils, dust, and mold-release residue that block adhesion. Skip either step and even the right product will fail.
Method 1: Fuse with fresh resin (strongest, most invisible)
Using the same epoxy you poured originally is the gold standard. The fresh resin bonds to the roughened cured surface and, because it is the same material, it cures to a near-identical color and clarity, so the seam can vanish almost completely.
Step-by-step
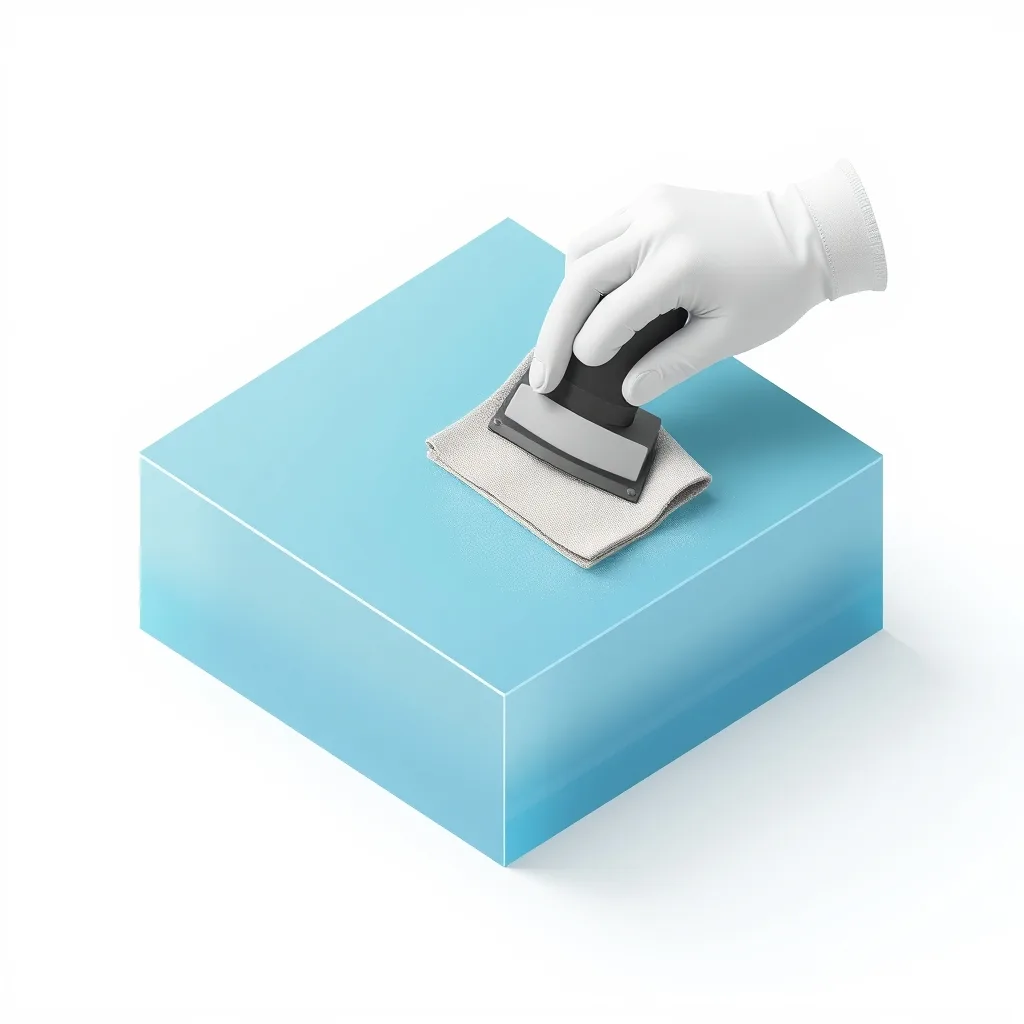
- Sand the mating faces. Scuff both surfaces that will touch with 80 to 120 grit sandpaper until the gloss is gone and the surface feels matte and slightly rough. You want tooth, not a polish.
- Clean thoroughly. Wipe both faces with isopropyl alcohol and let them dry. This removes sanding dust and any oils from your hands.
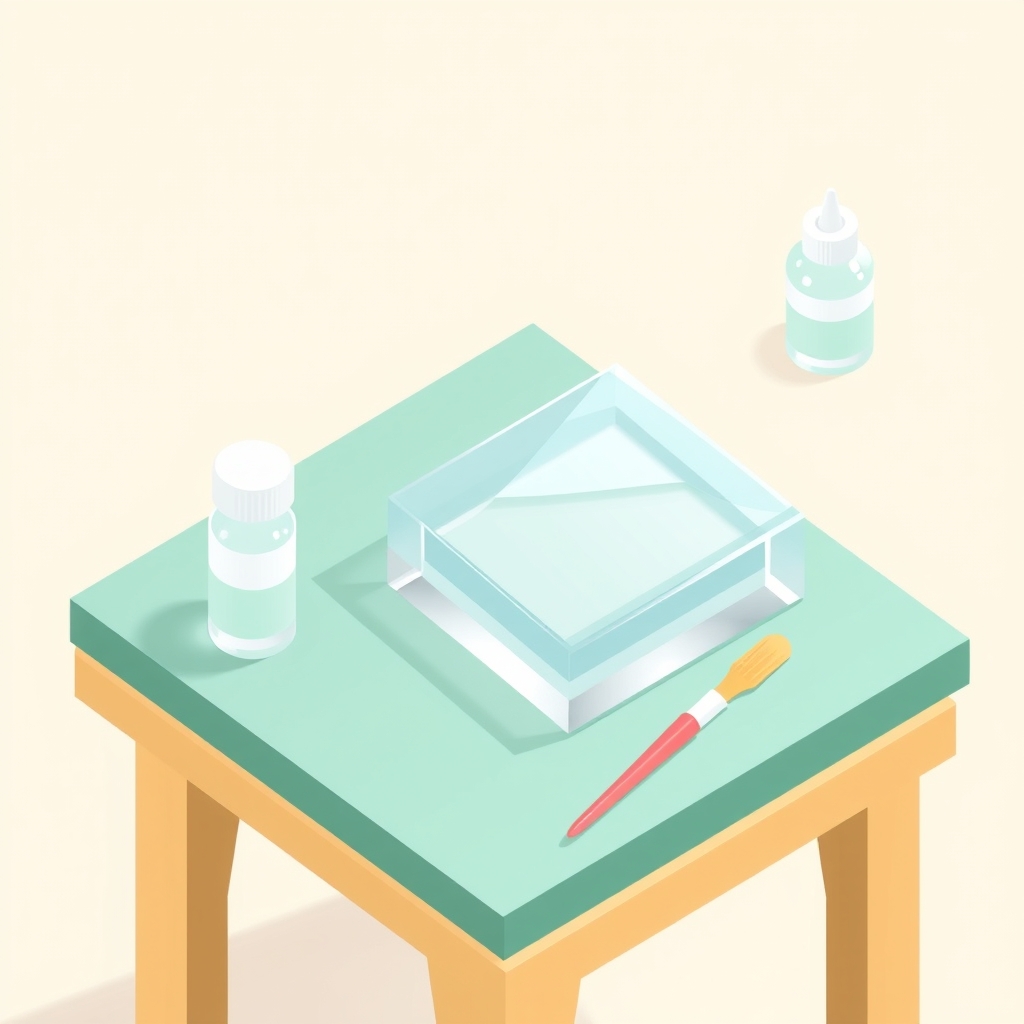
- Mix a small batch of resin. Mix the same epoxy by the manufacturer’s exact ratio. For a tight structural seam, mixing a little fumed silica or a resin-specific thickener into the batch turns it into a gap-filling paste that will not run out of the joint.
- Apply and align. Spread a thin, even layer on both faces, press the pieces together in their final position, and wipe away the resin that squeezes out.
- Hold or clamp. Keep the pieces aligned with tape, clamps, or a jig until the resin gels. Even light pressure prevents the joint from shifting.
- Cure fully. Leave it for the full cure time on the label (often 24 to 72 hours) before sanding or stressing the joint.
- Sand and polish. Once cured, sand the seam flush through progressively finer grits, then polish or apply a thin flood coat to restore the gloss.
For two flat pieces that meet edge to edge, you can also lay them face-down on a sheet of cured silicone or packing tape, butt the edges together, and pour a small bead of fresh resin along the back of the joint. The tape stops the resin running through and leaves a clean front face.
Method 2: Bond with two-part epoxy adhesive
A dedicated two-part epoxy glue (the kind in a double syringe) is the practical choice when you need a strong join quickly and the seam will not be on display. It cures faster than casting resin, fills small gaps, and holds up to stress well.
Prep is the same: sand both faces, clean with alcohol, then mix and apply the epoxy adhesive, clamp, and let it set. The trade-off is appearance. Most epoxy glues cure slightly amber or opaque and will show as a visible line in clear pieces, so reserve this method for colored, opaque, or hidden joints.
Method 3: Super glue for small, fast repairs
Thick cyanoacrylate (CA) glue bonds cured resin in seconds and is ideal for small parts like jewelry findings, broken figurine limbs, or tiny accents. Use the gel or thick formula rather than the watery type so it stays put and fills a hair-line gap.
CA glue makes a strong spot bond but it is brittle under flex and can fog clear resin with a white haze as it cures. Apply a tiny amount, press the pieces together, and hold for 30 seconds. For anything load-bearing or large, step up to fresh resin or epoxy adhesive instead.
How to hide the seam after fusing
A joint can be structurally perfect and still look obvious. To make the seam disappear:
- Level the joint. Sand the cured seam flush with the surrounding surface, starting around 220 grit and working up to 400 to 600.
- Restore clarity. On clear pieces, wet-sand through 800, 1000, and 2000 grit, then polish with a plastic polish or buffing compound. Alternatively, brush on a thin flood coat of fresh resin, which self-levels to a glossy finish and optically blends the line.
- Match color. If the original piece is tinted, add the same pigment to your bonding resin so the joint matches instead of showing as a clear or off-color stripe.
Tips for a stronger, cleaner join
- Maximize the contact area. A flat, well-mated joint is far stronger than two pieces meeting at a point or along a jagged crack. Sand mating faces flat where you can.
- Work in a warm room. Resin and epoxy adhesives cure faster and bond better at room temperature (around 70 to 75 F / 21 to 24 C). Cold slows the cure and can leave a weak, tacky joint.
- Do not rush the cure. Stressing a joint before it fully hardens is the most common reason fused pieces fail. Give it the full recommended cure time.
- Protect your skin. Wear nitrile gloves and work in a ventilated space when sanding and mixing resin, since uncured epoxy and resin dust can irritate.
Frequently asked questions
Can you fuse resin to resin without glue?
Yes. The cleanest no-glue method is to bond the pieces with a thin layer of the same fresh epoxy resin. Because it is the identical material, it cures into the existing resin and forms a single continuous piece rather than a glued joint, which is both stronger and less visible than any separate adhesive.
Will super glue hold two pieces of resin together?
Super glue (thick or gel cyanoacrylate) will hold small resin pieces well for light-duty repairs, especially after you sand and clean the surfaces first. It is fast but brittle and can leave a white haze on clear resin, so use fresh resin or two-part epoxy for large or load-bearing joins.
How do you join two cured epoxy pieces invisibly?
Sand and clean the mating faces, bond them with a thin layer of fresh, color-matched resin, then sand the seam flush and finish it with a thin flood coat or a wet-sand-and-polish sequence. Matching the resin color and restoring the gloss is what makes the joint disappear.
Does fresh resin stick to cured resin?
Fresh resin sticks well to cured resin only if the cured surface is sanded to a matte finish and cleaned first. Poured onto bare, glossy cured epoxy it can peel or delaminate, but on a roughened, clean surface it grips firmly and cures into a solid bond.
The bottom line
For the strongest and most invisible result, fuse resin pieces with a thin layer of the same fresh epoxy after sanding and cleaning the mating surfaces, then sand and polish the seam. Reach for two-part epoxy adhesive when you need speed on a hidden joint, and keep thick super glue on hand for small, fast repairs. In every case the prep, scuff the surface, clean it, and keep the pieces aligned while they cure, is what decides whether the join holds.
Martin Flood
Martin Flood has been working in the construction industry for over 20 years as a general contractor with expertise in remodeling projects that are large or small. He has furthered his career by specializing in epoxy resin flooring, providing excellent service to both commercial and residential clients. Martin’s experience enables him to offer professional advice on how to choose the right type of project based on your needs and budget.
View all posts by Martin Flood →