
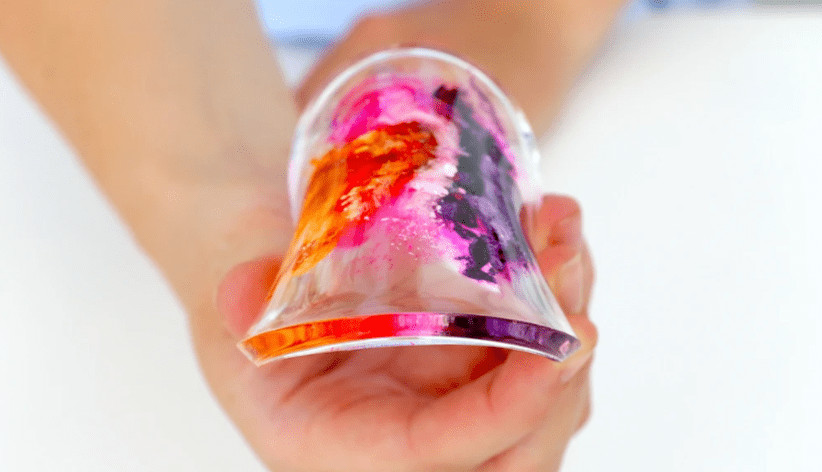
Epoxy is a very durable and hard material. It is used in many applications from arts and crafts to industry. The strength of epoxy makes it very easy to damage, but repairing it can be difficult as well.
The best way to repair a damaged epoxy table depends on what kind of damage you have done and how much experience you have with the process.
Can you fix cracked epoxy?
Yes, you can fix a broken epoxy table. By filling in the cracks, then pouring over the top and curing it with a torch or heat gun, you can repair your tabletop and have an epoxy-filled table once again.
You’ll need to use a special epoxy filler that’s meant for this purpose (such as this one), which comes in two parts: resin and hardener. First, remove all traces of oil or grease from your tabletop—a clean rag soaked in denatured alcohol should do the trick—and wipe down any dust with another cloth saturated in clean water.
Then mix together equal parts resin and hardener following the directions on their packaging until they are thoroughly combined into one colorless liquid; once mixed together, pour them into whatever container you’re using to hold your mixture while waiting for it to set up fully (you’ll also want something bigger than what you used before—I used two buckets).
Table of Contents
How do you fix an epoxy resin table?
First, remove the crack. You can use a razor blade to do this, but be careful not to cut yourself! You may also want to sand down the surface of your table if it’s very rough or has splinters that could hurt you.
Next, apply epoxy resin onto the damaged area with a putty knife or similar tool—just make sure that all of the cracks are filled in completely before moving on! After about an hour or so, wipe off any excess epoxy resin and re-sand your table one last time using fine sandpaper (200 grit).
Then, apply another coat of epoxy resin and wait another hour before repeating these steps one more time. Finally! Your broken table is good as new!
How do you fix a cracked epoxy countertop?
First, you’ll need to sand down the epoxy. You can use a palm sander and 120 grit sandpaper for this step. Once you’ve done that, use 180 grit sandpaper on the surface.
If there’s any discoloration or other imperfections in your countertop’s finish, now is the time to remove them by using some 220 grit paper and going over your entire surface with it, including edges of cabinets and under counter lighting fixtures. Do not skip this step! It will make all of your hard work worth it when you’re finished with your project as it will help keep things looking great for years to come!
How do you fill epoxy table cracks?
- Apply the epoxy filler over the crack with an epoxy spreader.
- Wipe any excess epoxy filler with a paper towel.
- Allow the epoxy to set for at least 24 hours before sanding it down and re-coating it with polyurethane finish or other protective coatings such as varnish, shellac or lacquer.
Does epoxy crack easily?
Epoxy is a tough material, but it isn’t indestructible. It can be chipped, scratched and cracked. If you are the type of person who feels devastated when your phone screen cracks, you might find it even more upsetting to damage an epoxy table. Not to worry: as long as the epoxy doesn’t experience extreme heat or cold, it’s possible to repair most damage.
You may need to remove the damaged area before making repairs depending on how deep your crack is and how much work you want to put into repairing your table top epoxy surface coating (or if it can be repaired at all).
What causes epoxy resin to crack?
- Mixing epoxy resin incorrectly is the most common cause of a failed repair. It’s important to read and follow the instructions provided by the manufacturer of your epoxy resin carefully. A failure to mix your resin properly can result in a weak bond, which will not hold up under stress.
- Poor surface preparation is another common mistake made when applying epoxy resin, but it’s easily avoided if you follow all of the directions provided by your product’s manufacturer. If you don’t clean and sand your project area before applying an adhesive or sealant like epoxy, you’ll end up with bubbles and other imperfections that are difficult or impossible to remove once they’ve been set permanently into place by hardening products like polyurethane varnish or lacquer finishes (both of which must be used over top).
Can you pour epoxy over epoxy?
You may have heard that you can pour epoxy over epoxy to fix the table, but this is a bad idea for two reasons. First, the epoxy won’t stick to the existing surface because it’s already dry. Second, pouring more resin onto an existing layer of epoxy will create bubbles and voids between layers that make your finished project look less than ideal.
If you really want to use both layers of epoxy at once, follow these steps:
- Remove any dust or dirt from the surface by wiping it down with a damp cloth
- Spread some wax paper on top of your work area so that any spills won’t make contact with anything else
Can you pour epoxy over sticky epoxy?
No. It is not advisable to pour epoxy over a sticky surface. A better idea would be to sand the surface, clean it, and then degas it before pouring new epoxy.
Conclusion
Hopefully, you’ve found this article helpful. If you’re still having trouble, try repeating the problem in a safe place and see if that helps.
If it does not, feel free to let us know about your experience and we’ll do our best to answer any questions or concerns you have.
Thanks for reading!
Martin Flood
Martin Flood has been working in the construction industry for over 20 years as a general contractor with expertise in remodeling projects that are large or small. He has furthered his career by specializing in epoxy resin flooring, providing excellent service to both commercial and residential clients. Martin’s experience enables him to offer professional advice on how to choose the right type of project based on your needs and budget.
View all posts by Martin Flood →