
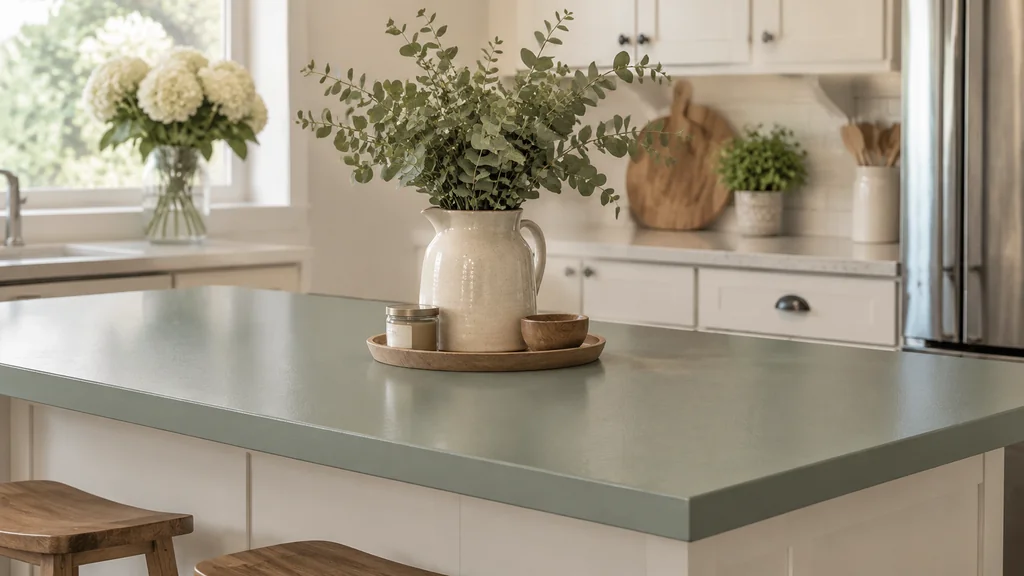
Yes, you can paint over epoxy. Scuff it, clean it, prime it with a Bonding Primer, and the new coat will bond.
Why paint struggles to stick to epoxy
Epoxy cures into a hard, dense coating.
So the job is mechanical. You are not melting the old finish or reactivating it. You are cutting a profile fine enough that the primer can key into it, then sealing that profile before contamination lands on it.
Epoxy also tends to sit low on the porosity scale. A cured film has almost nothing for paint to grab, so a coating laid straight over the gloss relies on suction alone. That holds until the first temperature swing or the first parked tyre, and then it peels in sheets. The scuff sanding exists to give the primer thousands of tiny peaks and valleys to lock into. Once the gloss is dulled evenly across the whole surface, a Bonding Primer rated for hard, slick coatings does the rest.
Contamination is the other quiet killer. Garage floors carry oil, silicone from tyre dressings, wax and dust, and any of these sitting in the scuffed profile will block the bond in that spot. Degreasing before sanding and wiping after vacuuming is not optional on a floor that has seen a car. On a table top or a countertop the same rule applies, since kitchen films and hand oils settle on cured epoxy just as they settle on glass.
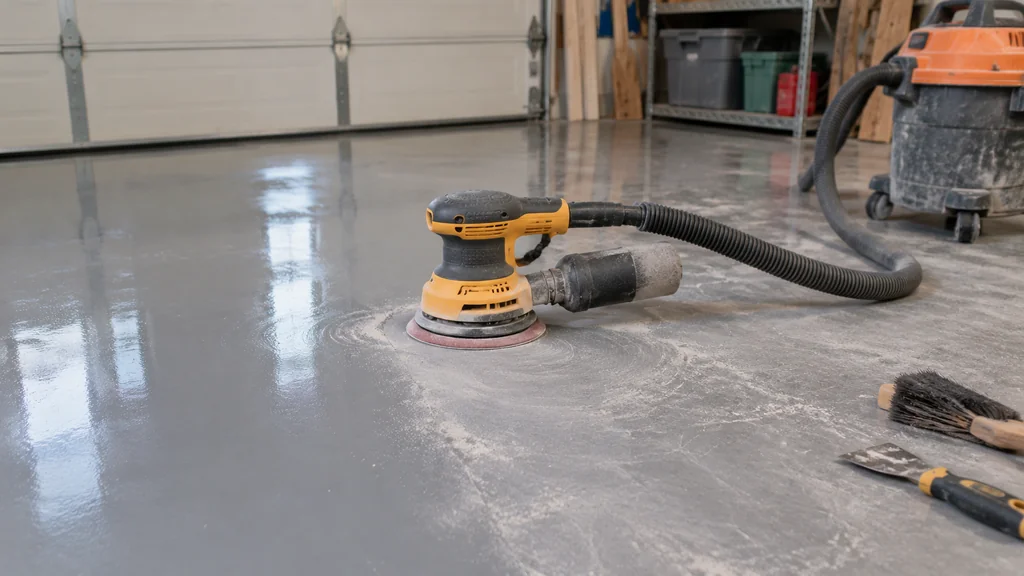
Table of Contents
How to tell whether your epoxy is ready
Press a thumbnail into an inconspicuous spot. On a floor that is still curing, the thumbnail may leave a mark. Check the label for the recoat window and the full cure time, and allow the full cure time before painting.
If the coating darkens or softens, stop and investigate its condition before painting.
Look for failure while you are down there. Bubbles, delamination at the edges, hot-tire pickup, and cloudy patches all mean the old coating is letting go. Paint over a failing floor and you have simply painted the top of a failure.
Moisture in the slab deserves its own check. Tape a square of plastic sheeting to the concrete, leave it overnight, and look for condensation or a darkened patch underneath in the morning. A slab that sweats will push moisture up through the new paint film and lift it from below, and no amount of scuffing fixes that. If the plastic test shows moisture, deal with the slab first or hand the floor to a pro who can grind and seal it properly.
Age matters too. An epoxy floor that is a season old and sound is a straightforward paint job. A floor that is years old, chalky and thin in the traffic lanes may be better off stripped and recoated from scratch, because you would be building a new finish on a base that is already at the end of its life.
The main steps
- Clear the area and wash the surface with a degreaser, then rinse and let it dry completely.
- Scuff the whole film with a random orbital sander and suitable grit, or a floor buffer with a sanding screen, until the gloss is gone everywhere. Work with the grit that profiles the coating without polishing it.
- Vacuum the dust, then wipe with a damp cloth or a tack cloth, and repeat until nothing comes off on the rag.
- Repair chips, cracks and hollow spots with an epoxy patching compound and let it cure.
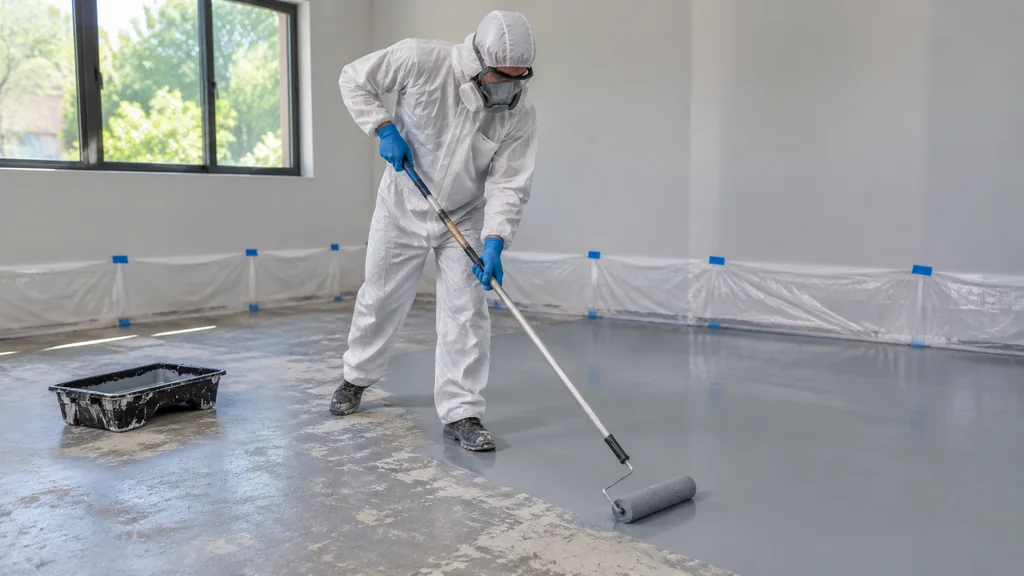
- Apply a Bonding Primer made for hard, non-porous surfaces, following the recoat window on the label. For the topcoat, use a Two-Part Polyurethane or a quality epoxy floor paint.
- Topcoat with a Two-Part Polyurethane or a quality epoxy floor paint, cut in at the edges first, then roll in sections.
- Broadcast anti-slip grit into the first topcoat while it is wet if the floor will get wet feet or tyres, then seal it with the second coat.
- Let it cure fully before walking, parking or moving furniture back, per the label.
Choosing the right paint
A Two-Part Polyurethane is the usual pick for a garage floor because it cures hard, shrugs off hot tyres and cleans up without much fuss. A quality epoxy floor paint is the simpler option for a low-traffic room, and it goes on with the same roller technique as the primer. Oil-based paint sits somewhere in between. If you are weighing that trade-off, the notes on oil-based paint over epoxy cover where it works and where it disappoints.
Enamel needs a fully cured epoxy underneath and a primer rated for hard plastics, otherwise it chips at the edges where traffic hits first.
Latex wall paint is the one to avoid on a floor. It stays soft enough that a tyre or a chair leg marks it, and once it marks, the mark stays. If a wall colour has to carry onto the floor for a design reason, put the latex down as a decorative layer and seal it under a clear Two-Part Polyurethane, and accept that the seal coat is doing all the wearing.
Colour and sheen change the job in small ways. Dark colours show every dust speck that lands in the wet film, so a light grey or a tan hides prep imperfections better in a garage. A satin sheen hides scuffs better than a full gloss, and a gloss shows off the floor but also shows every swirl from the roller. Cut-in work at the walls should use the same product as the field so the sheen matches once it cures.
Buy the whole system from one recoat window to the next. Primer, topcoat and thinner that are meant to work together take the guesswork out of the timing between coats, and mixing brands means reading two labels and hoping the recoat windows line up.
Preparation details that decide the outcome
Grit choice is where most jobs go wrong. Too coarse and you leave scratches that telegraph through the topcoat. Too fine and you polish the surface instead of profiling it. A floor buffer with a sanding screen covers a wider path than a hand sander. A sanding block helps reach edges and corners.
Edges and corners need hand work. A sanding block with the same grit gets into the perimeter where a machine cannot reach.
Dust control is worth setting up before the first pass. Sanding epoxy throws off a fine, hard dust that settles everywhere and scratches anything it lands on. Hang plastic sheeting over doorways, put a filter on the sander or run a shop vacuum beside it, and wear a respirator and eye protection for the whole sanding stage. Vacuum the walls and the window sills afterwards too, because dust that falls back onto a wet primer becomes a bump in the finish.
Between coats, keep the timeline honest. Most primers and topcoats give a recoat window, a stretch of hours or days when the next coat bonds chemically without sanding. Miss the window and the label will tell you to scuff again before the next coat. Write the times on a piece of tape next to the door and work to them, because a floor finished inside the recoat windows comes out noticeably more even than one patched together over a week.
Cold slows it and humid air can blush the surface. Work in a heated space in winter, and check the label for the minimum application temperature before you open the can.
If the epoxy sits on a wood substrate, movement is your enemy. The same prep rules apply, but expect to maintain the seams.
When to call a pro
A small table top, a workbench, a set of shelves: do it yourself. A whole garage floor with heavy flaking, moisture coming through the slab, or a floor that has already failed twice is a different job. Moisture testing, concrete grinding, and a full recoat system are professional territory.
If the slab has cracks that move, or the old epoxy is delaminating across large areas, get a quote before you buy paint. Grinding equipment and dust control are the main reasons to hand it over.
A pro brings three things a DIY setup usually lacks. A diamond grinder that profiles the whole slab evenly in one pass, an industrial vacuum that catches the dust at the source, and moisture testing that says whether the slab can hold a coating at all.
Ask anyone you hire what system they plan to use and what prep it includes. A quote that skips the moisture test or the profile grinding is a quote for a floor that will peel, so compare the prep steps between quotes before comparing prices.
Keeping the new finish alive
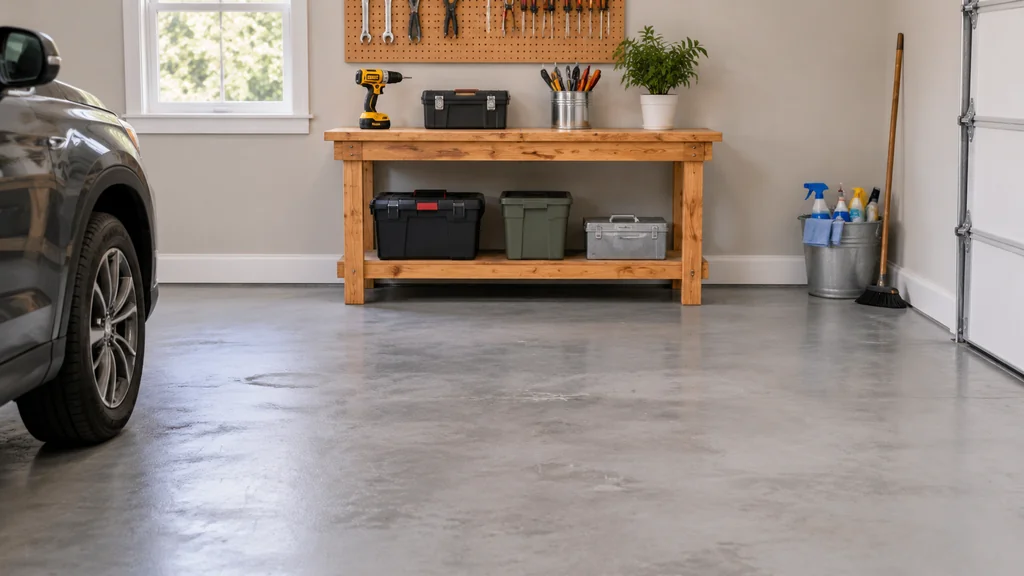
Wait out the full cure before parking on it. Sweep the floor, use a pH-Neutral Cleaner, and keep sharp-edged objects off the surface.
For a topcoat that wears, plan on a maintenance coat as needed in a garage or indoors. When the finish looks scuffed and dull, clean it well and recoat after the scuff-and-clean prep.
A light maintenance routine stretches the time between recoats. Sweep grit off the floor weekly, because tracked-in sand is what actually scratches the finish under tyres and boots. Put a mat at the door and felt pads under anything that slides across the surface. Wipe up oil, antifreeze and fertilizer spills the day they happen.
Keep a record of what went down. Note the primer, the topcoat, the colour and the date on the inside of a cupboard door or in the paint can you store. When the floor needs its next maintenance coat in a few years, you will know exactly what product to buy and how the recoat windows line up, and you will not have to sand a test patch to find out.
Can I paint over epoxy? FAQ
Does paint react with epoxy?
The problem is poor adhesion. Scuff the film, remove any blush and contamination, and use a primer rated for hard non-porous surfaces.
Can I paint over epoxy primer without sanding?
You can, and it will look fine at first. Sanding gives a mechanical key that keeps the topcoat from lifting at the edges and in traffic lanes. A light scuff with fine grit takes minutes.
Can I put polycuramine over epoxy?
Yes, provided the epoxy is fully cured and scuffed. Check the label for compatibility and recoat times before applying it.
Can I use acrylic paint under epoxy?
Let the acrylic dry completely, keep the surface free of dust and oils, and pour or coat the epoxy over it.
Will epoxy stick to a painted surface?
Roughen the paint first, and strip anything that is peeling, bubbling or chalky. A failing base coat will take the epoxy down with it.
How long before I can walk on it?
That depends on the product. Check the product label for traffic and cure times before walking or driving on the coating, and allow the full cure time before parking or moving furniture back.
If you are weighing a recoat against a full replacement, the same prep logic applies whether the substrate is concrete or timber, and the notes on putting epoxy on a wood floor are worth reading before you choose a system.

Martin Flood
Martin Flood has been working in the construction industry for over 20 years as a general contractor with expertise in remodeling projects that are large or small. He has furthered his career by specializing in epoxy resin flooring, providing excellent service to both commercial and residential clients. Martin’s experience enables him to offer professional advice on how to choose the right type of project based on your needs and budget.
View all posts by Martin Flood →
1 thought on “Can I paint over epoxy?”