
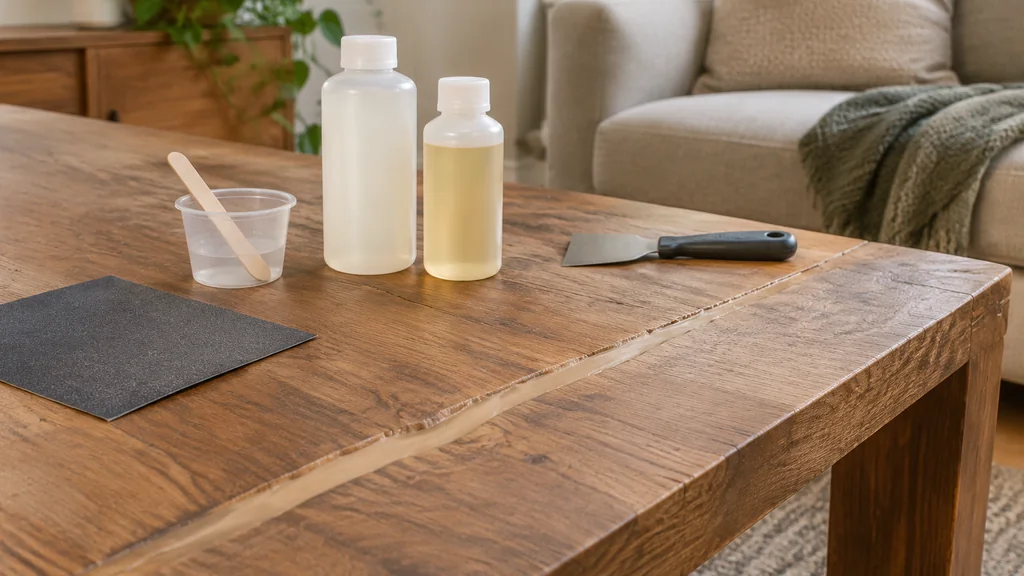
Epoxy wood hardener is a low-viscosity two-part resin that soaks into soft, spongy timber and consolidates the wood that remains. It does not establish that a treated member can carry its load; where load-bearing capacity is at issue, get a structural assessment. It works on wood that has lost density to rot but still holds its shape, and it fails on timber that has crumbled into loose fibre. The job is a repair of strength, not a cosmetic patch, so the prep and the mixing matter more than the brand on the tin.
What epoxy wood hardener actually does
Rot works from the inside. Fungal decay eats the cellulose in woods such as Oak and Douglas Fir, leaving behind a honeycomb of soft fibre that looks solid until you push a screwdriver into it. A hardener is thin enough to travel down those fibres by capillary action, then sets into a rigid plastic matrix that carries load again.
That is the whole trick. The resin does not rebuild missing timber. It consolidates what is left. If a section has gone hollow or crumbled away, you are into a filler and splice job, and the hardener becomes the primer that locks the sound edges before you pack new material in.
Two-part epoxy is the standard chemistry here. A one-part putty that skins over in air will not penetrate deep enough to matter on a structural member. The comparison between the two families is worth understanding before you buy anything, and our guide to two-part epoxy wood filler vs one-part putty lays out where each one belongs.
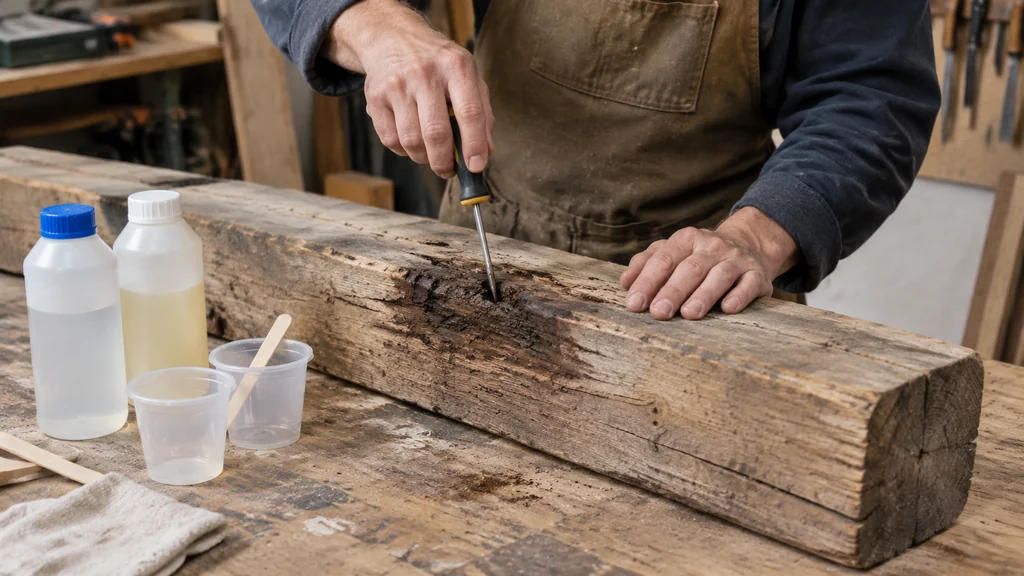
Table of Contents
How to tell whether the wood can be saved
Probe before you commit. Push a sharp tool into the suspect area at several points. Firm resistance with a dull sound means the fibres are intact. A soft, spongy give with wet fibre on the tip means decay is active and the hardener has something to bond to.
Then check the extent. Drill small test holes along the member and look at the shavings. Pale, dry chips are sound wood. Dark, stringy, damp fibre means the rot runs further than the surface suggested. Mark the boundary with a pencil so you know where to stop.
Three conditions mean you replace rather than harden:
- The member has lost more than a small fraction of its cross-section, so the remaining sound wood cannot carry the load. Check the spec sheet for the member and get an engineer’s view on anything holding a floor or a roof.
- The timber crumbles to powder between your fingers.
- The decay reaches a joint, a bearing point, or the end grain where the member sits into masonry.
Structural wood epoxy is a consolidation treatment, and consolidation needs a substrate. No resin brings back fibre that is already gone.
Tools and materials
Gather everything before you mix, because mixed epoxy has a working life and you do not want to be hunting for a brush while it kicks.
- Two-part epoxy wood hardener, with the ratio printed on the label
- Structural Epoxy Filler for rebuilding missing material
- Two clean mixing cups and a stirring stick, plus a syringe or a squeeze bottle for injection
- A stiff brush and a vacuum with a brush nozzle
- A moisture meter
- Drill with a small bit for test holes and injection ports
- Nitrile gloves, eye protection, and a respirator rated for the solvent in your product
- Masking tape and plastic sheeting to protect the surrounding surfaces
Read the label for the mix ratio and the recoat window. Those two numbers govern the whole schedule, and they vary between products.
Step-by-step application
- Stop the water. Find and fix the leak, the blocked gutter, or the failed flashing that made the wood wet. Resin over active damp traps moisture and the rot continues underneath. Let the timber dry to a stable reading on the moisture meter, and check the label for the maximum moisture content the product allows.
- Remove the loose material. Dig out crumbled fibre with an awl or a small chisel until you reach wood that resists the tool. Vacuum the cavity and brush out the dust. Dust blocks penetration.
- Mask and protect. Tape off adjacent surfaces. Hardener that runs onto paint or masonry is difficult to remove once cured.
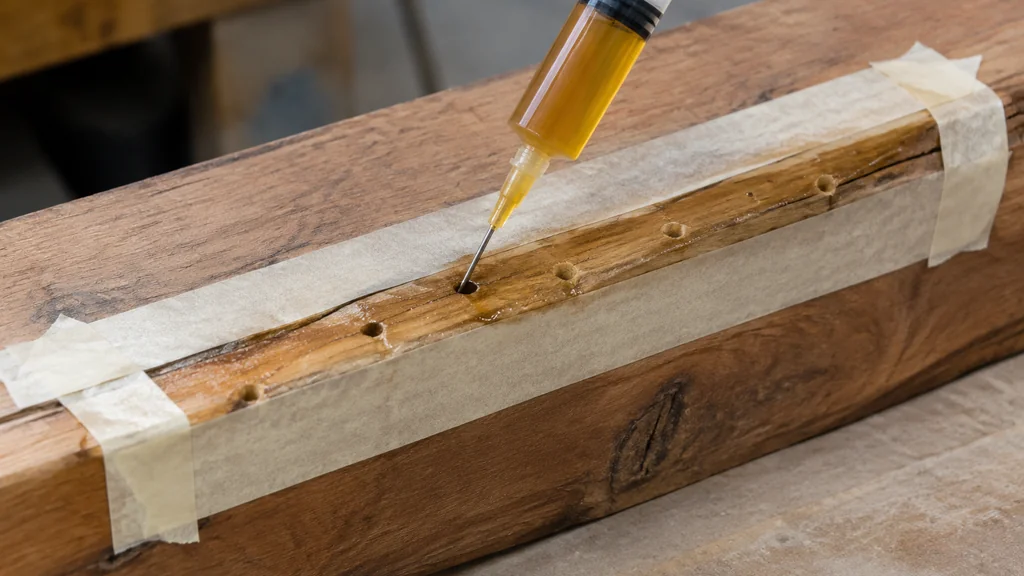
- Drill injection ports. Bore small holes into the soft area at an angle so the resin can reach the interior of the member. Space them so the resin can travel between them.
- Mix the two parts exactly. Measure by volume or weight as the label states. Mix slowly for the full time given, scraping the sides and the bottom of the cup. Incomplete mixing is the most common cause of a tacky, never-curing repair.
- Apply wet-on-wet. Brush or inject the hardener into the timber until it stops absorbing, then keep the surface wet while you work. On a large member, work in sections so the resin does not gel before you finish.
- Let it cure fully. Follow the label for cure time at your workshop temperature. Cool weather stretches it out. Do not test the repair with a tool until the full cure has passed.
- Fill and finish. Once cured, the hardened wood can be sanded, drilled, and filled. Pack any hollows with a structural epoxy filler and shape it back to the profile of the member.
Where hardener stops and filler begins
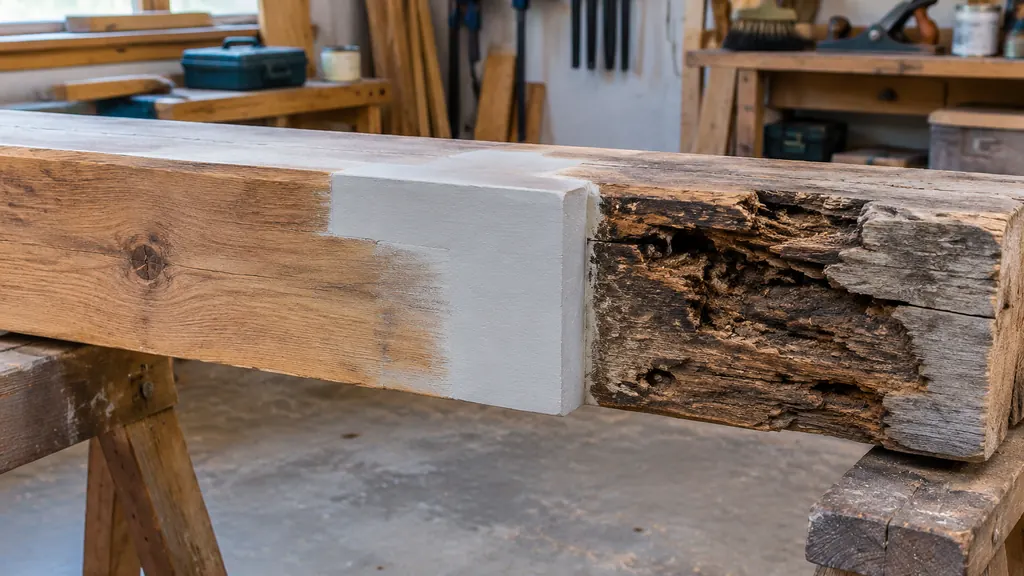
Hardener consolidates. Filler rebuilds. Most structural repairs need both, in that order. Once the surrounding timber is solid, a two-part epoxy filler can restore a missing corner or a chewed edge, and it will take a screw and hold a shape.
Exterior work adds another layer of decisions, because sunlight and water attack the repair differently than they do indoors. Our guide to epoxy wood filler for outdoor repairs covers the topcoats and the detailing that keep a patch alive through the seasons. If you are still deciding which compound suits the job, the comparison of wood repair putty and compounds sets out the working properties side by side.
Mistakes that ruin a structural repair
Skipping the moisture check. Resin over wet timber is a waste of money and a hidden problem. Buy or borrow a meter. It costs less than a second repair.
Over-thinning. Some products can be thinned for better penetration, but only as the label permits. Solvents that are not specified weaken the cured resin.
Mixing too much at once. A large batch in a small cup generates heat and can gel in minutes. Mix small batches and work steadily.
Hardening wood that should be cut out. A repair that hides advanced decay in a load-bearing member is a liability. When in doubt, sister a new piece of timber alongside the old one or replace the section.
Forgetting the finish. Cured epoxy is not UV-stable on its own. Paint or a suitable topcoat protects it, and the surrounding timber needs the same protection to stop the rot returning.
When to call a professional
Call a structural engineer or a licensed contractor when the decayed member carries a floor, a roof, or a wall, when the damage reaches a joint or a bearing, or when you cannot establish how far the rot has spread. Check the rules that apply in your location. A surveyor’s report is cheap insurance against a repair that fails inspection or, worse, fails quietly.
Small repairs on sills, porch posts, window frames, and fascia boards are well within reach of a careful DIY hand. The dividing line is load. If the timber holds something up, get a second opinion before you mix resin.
Epoxy Wood Hardener FAQ
Can epoxy wood hardener restore a rotten load-bearing beam?
Only where the decay is shallow and the sound wood still carries the load. Hardener consolidates soft fibre but cannot replace missing cross-section. Any beam holding a floor or roof should be assessed by an engineer before you treat it.
How long does epoxy wood hardener take to cure?
Most two-part products reach a workable cure overnight at normal workshop temperatures, with full strength after several days. Cold weather slows the reaction considerably. Check the label for the cure schedule at your temperature and do not rush the sanding.
Can I paint over hardened wood?
Yes, once the epoxy has fully cured and you have sanded it flat. Some products have an amine blush on the surface that needs washing off first, so check the label. A primer suited to epoxy gives the topcoat a reliable key.
Does hardener work on wet wood?
No. Active moisture stops the resin bonding and traps decay underneath. Fix the water source first, then let the timber dry to the moisture level the product specifies before you apply anything.
Is epoxy hardener better than wood filler for structural repairs?
They do different jobs. Hardener penetrates and consolidates soft timber, while filler rebuilds missing volume. A structural repair usually needs the hardener first to create a solid substrate, then a two-part epoxy filler to restore the profile.

Martin Flood
Martin Flood has been working in the construction industry for over 20 years as a general contractor with expertise in remodeling projects that are large or small. He has furthered his career by specializing in epoxy resin flooring, providing excellent service to both commercial and residential clients. Martin’s experience enables him to offer professional advice on how to choose the right type of project based on your needs and budget.
View all posts by Martin Flood →