
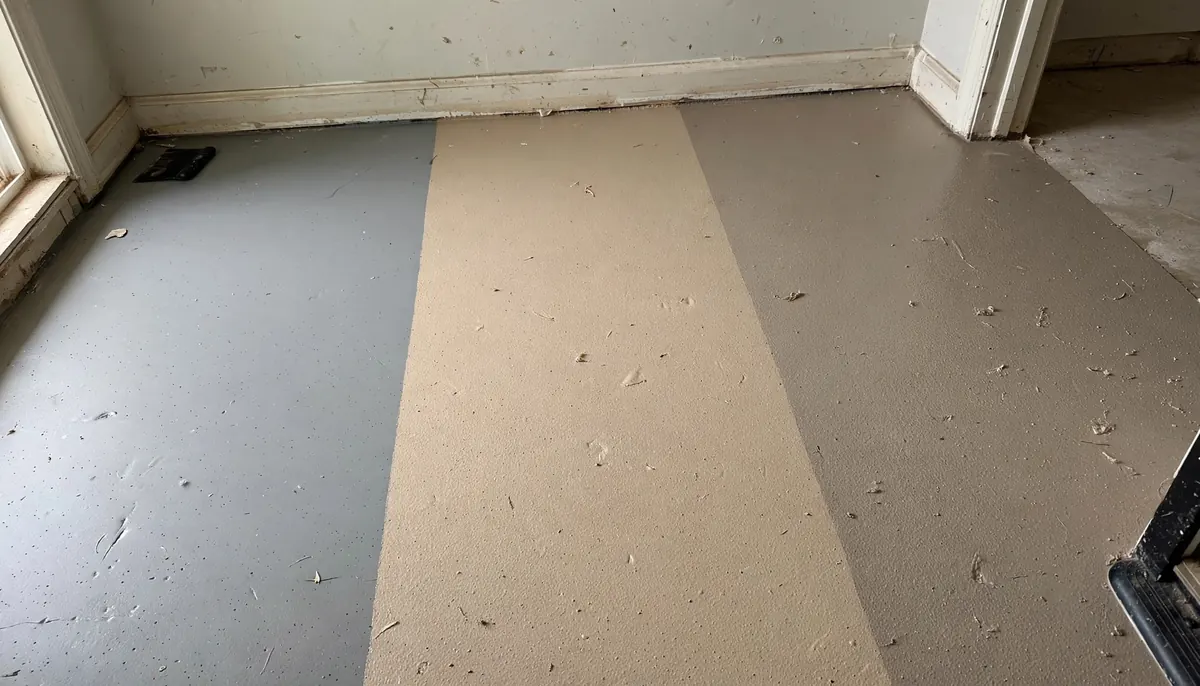
A waterproof epoxy sealer is a two-part resin system that cures into a hard, non-porous film, and the main differences between products come down to cure speed, flexibility, UV stability, and whether they are formulated for wood, concrete, or tile. For most home workshops, a slow-cure laminating epoxy gives the best penetration and bubble release, while a fast-cure coating epoxy works better for small repairs you want to sand the same day. The right choice depends less on brand and more on the substrate you are sealing and how much working time you need.
How Waterproof Epoxy Sealers Differ
All epoxy sealers share the same chemistry. A resin and a hardener react to form a cross-linked polymer that water cannot pass through. What changes between products is the formulation around that core reaction.
Laminating epoxy stays thin for a long time. It soaks into wood grain and fiberglass cloth before it gels. Coating epoxy is thicker and builds a film on the surface. Casting epoxy is thickest and designed to pour deep without cracking from heat buildup. WEST SYSTEM is a well-known manufacturer of marine epoxy products.
The practical split for a homeowner comes down to three things. Working time, often listed as pot life, tells you how long you have before the mix turns to jelly. Cure time tells you when you can sand or topcoat. Flexibility tells you whether the film will crack when the wood beneath it moves with the seasons.
A rigid epoxy over a deck that expands and contracts in humidity will crack along the grain. A flexible epoxy or a thin penetrating sealer handles that movement better. Read the technical data sheet for the product.
Table of Contents
Surface Prep Decides Whether the Sealer Works
Epoxy bonds mechanically. It grips the scratches and pores of a surface. Smooth surfaces give it little to grip. Skip prep and the best sealer in the world peels off in sheets.
For wood, sand to 80 or 120 grit. Vacuum the dust, then wipe with a solvent recommended on the product label. Do not use a tack cloth that leaves wax behind. Wax is a release agent and epoxy will not stick to it.
For concrete, the surface must be profiled. Acid etching, grinding with a diamond cup wheel, or shot blasting all work. ICRI Guideline 310.2R describes methods for preparing concrete surfaces before coating. A simple test tells you if you are ready. Drip water on the slab. If it beads up, there is sealer or curing compound left and you need to remove it. If it soaks in dark, you have an open profile.
For tile and grout, the surface must be completely dry and free of soap residue. Epoxy over damp grout traps moisture and the film will cloud or lift.
Temperature matters as much as cleanliness. Most epoxy systems want the substrate between 60°F and 90°F. Check the product’s technical data sheet and consult ASTM C1059/C1059M when using a latex bonding agent to bond fresh concrete to hardened concrete. Below the recommended temperature, the reaction slows and the mix may never fully cure. Above it, the pot life shortens fast and the mix can flash-cure in the cup.
Comparing the Main Types Side by Side
Penetrating epoxy sealer. Thin viscosity, long pot life, soaks into wood and porous concrete. Best for stabilizing soft or punky wood before a topcoat. It does not build a thick film on its own.
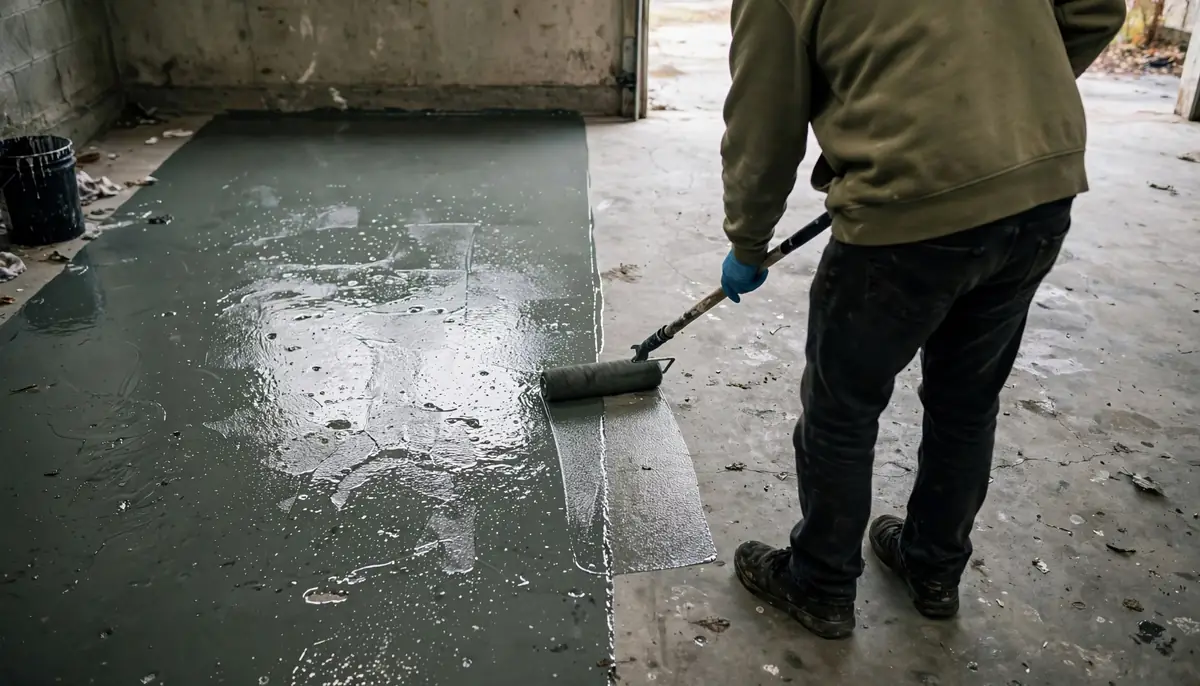
Roll-on coating epoxy. Medium viscosity, cures to a glossy film. Common for garage floors and countertops. Often needs two coats with a recoat window you must hit while the first coat is still slightly tacky.
Flexible epoxy. Contains additives that let the cured film stretch with the substrate. Good for exterior wood and surfaces that see thermal movement. Usually more expensive and slower to cure.
Fast-cure epoxy. Pot life measured in minutes. Useful for small repairs, filling knots, and sealing cracks before sanding. Not practical for large floors because you cannot mix and spread it fast enough.
Epoxy grout sealer. A thin epoxy formulated to seal grout lines without leaving a film on tile faces. Different product category from a floor coating, and the application tools are different too.
If you are considering another material, it helps to know what else is on the shelf before you commit. Some projects are better served by a polyester or polyurethane product, and a quick look at what can I use instead of epoxy resin will save you a wasted mix.
Mixing and Applying Without Bubbles
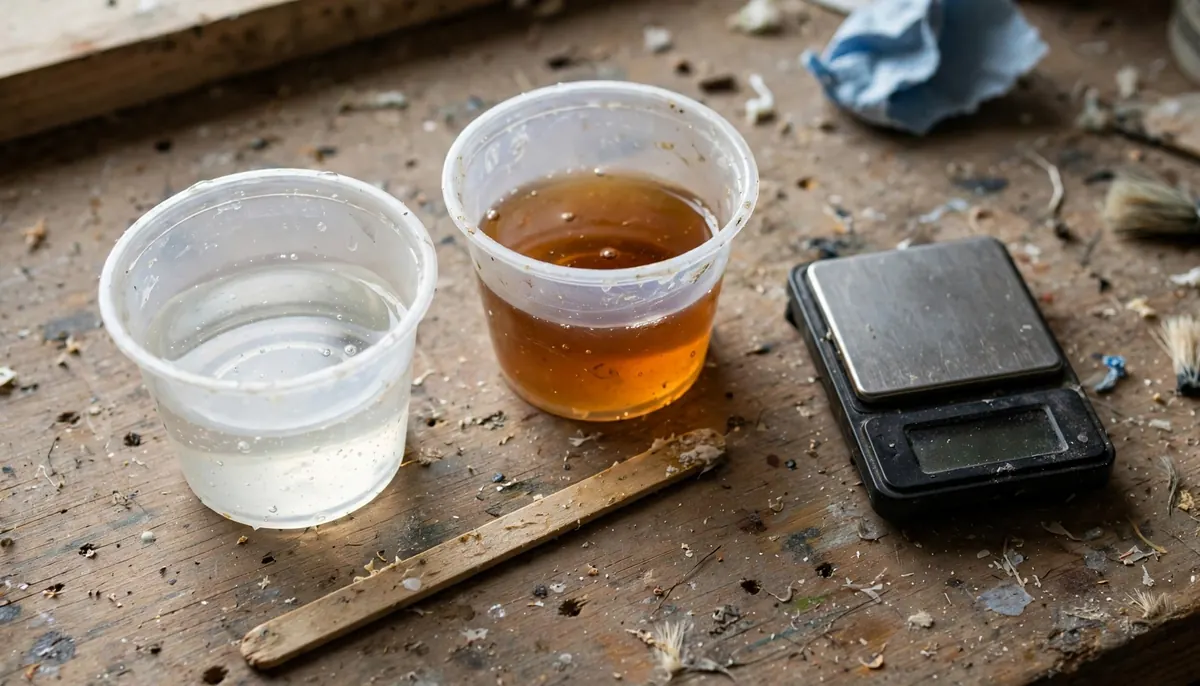
Measure by weight when the label gives a ratio. Volume measuring works for some kits but fails for others because resin and hardener have different densities.
Mix in a clean container for a full two minutes, scraping the sides and bottom. Unmixed resin at the bottom of the cup will leave a soft, gummy spot in the cured film that never hardens.
Pour the mix into a second clean cup and stir again for another minute. This double-cup method catches the streaks the first mix missed.
Bubbles come from three sources. Stirring too fast whips air in. Pouring from height traps air. And a warm mix releases dissolved air as it heats up. Work slowly, pour close to the surface, and pass a heat gun or torch quickly over the wet film to pop surface bubbles. Keep the flame moving or you will scorch the epoxy.
Respect the recoat window. If the first coat cures fully glossy, the second coat needs sanding to 120 grit for a mechanical bond. If you catch it while it is still slightly tacky, the next coat bonds chemically and you skip the sanding.
Costs and Coverage in Plain Terms
Coverage depends on film thickness, and film thickness depends on the substrate.
Do the math before you buy. Measure your area, decide on two coats, and add ten percent for waste and touch-ups. Buying a second small kit at full price because you ran short mid-pour is the most common and most expensive mistake in this work.
Two-part kits are sold by volume, usually in quart, gallon, and two-gallon sizes. Compare the price per square foot at your target thickness, not the price per kit. A cheap kit that needs three coats can cost more than a better one that needs two.
Ventilation and skin protection are essential. Uncured epoxy is a sensitizer, meaning repeated skin contact can trigger an allergic reaction that gets worse with each exposure. Nitrile gloves, long sleeves, and open air or a fan moving fumes outside are the baseline. The manufacturer’s safety data sheet lists the specific handling requirements for the product in your hand.
When to Call a Pro
Small pours, repairs, and sealing a workbench top are well within reach for a careful DIYer. Three situations justify hiring out.
Large floor coatings over 500 square feet, because the material sets faster than one person can spread it and a cold joint between batches shows forever.
Structural repairs where the epoxy is carrying load, such as crack injection in a foundation wall or carbon fiber reinforcement. Those need an engineered specification.
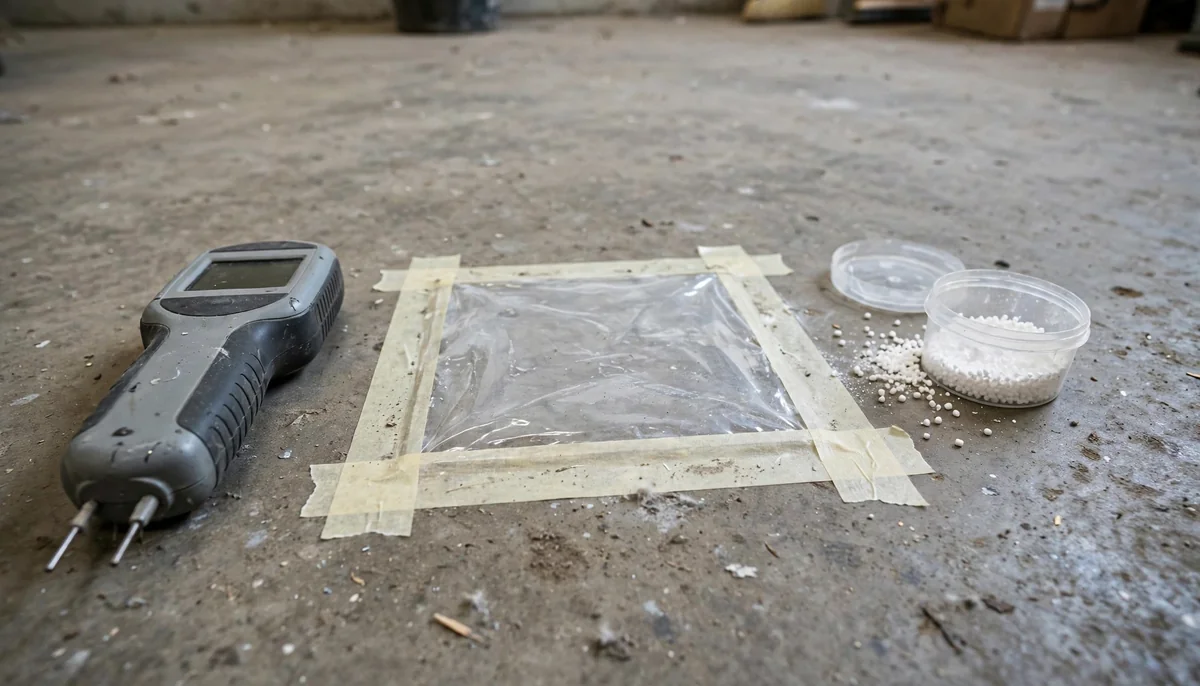
Any job where the substrate is questionable. Moisture vapor coming through a slab will blow a floor coating off no matter how well you prep. A pro can run a calcium chloride test to measure the vapor rate before anyone buys material. ASTM F1869 covers the test method for measuring moisture vapor emission from concrete subfloors.
There is also a category of repair where epoxy is the wrong tool entirely. If you are patching a painted surface and wondering whether a polyester filler will hold up, the answer depends on what is under it, and this breakdown of whether Bondo wood filler is waterproof explains where that product belongs and where it does not.
Common Mistakes That Ruin a Sealer Job
Mixing partial batches by eye. The ratio must be measured precisely. A few percent off and the film stays soft or cures brittle.
Applying too thick in one pass. Epoxy generates heat as it cures, and a thick pour in a warm room can crack, smoke, or bubble. Build thickness in coats.
Coating over a damp surface. Water and epoxy do not mix, and trapped moisture turns to vapor as the film heats, pushing blisters up from below.
Ignoring the recoat window. Wait too long and you must sand. Sand poorly and the second coat delaminates.
Skipping the seal coat on porous surfaces. Bare wood and concrete wick resin out of the film, leaving dry spots and pinholes. A thinned first coat closes the pores.
Sealing grout with a product meant for floors. Grout lines need a thin, penetrating formula. A thick coating bridges the line and looks like a smear on the tile. If you are working on tile, this guide to whether you can put a sealer on epoxy grout covers the specific products and timing that work.
Waterproof Epoxy Sealer FAQ
How long does waterproof epoxy sealer take to cure?
Most two-part epoxies reach a sandable state in 12 to 24 hours at 70°F and full cure in 3 to 7 days. Cooler temperatures stretch those times considerably. Do not put the surface into service or expose it to water until the full cure window on the label has passed.
Can you apply epoxy sealer over a damp surface?
No. Epoxy will not bond to a wet substrate, and moisture trapped under the film turns to vapor as the coating cures, causing blisters and delamination. Dry the surface and confirm it with a moisture meter before mixing.
Is epoxy sealer the same as epoxy resin?
They share the same base chemistry but are formulated differently. Sealers are usually thinner and designed to penetrate or build a controlled film. Casting and laminating resins are made for thicker pours or fiberglass work. Check the technical data sheet for the intended use.
Does epoxy sealer work on exterior wood?
Yes, but you need a UV-stable topcoat. Standard epoxy breaks down under sunlight and will chalk and yellow. Many exterior systems use epoxy as the waterproof base and a spar urethane or marine varnish over it for UV protection.
How many coats of epoxy sealer do I need?
Two coats is standard for most floors and countertops, with a third on very porous concrete or bare wood. The first coat seals the pores and the second builds the wear layer. Follow the recoat window on the label between coats.

Martin Flood
Martin Flood has been working in the construction industry for over 20 years as a general contractor with expertise in remodeling projects that are large or small. He has furthered his career by specializing in epoxy resin flooring, providing excellent service to both commercial and residential clients. Martin’s experience enables him to offer professional advice on how to choose the right type of project based on your needs and budget.
View all posts by Martin Flood →