
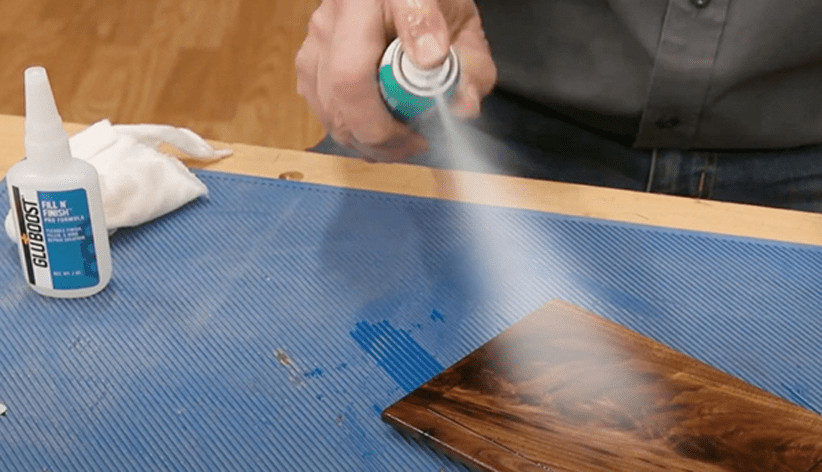
I love wood filler. It’s cheap and easy to use, and you can fill up any holes and cracks in your wood without having to worry about sanding later.
However, there’s one big problem with it: wood filler doesn’t stain well! And honestly, that really sucks. But don’t worry: I’m here to help.
This article will cover all the different ways that you can get your wood filler to take a stain—from applying stain before or after filling the cracks in your project to using different types of products for staining (like Minwax Wood Filler) altogether.
Why is wood filler not taking stain?
- The wood filler is too thick. If the wood filler is too thick, it will not take stain and may look streaky once it’s stained.
- The wood filler is too thin. If the wood filler is too thin, then it will look streaky when stained
Table of Contents
- Why is wood filler not taking stain?
- How do you get wood filler to stain?
- Can I put stain over wood filler?
- How do you make wood filler darker?
- Should I fill knots before staining?
- Can you add stain to Minwax wood filler?
- What kind of wood filler can you stain?
- How long should wood filler dry before sanding?
How do you get wood filler to stain?
- Clean the surface of the wood filler.
- Sand the wood filler with fine-grit sandpaper, using light pressure and circular motions.
- Apply stain to the filler and let it dry.
- Sand again, this time with fine grit sandpaper and more pressure than before (but not too much).
Can I put stain over wood filler?
The short answer is yes, but it isn’t recommended. Since you’re already dealing with a cracked and discolored surface, it’s best to try sanding that out first.
If your wood filler has been applied too thickly or if you didn’t add enough primer before applying the filler, then sanding may not be an option for you. This can cause your stain to crack as well!
If you do want to stain over your existing finish and are willing to deal with some cracking issues in order to get that fresh finish look back on your piece of furniture or cabinet door, then here are some tips:
- Use a high-quality paintable latex sealer instead of water-based polyurethane or varnish (the most common type of sealer).
- Apply two coats of sealer before staining instead of one coat—if possible—to prevent any cracking issues after application.
How do you make wood filler darker?
To make wood filler darker, try using a stain that is more concentrated. A stain with more pigment will usually have a deeper color than one with less pigment.
For example, an oil-based polyurethane finish can be used to seal your wood filler and make it appear darker without having to repaint the entire surface.
You could also try using a stain that is more opaque than the stain you are currently using. An opaque stain will cover up any existing finish on your project and produce a uniform appearance across its surface; whereas, if there is still some of the previous finish showing through when you apply your new coat of paint or varnish then this may affect how dark it looks when finished.
Should I fill knots before staining?
If you are staining a piece of furniture that has knots, it is best to fill them with wood filler before staining. This will help avoid any color variations caused by the knots in your stain.
However, if you have a lighter-colored floor or wall that goes with your woodwork and the knots are not noticeable when looking at it from afar, then there may be no need for filling them in.
Do not attempt to apply stain over knots at all unless you want them to show through!
Can you add stain to Minwax wood filler?
You can make Minwax Wood Filler stain. It’s easy to do, and the only thing you’ll need is some tung oil—a natural finish that adds some color and protects the wood.
Just mix two parts of tung oil with one part of water in a plastic container (like a large yogurt container). Put on gloves before handling because this stuff is full of chemicals that can irritate your skin!
Then, dip your brush into the container and apply it to whatever part of your project needs staining.
Once it dries, you’ll have beautiful wood that has been toned with tung oil!
What kind of wood filler can you stain?
If you’re using a stainable wood filler, the answer is probably yes. If you’re using another type of filler that isn’t recommended for staining, or if you are unsure about the type of filler you have used, check the package label to see if it says “stainable.” If it does not say “stainable,” chances are that it won’t accept a stain application.
If your project will be outdoors (or exposed to rain), make sure that any wood filler you use on it is labeled as “exterior” or “weatherproofed.”
These filters have been treated with sealants and other chemicals designed to protect them from moisture damage and exposure to sunlight over time.
Be aware that these treatments can cause bleaching of light-colored woods such as cedar and pine; they may also darken walnut (which can look nice when stained) over time.
How long should wood filler dry before sanding?
The drying time of a wood filler depends on the type, as well as how much you use. The longer it takes to dry, the more likely it is that your stain will not penetrate and take on the color of the filler.
So what causes these variances? For starters, different types of fillers have different drying times. Some fillers are water-based and some are solvent-based so they cure at different rates in different environments (i.e., temperature/humidity).
Also if you apply too many coats before sanding or staining then it can also slow down the curing process because there’s more material for moisture to bind to.
Conclusion
We hope this article has helped you learn more about the different kinds of wood fillers and how to use them.
Martin Flood
Martin Flood has been working in the construction industry for over 20 years as a general contractor with expertise in remodeling projects that are large or small. He has furthered his career by specializing in epoxy resin flooring, providing excellent service to both commercial and residential clients. Martin’s experience enables him to offer professional advice on how to choose the right type of project based on your needs and budget.
View all posts by Martin Flood →