
You can use Minwax wood putty to fill cracks and holes in wood. But before you do, you’ll want to know how to thin out the putty so that it goes further and fills the crack better. We’ll answer all your questions here!
Can you thin Minwax wood putty?
While some people have had success with thinning Minwax wood putty, I wouldn’t recommend it. The epoxy-based nature of the filler makes it difficult to successfully dilute and can cause problems for you down the road.
The good news is that there are several other options for thinking:
- Mixing water with Minwax wood putty will make a paste that’s easier to spread than its thick consistency out of the tube.
- Mixing lacquer thinner (or mineral spirits) with Minwax wood putty will also make a paste, which is great for filling large gaps between boards.
Table of Contents
How do you thin out wood filler?
To thin out wood filler, use the following:
- Water – Add water to the mixture until you reach a consistency that can be spread.
- Mineral spirits – Use mineral spirits in place of water and thin out your mixture to a smooth consistency that you can easily spread on the surface of your project.
- Lacquer thinner – A lacquer thinner will make it easier for you to get into tight areas and remove excess paint when painting your project. It also makes it easy to clean up any mistakes while applying the filler because it dries up quickly.
- Paint thinner – You should only use this if you have no other options available because it’s very toxic and bad for your health as well as being flammable so keep away from open flames or heat sources when using this solvent in conjunction with wood filler.
Can you add water to dried out wood filler?
You can add water to dried out wood filler, but you’ll need to mix the water in thoroughly with the filler.
If you’re in a hurry, use a damp cloth or sponge to apply the wood filler, and then use a putty knife to smooth it out.
Can you rehydrate wood putty?
If you’ve got a dried-out can of wood filler, it’s not too late to use it! Sure, the product won’t be as creamy and smooth as it was when it came out of the container. But you can still fill gaps with wood filler that has been rehydrated.
When you’re ready to add water to your dried-out wood filler, there are two methods:
- Using a spoon or ice cream scoop (depending on how much filler is left), add small amounts of water until the product is smooth enough to apply evenly onto your surface. Add more if necessary.
- Use a toothpick or similar tool to scrape off bits at a time until they become softened enough for use—this method will take longer than adding water through a utensil but also give you more control over how much moisture goes into each chunk at once.[1]
How do you moisten dry wood filler?
There are a variety of ways to moisten dry wood filler. You can use a damp cloth, or you can use a wet sponge or even just a wet rag.
Whatever you choose, be sure to keep it moistened until you are finished applying the wood filler.
Are wood putty and wood filler the same?
Wood putty and wood filler are not the same. Wood putty is used to cover imperfections in wood, while wood filler is used to fill holes in wood.
For example, you might use a knife or saw to cut a piece of molding that has a small knot hole in it. You could then fill that hole with wood putty or wood filler as long as you follow the instructions on these products.
How do you smooth out wood filler?
If you have applied the wood filler too thickly, you may need to smooth it out. The amount of time and effort required depends on which method you are using.
The simplest method is to use a putty knife or wooden stick to level out surface irregularities. If you have not used enough filler and want more coverage, simply add more while smoothing with your tool of choice.
If that doesn’t work, try using a clean cloth dipped in water and wringing it out so that the cloth is damp but not dripping wet.
Wipe over the area until there are no lumps left behind by running your hand along its surface; repeat this step if necessary until all lumps have been removed from both sides of your project area before continuing on with other steps in this tutorial series! Remember…the key ingredient here is patience!
How do you use Minwax wood filler?
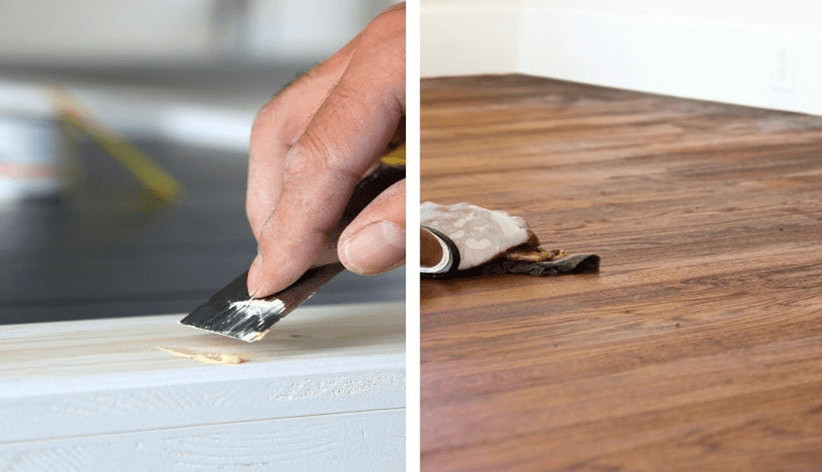
To begin, you’ll want to apply the Minwax wood filler in the direction of the wood grain. This will help ensure that it blends in seamlessly.
If there are any small holes, cracks, or scratches in your piece of furniture, you can use a putty knife to lay down a thin layer of Minwax wood filler over them before allowing it enough time for drying and sanding.
Once all of this has been done, you’ll want to wipe off any excess with a clean cloth so that no residue remains on your piece! Repeat these steps as necessary until all blemishes have been filled in by Minwax wood filler.
Conclusion
These are some of the most common questions about using wood filler. Overall, it’s a great product that can help you repair almost any type of damage to your furniture or home.
If you have any other questions about how best to use Minwax Wood Putty, feel free to contact us at our number listed above!