
You’ve already cleaned the tile, grouted it and now it’s time to apply the epoxy grout. But how do you apply it? In this article, we’ll show you a few basic steps for applying epoxy grout in your home or business.
Rinsing the sponge
- Wash your hands.
- Get a clean, slightly damp sponge.
- Don’t use a rough, abrasive sponge; it will take off the shine of your grout and scratch up the tiles.
- Don’t use a sopping wet sponge, either; this will only make the epoxy set in place too quickly and you won’t be able to work with it properly (and then you’ll have messy results).
Table of Contents
Clean up the tile
Once you’re done applying epoxy grout, you’ll have some residual left over. To get rid of it and make sure your tile stays clean, use a dry rag or paper towel to wipe off any excess epoxy.
Avoid using a wet rag because this can result in watermarks and other unsightly blemishes on your tile.
Cover the walls and floor
Cover the walls and floor with plastic. Covering the floor with plastic will make cleanup easier, as epoxy grout can stain concrete floors and tile.
Covering your walls with plastic will keep excess epoxy grout from dripping onto them, which can be a headache to remove later on.
Pushing in the grout
Now that you’ve mixed the grout and it’s ready to go, it’s time to apply it. You have a few options:
- Use a grout float (also called a grout trowel) or a grout sponge to push the mixture into the joints. A float has an S-shaped handle so you can hold it in one hand. Sponges are color coded for consistency: white for standard grouts, blue for matte-finish ones, and green for water-resistant versions.
- If you don’t have those tools on hand, use your hands like you would with any other type of mud!
Dragging across the surface
If you are applying the epoxy grout with a trowel, use a grout float to smooth out the epoxy. A grout sponge works well for small areas, particularly those with curves and angles.
If you want to trim edges or clean up around corners, use a grout knife. If your project involves larger areas or is more complex in nature than straight lines, then consider using a grout wand instead of a trowel; it’s designed to leave behind just a uniform appearance without needing as much attention from the user.
Finally, if you’re looking for faster application times or simply need something that doesn’t require much skill to handle (or even for smaller jobs), consider using rollers like those used for paint rather than traditional tools like sponges or brushes—they’ll save time and effort without sacrificing quality results!
Cleaning out the bucket
You might be wondering how best to clean out your bucket after you’ve mixed up a new batch of epoxy grout. There are several different ways to go about doing this, and it’s up to you which one is most convenient for you.
- Use a sponge and some warm water. This is the simplest method of cleaning out your bucket, but it may not be the most thorough option. By using warm water and a sponge or other soft scrubbing material (such as an old sock), you can easily remove any excess epoxy that has dried on the sides of the bucket. If there are any stains or discolorations in your bucket’s plastic surface, these will probably remain after cleaning with only warm water and soap unless they’re gently scrubbed off first with something abrasive like sandpaper or steel wool before applying new epoxy grout over top—but that’s another topic altogether! So if all else fails…
- Use steel wool! If even just wiping down your dirty plastic bucket doesn’t get rid of those pesky discolorations in time for when someone sees them while eating their morning cereal in front of their kitchen sink then don’t worry because there’s still one more option left: steel wool!
Cleaning off the tile surface
- Clean off the tile surface
When you are applying epoxy grout, it is important to clean off all of the loose dirt and dust from your tile. This will help make sure that your final product will look clean and professional. You can use a wet sponge or a dry sponge for this step.
If using a wet sponge, simply wipe away any accumulations of dirt on your tile surface with water and then let it air dry before proceeding with applying the epoxy grout.
If using a dry sponge, wipe away all accumulations of dirt with an alcohol-soaked rag or paper towel before letting it air dry again before proceeding with applying the epoxy grout.
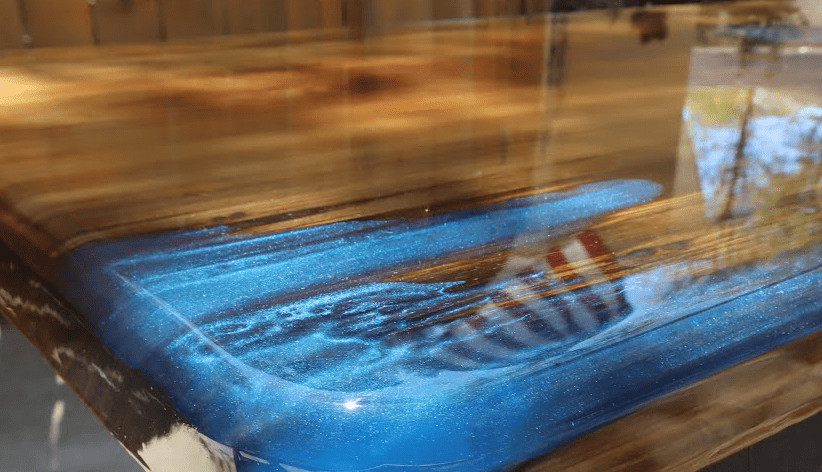
Applying epoxy grout
Now that you have all the materials, let’s get to work.
- To apply the epoxy grout, you will need a grout float (or trowel) and a bucket. The size of these tools depends on how many tiles you are working with. You can find them at any hardware store or home improvement center and they are relatively cheap.
- Apply an even layer of epoxy grout to your tile with a notched trowel or grout float—this tool has grooves on one side that act as guides for smoothing out the product in one direction—and then smooth it out against your tiles by hand or with another piece of wood until there is no excess product left behind. If you still see some gaps, fill them in with more epoxy! Be sure not to use too much though; it may look good now but remember: It will dry hard like concrete!
Dry time for epoxy grout
The drying time for epoxy grout depends on the type of grout and its application. In general, the length of a batch curing period varies from one to 24 hours, depending on factors like temperature and humidity.
Once your grout has been applied and allowed to set (cure), you can begin using it immediately or wait until it’s fully cured before moving on with your project.
If you’re just doing a small job around the house, then waiting overnight should be sufficient; but if you’re doing a larger project like an entire kitchen backsplash or bathroom flooring overhaul, then make sure that each person who works with epoxy-based products follows all safety precautions related to its use—particularly when applying wet materials such as tile adhesive directly onto dry surfaces without allowing them time first!
Washing off the residue
Once you’ve finished grouting, it’s important to wash off any remaining residue. If you don’t remove the excess grout, it will harden and become difficult to remove.
You should use a sponge or dry cloth and clean water to wipe away any extra epoxy.
Conclusion
After you’re done with the grout, it’s time to clean up. Make sure that you have all of your materials in order and ready to go before starting this process so that there are no interruptions or delays later on.
The best way we’ve found is by using hot water from a sprayer or hose and cleaning off everything with paper towels.
Then, use a sponge dipped in warm water for removing any leftover residue from the surface such as dirt particles or grease stains from cooking oils used during preparation time before application day arrives.
Martin Flood
Martin Flood has been working in the construction industry for over 20 years as a general contractor with expertise in remodeling projects that are large or small. He has furthered his career by specializing in epoxy resin flooring, providing excellent service to both commercial and residential clients. Martin’s experience enables him to offer professional advice on how to choose the right type of project based on your needs and budget.
View all posts by Martin Flood →