
Wood filler is a great way to fix holes, cracks, and chips in wood. It’s easy to use, affordable and readily available at most home improvement stores.
But it can be tricky to know how much hardener you need when working with wood filler. And if you don’t mix the two together correctly, you could end up wasting time and money on wasted supplies.
Here are some of the key questions we get about using wood filler without hardener:
Does wood filler go hard without hardener?
You can use wood filler without hardener. Here’s how:
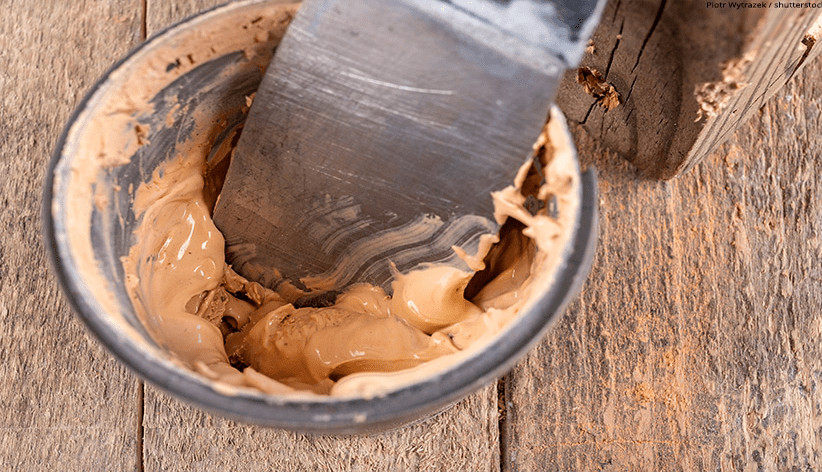
- Stir the filler until it is smooth and uniform in color.
- Apply a thin layer of the filler to your project, spreading it out with a putty knife or similar tool before it starts to set up on its own. Repeat until you have covered all areas that need repair and allowed them to dry thoroughly overnight (or longer).
Table of Contents
- Does wood filler go hard without hardener?
- Do I need wood hardener?
- Does wood filler strengthen wood?
- What happens if you don’t add hardener to wood filler?
- Why does my wood filler keep cracking?
- Why is my wood filler not drying?
- Can you put wood hardener on wood filler?
- How can I make wood filler stronger?
Do I need wood hardener?
If you want to paint your wood filler, you need to use a wood hardener. This will make the filler stronger and prevent cracking when it dries. If you don’t want to paint your filler, then no—you don’t need a hardener!
If you want to make your filler stronger without painting it, then yes—you can use a hardener.
Does wood filler strengthen wood?
Yes, wood filler does strengthen wood. Wood filler is a type of glue that is used to fill holes and cracks in wood. It is also used to repair dents in furniture or other surfaces made from wood.
Wood filler is made from sawdust, glue, and water. The sawdust acts as the main filler material while the glue holds it together to form a solid mass that fills cracks or holes in your workpiece.
What happens if you don’t add hardener to wood filler?
If you don’t add hardener to wood filler, it will not dry. It will not harden and become strong. The wood filler won’t be durable or waterproof.
It may not even be insect resistant! Even if you know that the wood filler doesn’t need a hardener, it’s better to be safe than sorry in this case.
Why does my wood filler keep cracking?
If you haven’t used wood filler before, here are some possible reasons why it may be cracking:
- The wood filler may not be dry enough. Allow the wood filler to dry for at least 24 hours in a well-ventilated area. If you’re using an oil-based primer and/or paint on top of your wood filler, wait even longer to allow those products to thoroughly dry before sanding or priming.
- The wood filler may not be thick enough. You may need more than one application of the material for full coverage, which means covering each area multiple times with the same amount of material that you used in your first coat (or maybe even more).
- The surface where you applied your initial layer is too porous or rough, so another coat will help fill in any gaps and create a smoother texture that doesn’t allow cracks to form when they’re exposed by hand tools during sanding or painting/sealing over time.”
Why is my wood filler not drying?
Wood filler takes a long time to dry, but there are several things you can do to speed up the process. You can use a fan or a hair dryer, or even an air compressor if you have one.
Alternately, you can use an infrared heat lamp and let it sit overnight. This will allow the moisture in your wood filler to evaporate.
Can you put wood hardener on wood filler?
I’ve never heard of anyone doing this and I’d be very surprised if it worked. If you put wood hardener on wood filler, the filler will not harden and the hardener will not fill. Both products would just remain in their current states with no change.
The wood filler would not get stronger because it’s not designed to do so; there are other types of filling material that are designed specifically for strengthening purposes.
Wood hardener is meant only to fill cracks and holes in your furniture or other wooden items – it doesn’t strengthen anything at all!
How can I make wood filler stronger?
- Use a harder wood filler.
- Use a thicker coat of wood filler.
- Let the wood filler dry longer before sanding it smooth and prime your project as usual. Place the project in an oven or toaster oven set to 250 degrees F for 30 minutes, then let it cool slowly (see below). If there’s still too much moisture present after this, repeat the drying process again until there’s no more excess moisture on your project or in its surrounding areas.
- Try using a slower-drying time or higher temperature than normal when mixing up your next batch of wood filler so that it has more time to set before you’re ready for further work with your piece; this will help prevent unwanted warping or cracking later on down the line! Alternatively, try working with less water when mixing up new batches so that they have less free liquid content—this will make them stronger over time as well if you’re patient enough for them all of that extra strength
Conclusion
In conclusion, wood filler is a great product but it does have its limitations. If you want to strengthen your wood or fill holes in your projects then you should use the right product for the job.
There are various types of wood hardeners that can be used with wood filler or even on their own as well if need be.
With these products at hand, there is no reason why anyone should not be able to make their project stronger than ever before!
Martin Flood
Martin Flood has been working in the construction industry for over 20 years as a general contractor with expertise in remodeling projects that are large or small. He has furthered his career by specializing in epoxy resin flooring, providing excellent service to both commercial and residential clients. Martin’s experience enables him to offer professional advice on how to choose the right type of project based on your needs and budget.
View all posts by Martin Flood →