

Get the epoxy resin mixing ratio wrong and nothing else you do will save the pour.
What the Epoxy Resin Mixing Ratio Actually Controls
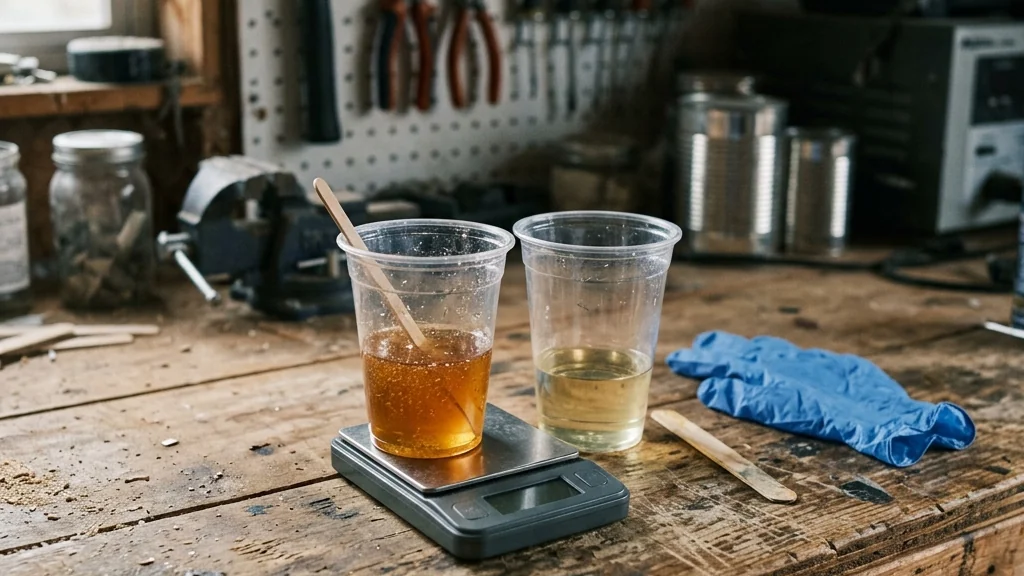
Epoxy is two chemicals that cure by reacting with each other. The resin carries epoxide groups, and the hardener carries the molecules that open and link them into a solid network.
Manufacturers set their formulations so the two parts meet in the right balance.
The label’s ratio is the balance point, so follow it exactly.
Table of Contents
- What the Epoxy Resin Mixing Ratio Actually Controls
- Why an Off Ratio Ruins the Cure
- Measuring by Weight or by Volume
- How to Mix Epoxy Resin Step by Step
- Temperature Changes the Ratio’s Behaviour
- Tools and Containers That Keep the Ratio Honest
- Mistakes That Throw the Ratio Off
- When to Call a Pro
- Epoxy Mixing FAQ
Why an Off Ratio Ruins the Cure
There is a second reason the ratio matters, and it has nothing to do with chemistry. Mixing is a mechanical job, and the ratio controls the relative quantities of resin and hardener.
Measuring by Weight or by Volume
Resin and hardener have different densities. Read the label and use the method it specifies.
A digital scale that reads in small increments lets you pour resin to a figure, tare it, then pour hardener to the matching figure. You are not guessing at the meniscus in a cup, and you are not losing half a gram to the side of the container.
Volume works fine for small batches if you use graduated cups and read them at eye level. It gets unreliable fast when the batch is large, when the cups are tapered, or when the resin is thick enough to cling.
A few rules that hold either way:
- Mix the full batch in one container, then transfer it. Resin and hardener that never meet cannot react, and the film left on the walls of the first cup is often under-mixed.
- Size the container so your epoxy only fills 3/4 of the way to the top.
- Keep a notebook of the ratios and batch sizes that worked. It saves you re-measuring from scratch on the next job.
How to Mix Epoxy Resin Step by Step
- Put on nitrile gloves and set out two clean containers, a stir stick for each, and your scale or graduated cups.
- Weigh or measure the resin first, then add the hardener at the ratio on the label. Note the figure before you pour so you are not doing arithmetic with sticky hands.
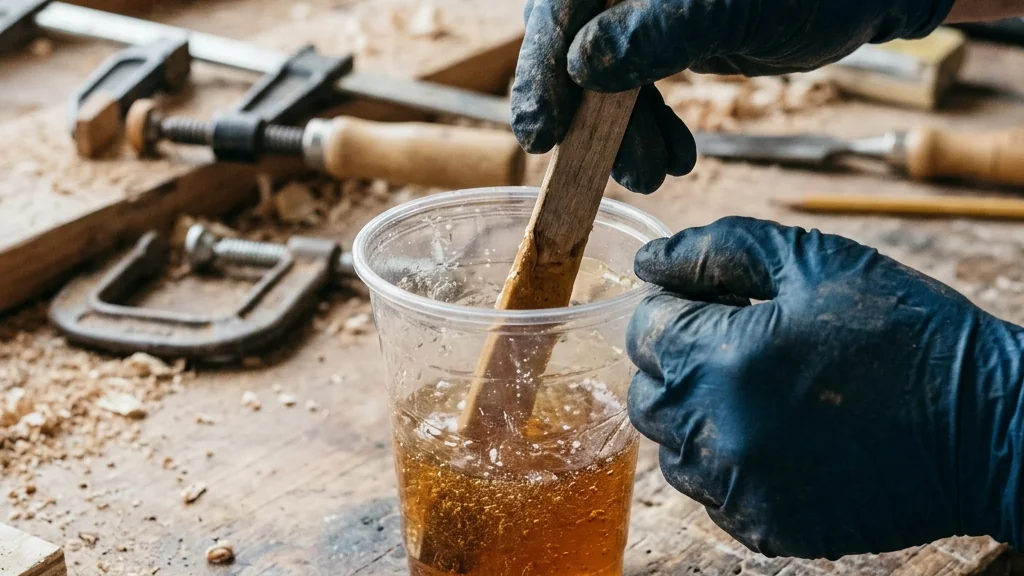
- Mix for 3-4 minutes while scraping the sides and bottom of the container with the stick. Slow circles, and change direction partway through.
- Transfer to the second container and mix for another 1-2 minutes until fully blended.
- Let the mixed epoxy sit for 1-2 minutes so air bubbles can start rising to the surface before you pour.
- Pour, spread, and then leave it alone.
That is the whole procedure. The steps are short, and the discipline is in not rushing any of them.
Temperature Changes the Ratio’s Behaviour
Epoxy resin works best at an ideal working temperature range of 70F-80F, where viscosity and cure speed stay consistent. Below 70°F, some high viscosity resin may become too viscous to release air and self level. Above 80°F, most epoxies may set too quickly and exotherm, potentially yellowing, distorting or cracking.
Raising the temperature by 18°F (10°C) cuts epoxy gel time in half. That can matter when you are working with a fast-setting product on a complicated repair, or when a summer garage pushes a slow-set epoxy into a flash cure.
Keep the work area and materials within the product’s stated temperature range.
Temperature also affects how the mixed material behaves during application. Keep the work area within the product’s stated range and allow the wood, cup, resin, and hardener to reach that range before mixing.
A cold surface can create the same problem even when the room feels comfortable. A tabletop, chair leg, or repair block stored in an unheated garage may draw heat from the epoxy after it is poured. Check the surface temperature before starting, and avoid placing a fresh repair beside an open door or on a cold metal bench.
Let recently washed, damp, or outdoor-stored wood dry before sealing it. Dust and loose fibers also become part of the surface when the epoxy wets the repair, so vacuum the area and wipe away residue before measuring the batch.
Tools and Containers That Keep the Ratio Honest
You do not need much, but the few things you do need should be dedicated to the job. Preparation also affects the result after the ratio has been measured. Cover the bench, keep the repair supported, and arrange the scale, cups, sticks, gloves, and waste container before opening the components. A tidy setup reduces interruptions while the epoxy is within its working time.
Check the containers for water, dust, and cured residue. Use a flat, stable surface for the scale and make sure the display can be read without moving the cup. If you are using graduated cups, place them upright and check that the markings are easy to see.
Protect the repair from movement during cure. A filled split can shift if the wood is not clamped or supported, and a coating can run if the piece is left tilted. Dry-fit clamps, masking tape, cauls, or supports before mixing so you do not have to search for them with a live batch on the bench.
- A digital scale that reads in fine increments. Kitchen scales work if they are accurate at low weights.
- Graduated mixing cups in a couple of sizes, so a small batch is not measured in a big cup.
- Wooden stir sticks or flat spatulas. Round sticks mix poorly in the corners of a cup.
- Nitrile gloves. Put them on before measuring and mixing.
- A second container for the transfer mix.
For repairs on old furniture, the mixing discipline matters even more than on a new build, because you are working around existing finish and old glue. If you are filling splits and voids, the method in this guide to epoxy for filling wood cracks pairs well with a carefully measured batch. For structural work where the epoxy has to carry load, the ratio is not negotiable at all, and the approach in this Epoxy Wood Hardener for Structural Repairs guide is useful to review before you mix.
Mistakes That Throw the Ratio Off
Eyeballing the hardener. A squeeze bottle gives you no measurement at all. If the label says a ratio, use a scale or a cup.
Measuring both parts in the same cup without taring. The resin left on the wall of the cup counts against your hardener figure. Weigh them separately or tare between pours.
Mixing a partial batch and halving the ratio wrong. Reduce both parts by the same proportion and keep the label’s ratio unchanged.
Working in a cold garage. Below 70F, some high-viscosity resin may become too viscous to release air.
Ignoring the surface. A damp or cold surface can affect the result. Let wood dry, bring it near the working temperature, and remove dust before pouring.
Using dirty tools. Old resin, sawdust, or loose fibers can contaminate a fresh batch. Use clean cups and stir sticks, and keep the mixing area free of debris.
Pouring too much at once. Follow the product’s instructions for pour depth, volume and layering.
Skipping a small test. A small test can help you assess whether the method suits the repair. Test before applying epoxy to a visible or valuable surface.
When to Call a Pro
Epoxy is a DIY-friendly material right up to the point where it is not. Call in someone with experience when the repair carries structural load, when the piece is valuable enough that a failed pour is expensive, or when the job needs a product with a ratio and a cure schedule you have never worked with.
Experience also helps when the defect is large, the wood is unstable, or the repair must match an existing finish. A professional can assess whether the surrounding wood can carry the repair and whether the epoxy needs reinforcement, tinting, or a different formulation. This is especially relevant to chair legs, load-bearing joints, deep voids, and pieces that cannot be taken apart for preparation.
Before starting, estimate the quantity and working time. A small cup may be manageable for a crack, while a wide tabletop can require several batches. Each batch needs accurate measuring, thorough mixing, and enough time for the preceding layer to reach the condition specified by the product instructions.
The guidance in this epoxy wood filler outdoor guide covers the product choices; the mixing discipline is the same as indoors.
Epoxy Mixing FAQ
Can I mix epoxy by volume instead of weight?
A volume ratio works when the label gives a volume ratio and you use accurate graduated cups. Use whichever method the manufacturer specifies.
How long should I mix epoxy resin?
Mixing takes 3-4 minutes in the first container, followed by another 1-2 minutes in a second container. Let the mixed epoxy sit for 1-2 minutes so bubbles can rise before pouring.
Does room temperature change the mixing ratio?
Epoxy works best between 70F and 80F. Raising the temperature by 18°F (10°C) cuts gel time in half. Lower temperatures generally slow curing.
Can I add extra hardener to make epoxy cure faster?
Do not change the label’s ratio to try to alter cure speed. Keep both components at the label’s ratio.

Martin Flood
Martin Flood has been working in the construction industry for over 20 years as a general contractor with expertise in remodeling projects that are large or small. He has furthered his career by specializing in epoxy resin flooring, providing excellent service to both commercial and residential clients. Martin’s experience enables him to offer professional advice on how to choose the right type of project based on your needs and budget.
View all posts by Martin Flood →