
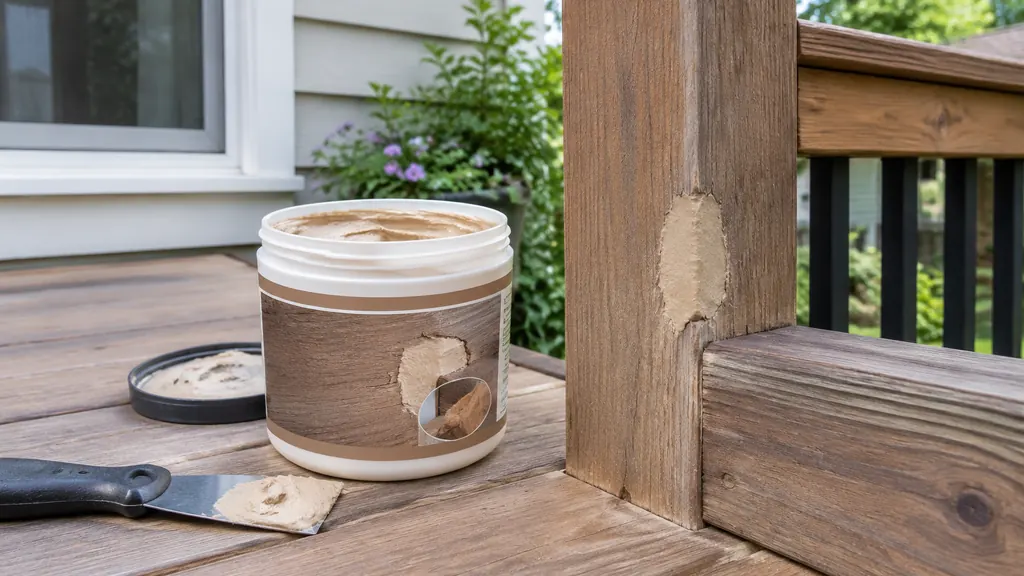
Epoxy wood filler is a two-part putty that cures hard enough to rebuild rotted exterior trim, window sills and door frames. It bonds to sound wood, resists moisture once sealed, and takes paint. Use it outdoors only on dry, solid wood, and always finish it with a topcoat.
What exterior epoxy wood filler actually is
Epoxy filler comes as two components, a resin and a hardener, that you mix together before use. The chemical reaction cures the putty into a rigid material that grips the wood fibres and shrugs off damp far better than the water-based fillers sold for interior trim. That difference matters on a porch in Vermont or a window frame in Oregon, where freeze and thaw cycles punish soft fillers.
The cured epoxy is not a cosmetic skim. It is structural enough to rebuild a corner that has rotted away, provided the surrounding wood is sound and dry. On a sill in Seattle, that means the filler carries paint and sheds water. It does not replace the wood that has already turned to sponge.
Check the label on the kit you buy for the mix ratio, the working time and the recoat window. Those figures vary between products, so use the instructions on the tin instead of a number from a forum.
Table of Contents
- What exterior epoxy wood filler actually is
- When epoxy is the right call, and when it is not
- Tools and materials for the job
- Step-by-step: repairing exterior wood with epoxy filler
- Getting the mix and the finish right
- Common mistakes and how to avoid them
- Costs and when to call a pro
- Exterior Epoxy Wood Filler FAQ
When epoxy is the right call, and when it is not
Epoxy filler earns its place when the damage is contained. A soft patch at the end of a sill, a split in a door jamb, a screw hole that has rotted out, or a checked board where water sits. If you can dig out the rot and reach solid timber, epoxy can rebuild the profile.
It is the wrong call when the rot runs deep into the core of the board or spreads along a joint. Filler over active rot just traps moisture and hides the problem until the paint fails again. Probe with an awl or a screwdriver. If the tip sinks in easily over a wide area, cut the section out and scarf in new wood instead.
Whether wood filler does the job depends on the material and the location. Epoxy is the strongest option for exterior work, but it still needs sound wood underneath.
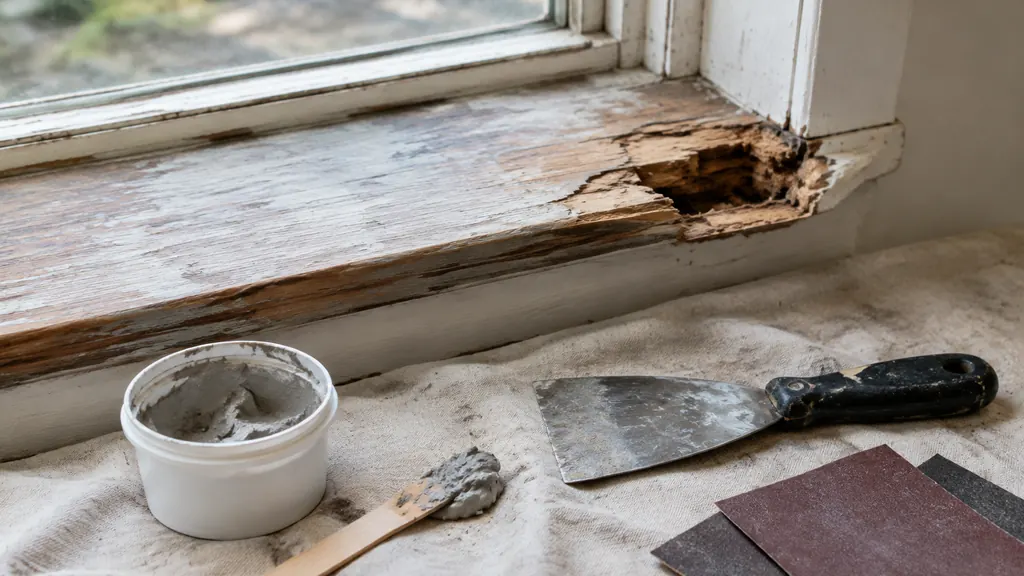
Tools and materials for the job
Gather everything before you mix. Epoxy has a working time, and hunting for a tool mid-mix wastes it.
- Two-part epoxy wood filler and a mixing board or disposable plate
- A stiff putty knife and a narrow scraper
- An awl or small screwdriver for probing rot
- A chisel or oscillating tool for cutting out soft wood
- Coarse sandpaper and a sanding block
- Denatured alcohol or a tack cloth for cleaning
- Primer and exterior paint for the topcoat
- Nitrile gloves and eye protection
A drill with a small bit helps for deep probe holes in a sill or jamb. Keep a spare mixing stick handy, because a second batch is common on larger repairs.
Step-by-step: repairing exterior wood with epoxy filler
Work in dry weather and shade the repair if the sun is strong. Heat shortens the working time of most kits.
- Probe the damaged area with an awl to find the edge of the rot, then cut or chisel away every soft fibre until you reach firm wood.
- Clean the cavity with a brush and wipe it down, then let the wood dry thoroughly. Damp wood under epoxy is a recipe for a failed bond.
- Mix the resin and hardener on your board according to the label, folding it until the colour is even.
- Press the epoxy into the cavity with a putty knife, working it into the corners and slightly proud of the surface.
- Shape it while it is still soft, or leave it to cure and sand it back to the profile once it has hardened.
- Sand smooth, feather the edges into the surrounding wood, and dust off.
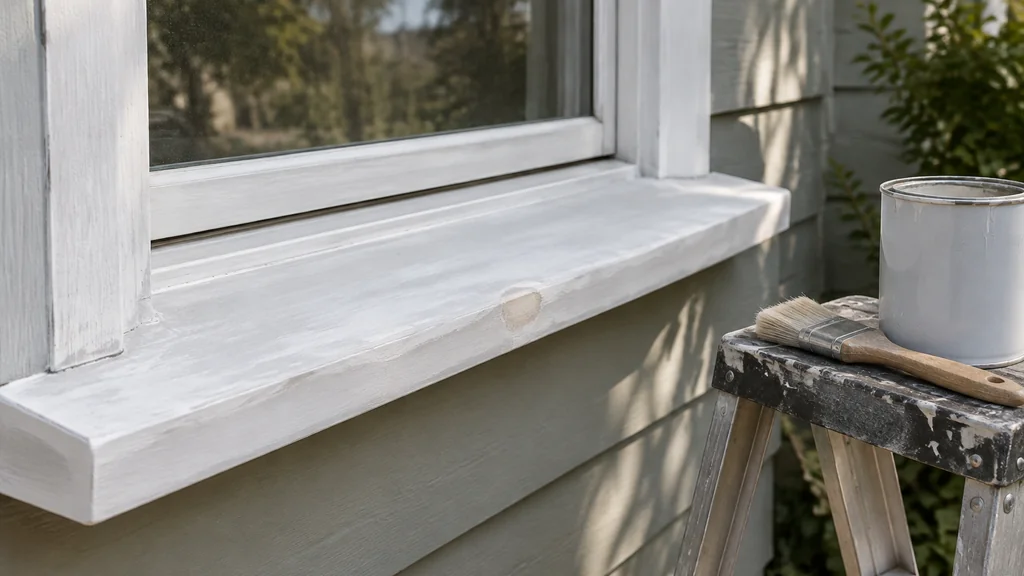
- Prime the repair and paint it with an exterior coating. The topcoat is what keeps water out over the long run.
If the repair sits on a horizontal surface where water pools, build a slight slope into the filler so it sheds.
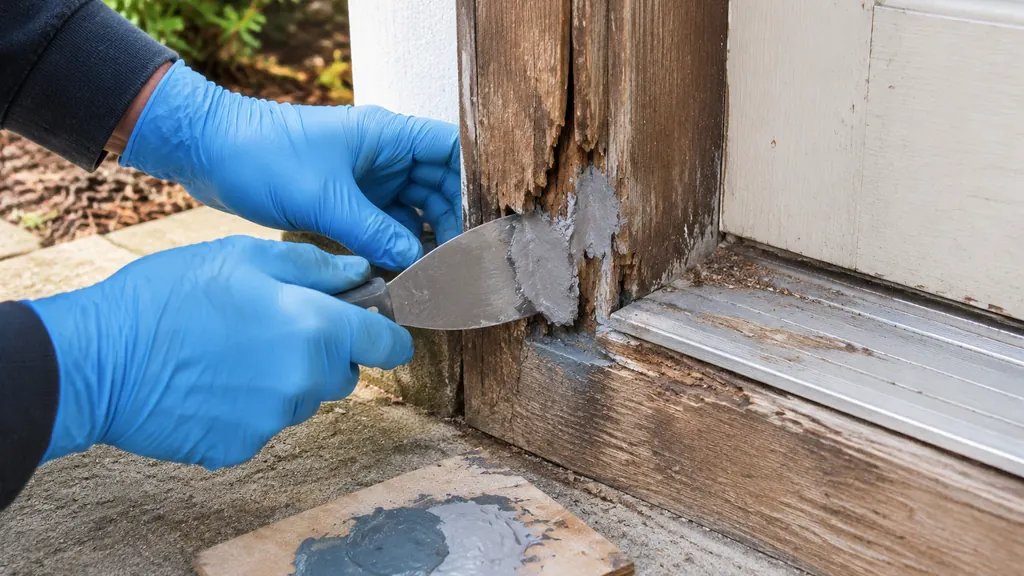
Getting the mix and the finish right
Mixing is where most exterior repairs go wrong. Measure the two parts as the label says, and mix for the full time it recommends. A batch that looks uniform but is under-mixed will cure soft or tacky, and no amount of paint will save it.
Work in small batches. A golf-ball-sized lump is plenty for a window sill, and it lets you finish before the putty stiffens. On a larger job, mix two or three batches to keep each one manageable.
Sanding cured epoxy is dusty work, so wear a mask. The cured material is harder than wood, and a power sander can dish the surrounding timber if you are not careful. Use a block and let the paper cut, checking the profile often against a straightedge.
Once sanded, the surface needs a primer suited to epoxy and then a topcoat. Some paints grip epoxy well, others need a specific primer. Check the label on both products and test on an offcut if you are unsure.
Common mistakes and how to avoid them
The failures I see most often on exterior trim come down to a few habits.
- Filling over wet or rotten wood. The epoxy bonds to the soft fibres and the whole patch lifts within a season.
- Skipping the topcoat. Epoxy resists moisture but UV light from long summer days breaks it down, so paint is not optional.
- Mixing too much at once. The batch kicks off before you have shaped it, and you end up sanding a rock.
- Ignoring the surrounding joint. Water gets in at the seams, so check the caulk line and the paint edge too.
- Using interior filler outside. Water-based fillers soften and shrink. If you are unsure what will survive the weather, read up on whether you can use wood filler outside before you start.
One more trap is assuming every two-part filler is the same. Some products sold as wood filler are polyester-based, and they behave differently under paint from epoxy fillers. If you have a tin of Bondo on the shelf, it is worth knowing whether Bondo wood filler is waterproof before you commit it to a sill that faces the weather.
Costs and when to call a pro
A two-part epoxy kit is one of the materials needed for the repair. The real cost is time, since cutting out rot, mixing, curing and sanding can stretch across a weekend. Compare that with the price of new trim or a replacement sill, and the repair usually wins on both money and character.
Call a carpenter or a restoration specialist when the rot reaches structural framing, when a whole sill or threshold needs replacing, or when the damage keeps returning after previous repairs. Rot that comes back is a sign of a water problem upstream, such as a leaking gutter or a failed flashing, and filler will not fix the source. On an older house, that investigation is often the most valuable part of the job.
Exterior Epoxy Wood Filler FAQ
Can you use epoxy wood filler outdoors?
Yes, provided the wood is dry and sound and the repair gets a primer and topcoat. Epoxy handles moisture far better than water-based fillers, but UV light degrades it over time, so paint is what protects it through summer and winter.
Does exterior epoxy wood filler need to be painted?
It should be. Unpainted epoxy chalk and break down under sunlight, and the surrounding wood needs the same protection. Prime and paint the repair to match the trim, and check the label for a compatible primer.
How long does epoxy wood filler take to cure?
Working time and cure time vary by product, so check the label on your kit. Most exterior epoxies stiffen within minutes to an hour and can be sanded the same day, though full hardness may take longer in cool weather.
Can epoxy filler be used on wet or rotting wood?
No. Epoxy needs a dry, solid surface to bond to, and filling over active rot traps moisture and hides the problem. Cut back to firm timber first, let it dry, then fill.
What is the best filler for exterior wood repairs?
Two-part epoxy is the strongest choice for exterior trim, sills and frames because it cures rigid and resists damp. For shallow cosmetic dents, a good exterior-grade filler can work, but check the label for outdoor use before you buy.

Martin Flood
Martin Flood has been working in the construction industry for over 20 years as a general contractor with expertise in remodeling projects that are large or small. He has furthered his career by specializing in epoxy resin flooring, providing excellent service to both commercial and residential clients. Martin’s experience enables him to offer professional advice on how to choose the right type of project based on your needs and budget.
View all posts by Martin Flood →