
Updated July 2026
The fastest way to make an epoxy resin mold is to pour cured, two-part silicone around a master object inside a simple box. Once you peel it off, that silicone shell is a flexible, reusable mold you can cast resin into again and again. Tin-cure silicone works fine for simple shapes like coasters or trays. Platinum-cure silicone captures finer detail and holds up over more casts, which matters for jewelry or textured pieces. One thing that trips up almost every beginner: you usually don’t need a release agent to pull cured resin out of silicone. It releases cleanly on its own.
My first mold was a coaster shape poured into a plastic tub with no real walls. It worked, mostly, but the edges came out wavy because I never sealed the seams. The two methods below fix that: a pour/box mold for small objects, and a brush-on method for anything too large or one-sided to submerge. I’ll also cover the separate job of building a form for a resin table, since that question gets asked in the same breath and it’s not the same process at all.
What You Need Before You Start
Making a mold is a mixing job more than a craft-skill job. Get the ratio and the pour technique right and almost any master comes out clean.
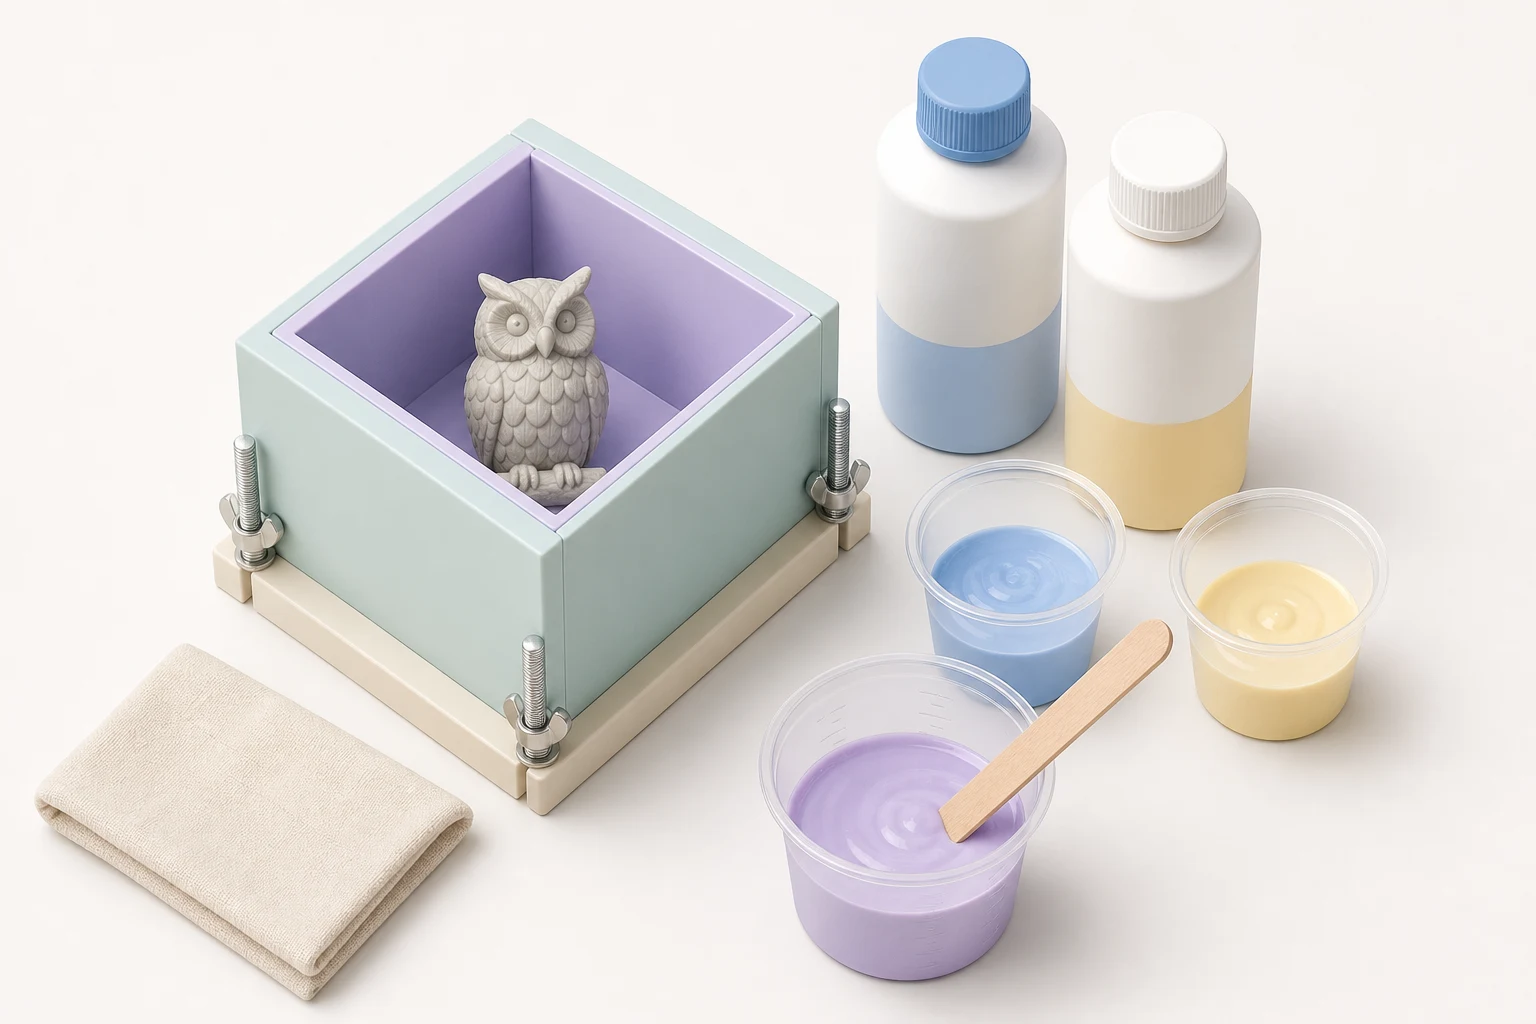
- Two-part mold-making silicone — tin-cure (condensation) or platinum-cure (addition), enough to cover your master plus a margin on every side.
- A gram scale. Mixing silicone by weight is far more reliable than mixing by volume, especially at ratios like 10:1.
- Two mixing cups and stir sticks, kept dedicated to silicone, never reused for anything sulfur-based.
- Your master object, the shape you want to reproduce, cleaned and dry.
- Mold box material: LEGO bricks, acrylic sheet, or scrap MDF glued at the seams with a hot glue gun.
- Mold release spray for the master, if it’s porous, textured, or has any detail you don’t want to risk sticking.
- Nitrile gloves and a level work surface.
Cost depends on volume and silicone type. A small trial kit sized for a coaster or two runs roughly $20 to $30 for tin-cure silicone; platinum-cure kits like Smooth-On’s Mold Star line usually cost noticeably more per equivalent volume, so check current retail before you buy. Working time and full cure time are both product-dependent, so check the label, but expect working time from a few minutes up to around 45 minutes, and full cure anywhere from several hours to 24 hours. Difficulty is beginner-friendly for the pour method; brush-on just takes more patience.
| Silicone Type | Detail Capture | Cure Inhibition Risk | Typical Use |
|---|---|---|---|
| Tin-cure (condensation) | Good for simple shapes | Low | Coasters, trays, budget molds; fewer total reuses over time |
| Platinum-cure (addition) | Excellent, holds fine texture | Higher, sensitive to contaminants | Jewelry, detailed casts, molds you plan to reuse heavily |
Table of Contents
Method 1: Pour (Box) Mold for Small Objects
This is the standard approach for coasters, small trays, and anything that fits comfortably inside a small box. You submerge the whole master in silicone, let it cure, then peel it free.
Step 1: Prep and Seal the Master
Clean the master and let it dry fully. If it’s porous, wood, plaster, unglazed ceramic, spray it with mold release or seal it with a thin coat of clear sealer first. Uncured silicone soaks into any pore it can find, and a soaked master will not release cleanly later.
Step 2: Build the Mold Box
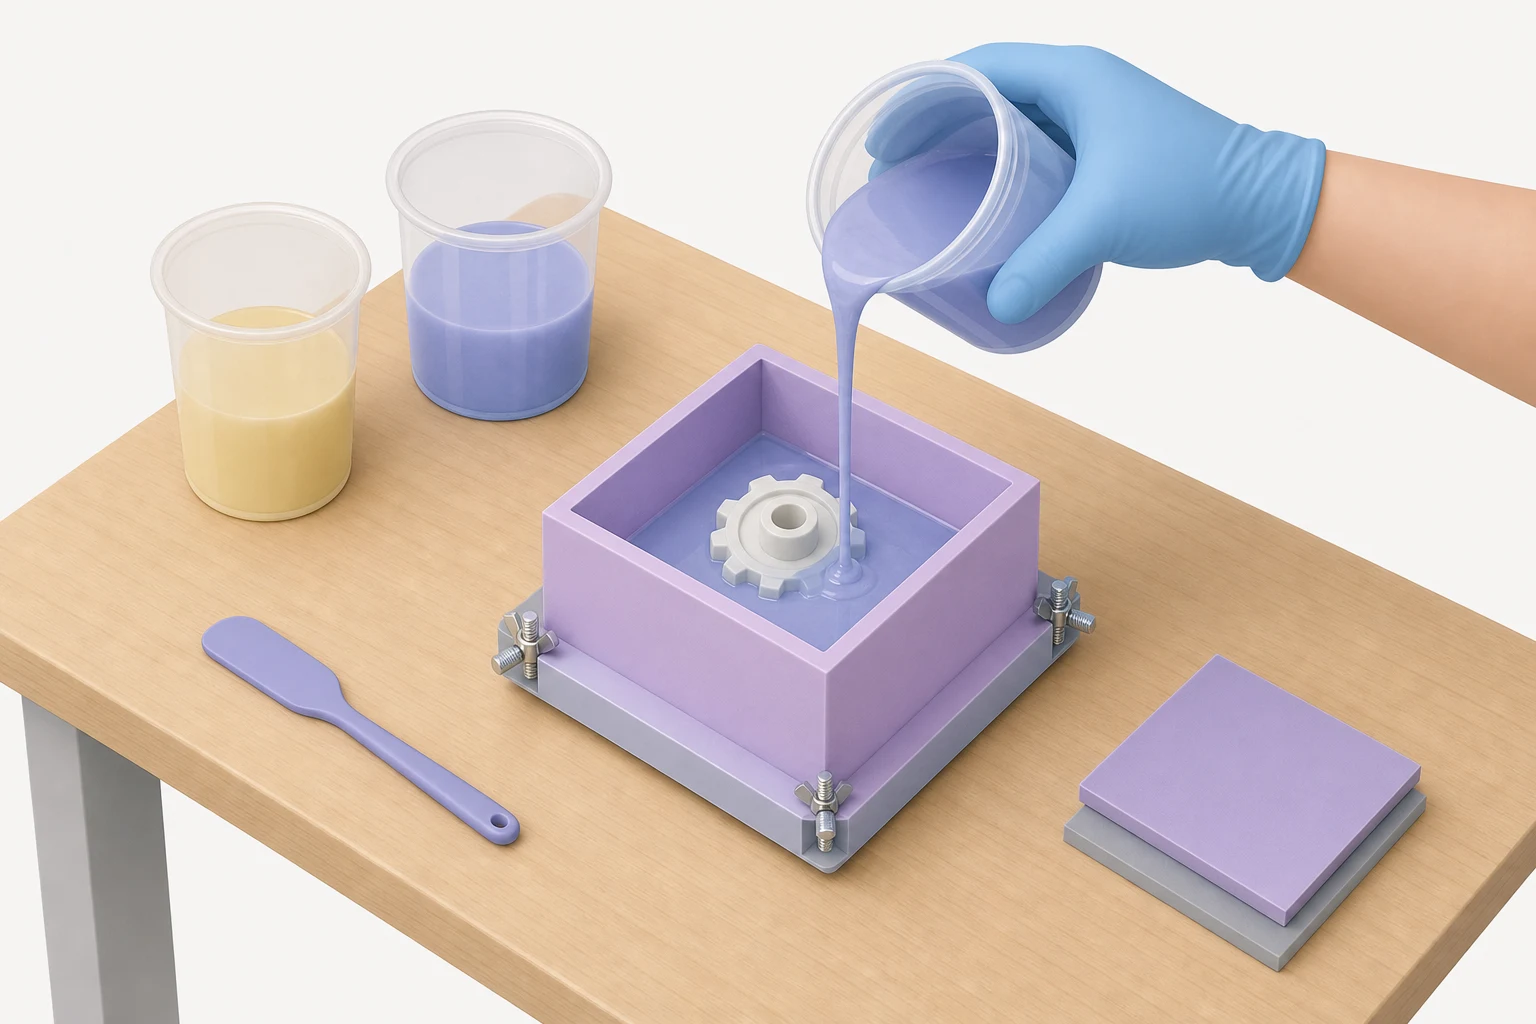
Set the master on a flat, level base and build walls around it, leaving at least a half-inch gap on every side and above. LEGO bricks work well for quick boxes. Acrylic or MDF glued at the seams holds up better for repeat use. Seal every seam. Silicone finds the smallest gap and leaks straight through it.
Step 3: Mix the Silicone by Weight
Weigh Part A and Part B according to the ratio on the label, commonly 1:1 or 10:1 by weight depending on the product. Never eyeball this. Mix thoroughly for the time the label specifies, scraping the sides and bottom of the cup, until the color is completely uniform with no streaks.
Step 4: Pour Thin and From Height
Pour in a thin, steady stream from about a foot above the box, aiming at one low point rather than moving around. A thin stream lets trapped air escape as it falls instead of folding into the silicone. Once the master is covered, tap the box firmly a few times to help remaining bubbles rise.
Step 5: Cure and Demold the Master
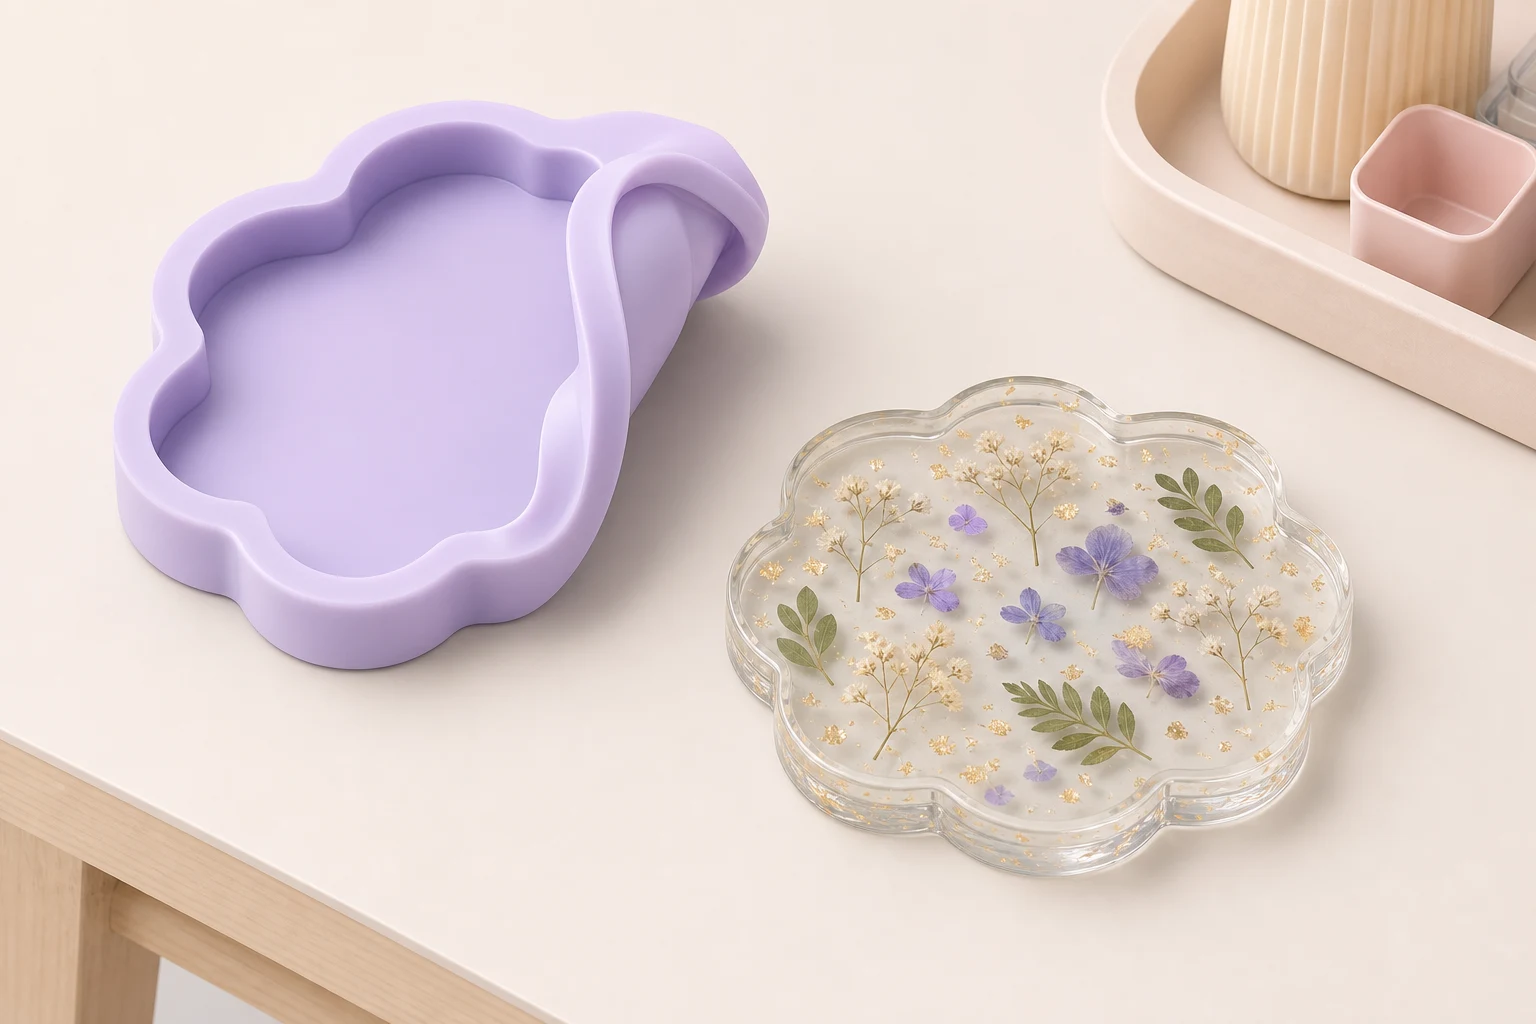
Let the silicone reach full cure per the label before touching it. Rushing this step is the single most common reason a first mold comes out warped. Once cured, remove the box walls, then gently flex and peel the silicone away from the master. When you cast your first resin piece into the new mold, our guide on how to release epoxy resin from a mold covers what to do if a finished piece sticks on the way out.
Method 2: Brush-On Mold for Large or One-Sided Masters
Reach for this method when your master is too big to submerge economically, mounted to something, or only needs one face captured, like a relief carving or a tabletop panel. Brushing silicone on in layers uses a fraction of the material a full pour needs.
Start with a thin detail coat, brushed carefully into every recess to capture fine texture without trapping air. Let it set to a tacky stage before adding two or three thicker build-up coats, brushing a different direction each time to avoid weak spots. Once the shell reaches the thickness you need, usually around a quarter inch, let it fully cure.
A brush-on mold is thin and floppy on its own, so most makers back it with a rigid support shell: plaster bandage or fiberglass cloth over the cured silicone, so it holds its shape when resin goes in later. Skip the support shell only for very small or shallow molds that won’t distort under the weight of the resin.
Making a Mold (Form) for a Resin Table: a Different Job
If you searched for this hoping to build a mold for a river table, the two methods above are not what you want. A resin table isn’t cast in a flexible silicone mold. It’s poured into a rigid form, built from melamine board or HDPE sheet, not silicone.
The typical build: cut melamine or HDPE panels to size, screw them into a box shape around your tabletop, then seal every inside seam with tuck tape followed by a bead of 100% silicone caulk pressed into the corner. The tape and caulk do two jobs at once. They keep liquid epoxy from leaking through the seams during a pour that can take hours to self-level, and they act as the release layer, since cured epoxy doesn’t bond to cured silicone caulk any better than it bonds to a properly waxed mold.
HDPE has a natural non-stick surface and needs less sealing prep than melamine, but costs more and can be harder to source in large sheets. Either way, release matters here in a way it usually doesn’t with a small silicone mold. The form is rigid, so a poor release means fighting an entire table out of a box instead of just peeling a soft mold away.
What Doesn’t Work
- Household silicone caulk as a mold material. Bathroom-and-kitchen caulk is acetoxy-cure. It releases acetic acid as it sets, captures far less detail, and breaks down fast after repeated pours. It has a real job, sealing the table form above, but it’s not a substitute for two-part mold silicone.
- Eyeballing the mix ratio. Skip the gram scale and you risk silicone that stays tacky forever or never fully sets. Extra cure time doesn’t fix an off-ratio batch.
- Pouring one thick glug instead of a thin stream. A single heavy pour traps air pockets that turn into visible pits in every cast that mold ever makes.
- Demolding before full cure. Pulling the master out early tears or distorts the cavity, and there is no fixing a torn mold, only starting over.
- Assuming resin needs release agent against cured silicone. That’s a different question from whether your master needed release agent before the silicone went on. For a full breakdown of when release agents actually matter and when they don’t, our guide on release agents for epoxy covers both sides of that confusion.
Tips and Warnings
Tips
- Warm silicone, and a warm room, flows and self-levels faster and traps fewer bubbles.
- A vacuum chamber or pressure pot removes bubbles almost entirely. It’s a nice upgrade for jewelry-grade detail work, not a requirement for hobby castings.
- Spray the master with mold release for a cleaner pull, especially on anything with texture or undercuts.
- Mix in smaller batches for a large master and work in layers rather than racing the pot life of one giant batch.
Warnings
- Platinum-cure silicone is inhibited by latex gloves, sulfur-based modeling clay, some vinyl tapes, and leftover residue from tin-cure silicone. A mold that stays sticky and never fully cures is usually contamination, not a bad batch. Test on a scrap piece first if you’re unsure of your setup.
- Work in a ventilated space and wear gloves and eye protection while mixing and pouring.
- Never let mixing cups or sticks used for platinum silicone touch anything that has touched tin-cure silicone or sulfur clay.
Frequently Asked Questions
How do you make a mold for epoxy resin?
Build a small box around a master object, mix two-part silicone by weight until the color is uniform, then pour it over the master in a thin stream from about a foot up to release trapped air. Let it fully cure per the label, then peel the cured silicone away from the master. The result is a flexible, reusable mold ready to cast resin into.
What do you need to make a resin mold?
Two-part mold-making silicone (tin-cure or platinum-cure), a gram scale for accurate mixing, mixing cups and stir sticks, a master object to shape the cavity, mold box material like LEGO or acrylic sealed at the seams, and mold release for the master if it’s porous. Gloves and a level surface round out the basics. Nothing on that list is exotic, but skipping the scale is the most common shortcut that ruins a batch.
Do you need mold release to cast resin in a silicone mold?
Usually not. Cured resin releases from cured silicone on its own in most cases, which is exactly why silicone is the standard mold material for casting resin. Release agent matters at a different stage: coating the master object before you pour silicone over it, especially if the master is porous, textured, or has undercuts that could trap silicone. Mixing those two steps up is one of the most common points of confusion for beginners.
How many times can you reuse a silicone resin mold?
It depends heavily on the silicone type and how carefully you treat the mold. Platinum-cure silicone generally holds detail and flexibility over more reuses than tin-cure, which tends to stiffen and shrink faster with age. Sharp mold edges, high heat during cure, and rough demolding all shorten a mold’s working life. Plenty of hobbyists get dozens of clean pulls from a well-made platinum mold before it starts losing detail.
Can you make a silicone mold with household silicone caulk?
Not for a real casting mold. Bathroom and kitchen caulk is acetoxy-cure silicone, built to seal joints, not to capture fine detail or survive dozens of resin pours. It also releases acetic acid as it cures, which can affect nearby uncured platinum silicone. Caulk does have a legitimate job in resin work, sealing seams on a rigid table form, just not as the mold material itself.
References
- Smooth-On, Inc. — mold making and casting tutorials, an industry-standard resource for silicone types and technique.
- Smooth-On, Inc. — support FAQ, including documented guidance on platinum-cure silicone cure inhibition and troubleshooting.
- Resin Obsession — resin and mold-making education for hobbyists, covering mold materials and troubleshooting.
For more on working with epoxy resin, from mixing to finishing, browse the full epoxy resin section of the site.
Written by James Robinson | Updated July 2026

James Robinson
James Robinson is a passionate DIY enthusiast and an integral part of the Salvage Secrets team.
View all posts by James Robinson →